Upload and import
Upload images, video, or audio to the canvas as nodes. Use them as generation references or add them to your film.
Before you start
Use material you own or have permission to use; see Your content and rights.
Use the file as a connected reference on the canvas, as a clip on the timeline, or both.
Flick accepts common image, video, and audio formats, including HEIC and HEIF images. Check the upload dialog for the current file-size limit.
Upload from the canvas
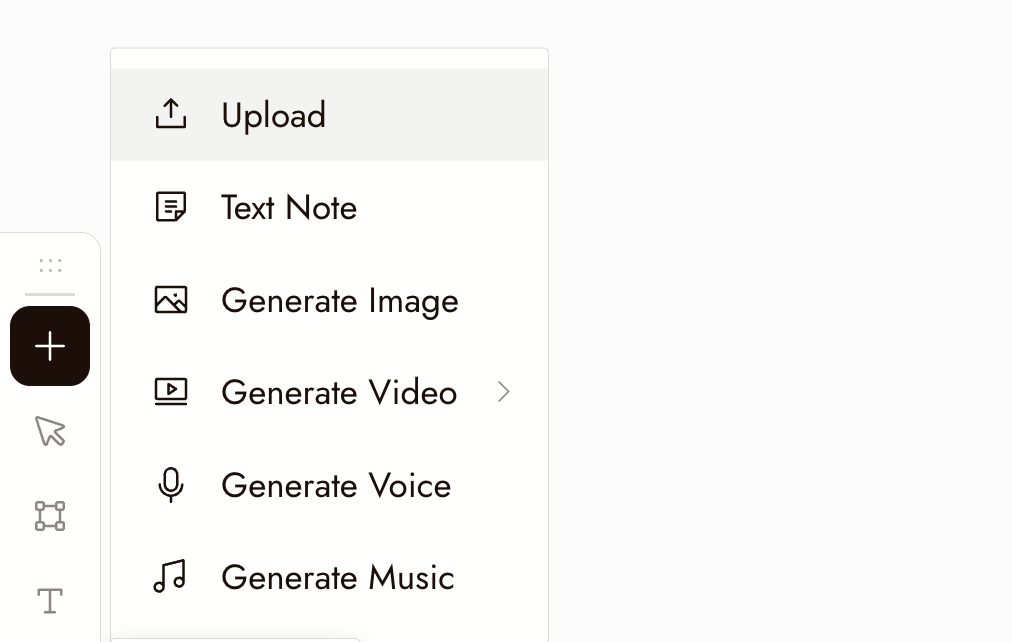
- Click the + button on the canvas.
- Choose Upload.
- Pick the file. It appears on the canvas as a node.
Paste or drop
- Copy an image anywhere and press Control or Command ⌘ + V on the canvas. It becomes a node.
- Drop several images at once and Flick groups them into a section named Reference Images, so a set of references stays together.
Attach in chat instead
Use Attach file in chat to give the agent a reference without creating a canvas node. To start a project from a file, use Upload file in the projects home prompt box.
Review the result
- The node shows the file and a name.
- A video node plays in place; an audio node shows a waveform or player.
- The node is where you expect it, not off screen.
If something looks wrong
The file was rejected. Check it is one of the accepted types above. Screenshots and exports from other apps sometimes carry an unexpected extension.
A large video seems stuck. Large uploads take time and show progress. Leave the tab open until it finishes.
I uploaded it but cannot find it. Zoom out. New nodes can land outside the current view. See Find your generations.
The agent says it cannot see my image. Select the node so its thumbnail shows above the chat input, or attach the image in the chat box.
Next
- Sections and folders to keep references together.
- Generate Image to use an uploaded image as a reference.
- Timeline basics to put an uploaded clip into the film.
- Character Reference to build a character from an uploaded photo.