Tell a small story in three shots
A short film needs a change the audience can follow. For your first project, work with one person, one place, and one small action.
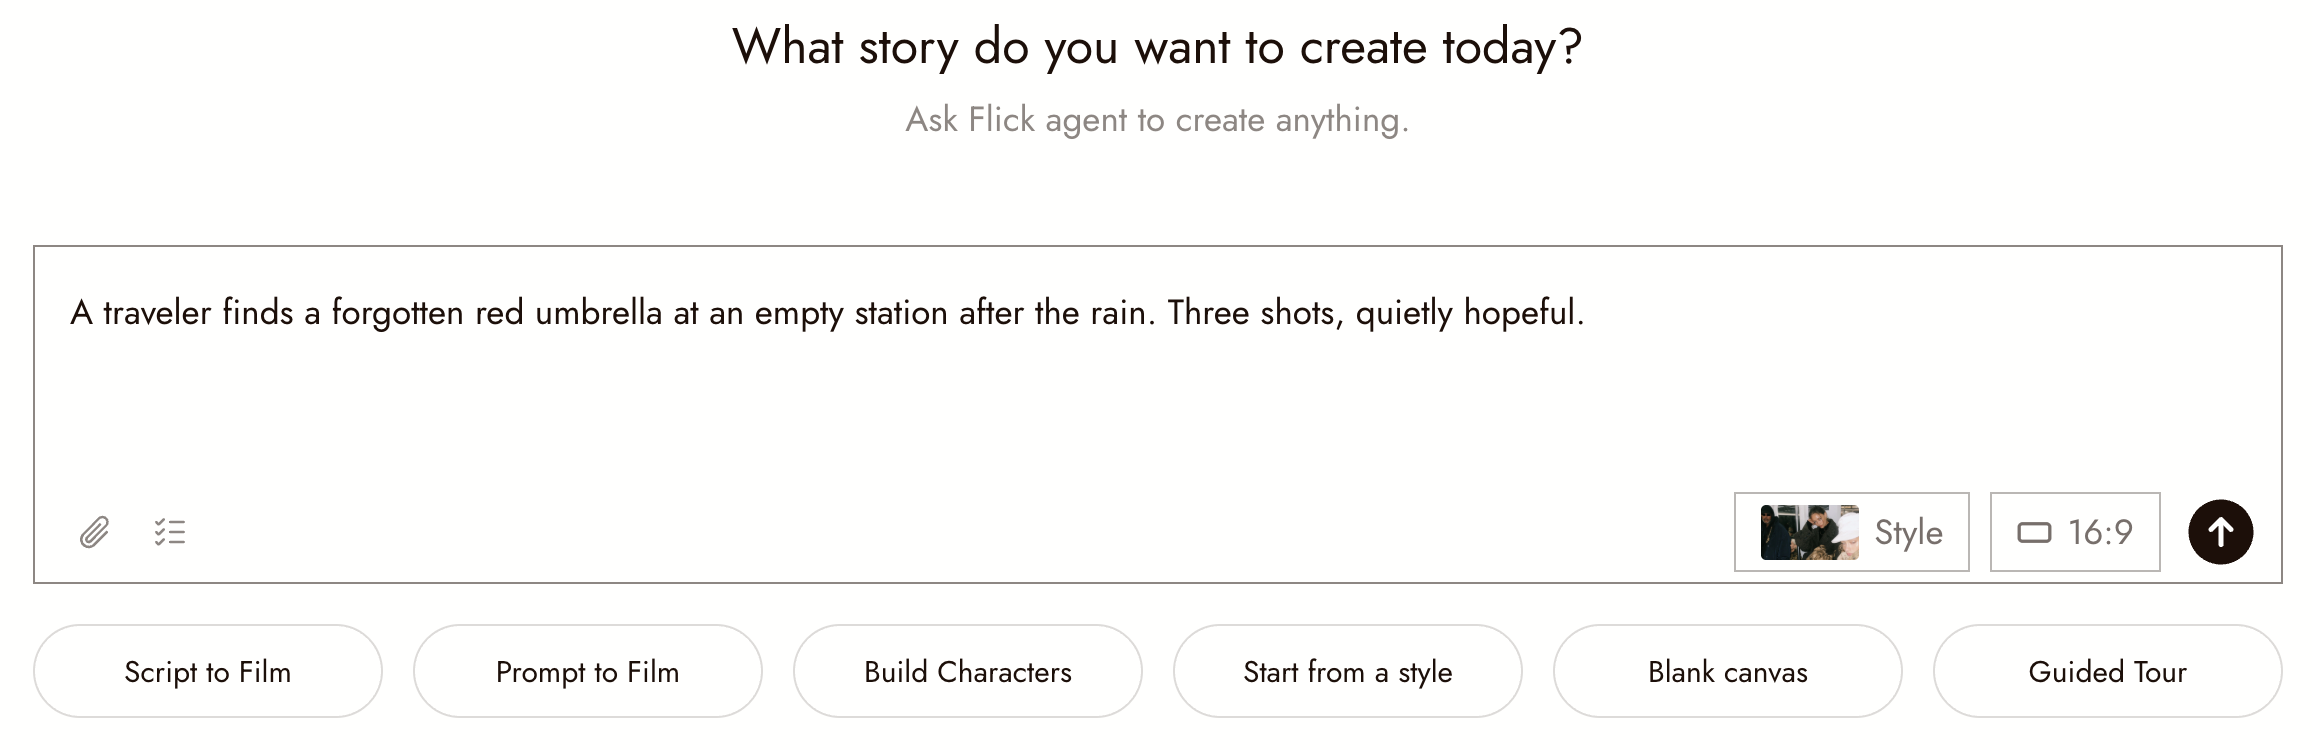
Our story: a traveler notices a forgotten red umbrella at a station after rain and leaves it somewhere its owner can find it.
Aim for a film of roughly 10 to 15 seconds. Let the action and the available footage determine the final timing.
The examples on this page come from the Flick residency film Xenogenesis, which was made with the same loop this lesson teaches. Watch the finished film there, then follow the steps with your own story.
1. Decide what each shot tells us
Give each shot one job before generating.
| Shot | Story job | Possible image |
|---|---|---|
| Establish | Show where the traveler is | A wide view of the platform and bench |
| Notice | Direct attention to the forgotten object | A closer view of the red umbrella beside the bench |
| Resolve | Show the result of a helpful decision | The umbrella rests visibly on the bench as the traveler leaves |
You do not need to show every movement. Cut from the discovery to the umbrella on the bench instead of generating a complex pickup.
2. Prepare your visual direction
Choose one aspect ratio for the film. Decide on a simple lighting direction and a small group of recurring colors.
For this example, try soft daylight, a quiet station, a mustard raincoat, and a red umbrella. These are choices to test, not a required look.
Follow Create Your First Project, then Upload and import to prepare your reference material. Use your own work or material you have permission to use. Keep the character and setting references easy to identify.
For a small reference board that keeps the location and lighting connected, follow Build a visual world you can reuse.
3. Make a still image for each shot
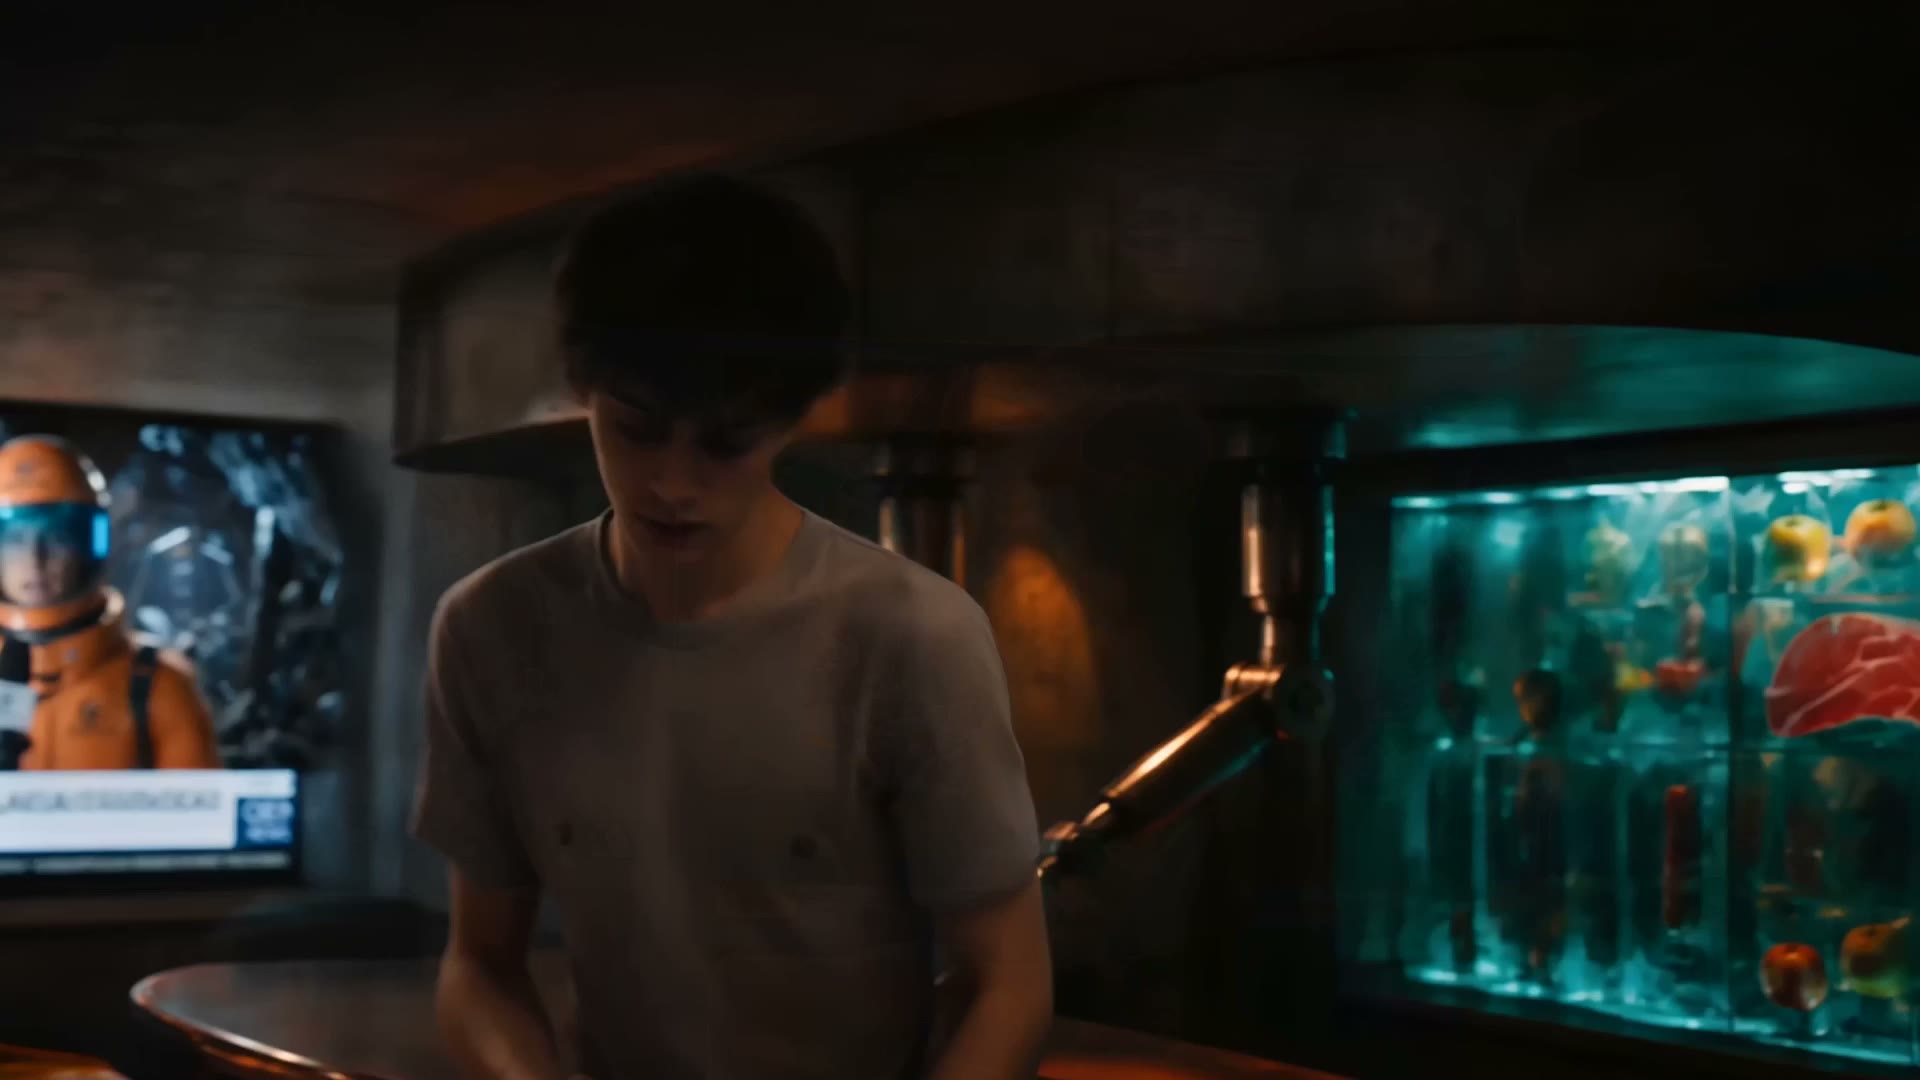
Follow Generate Image to make candidates for your three shots using your selected image model.
Start with the establishing shot. It helps you decide how the station, light, and character should look. Use that decision to guide the other shots.
Describe the subject, action or pose, setting, and framing clearly. Avoid adding instructions that pull the same image in different directions.
Compare the images as a sequence. Reject a beautiful shot if the umbrella changes shape or the station no longer matches.

4. Give each shot a simple motion
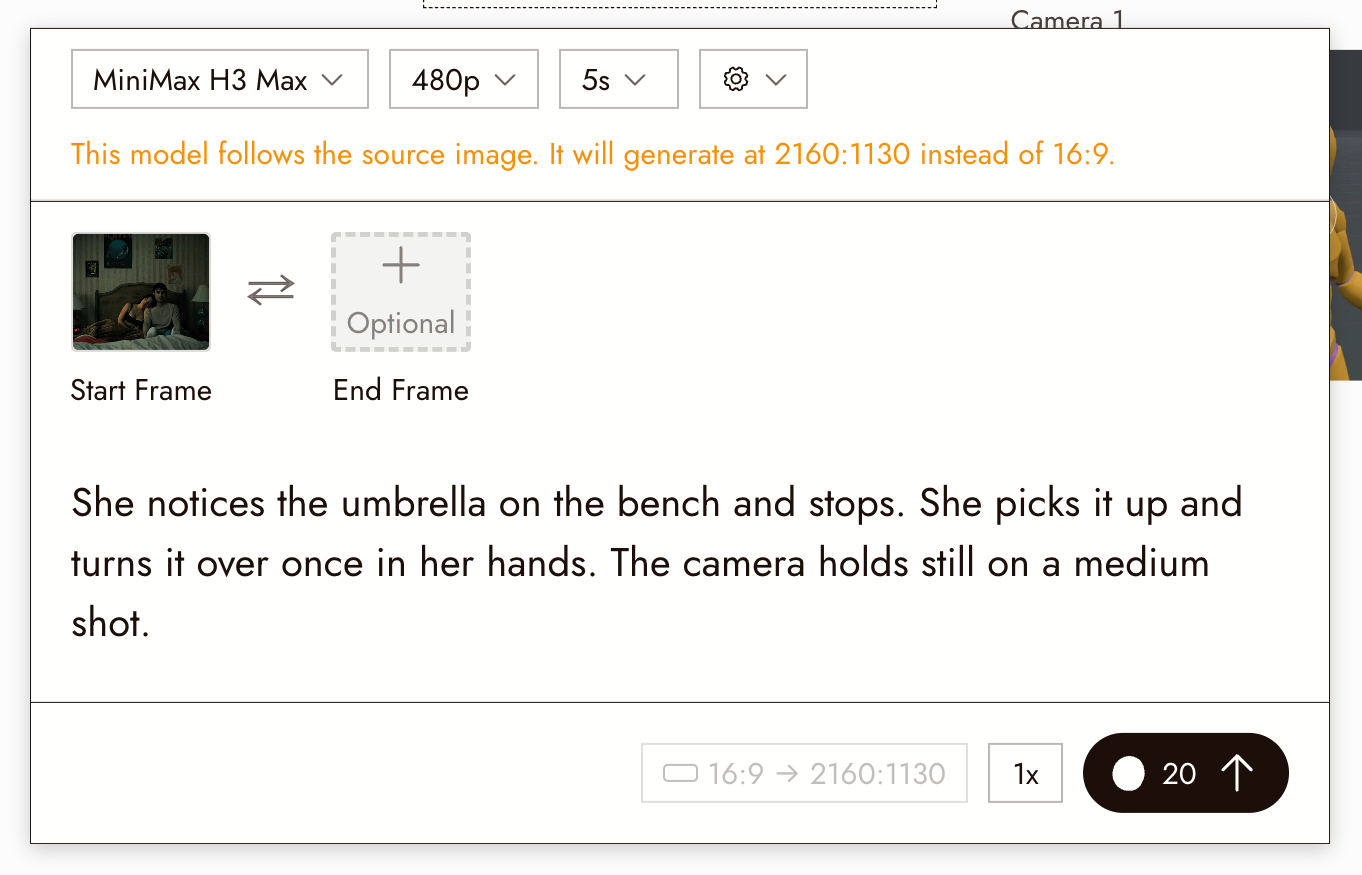
Decide what needs to move. A useful shot may need only a small head turn, a traveler leaving the frame, or a gentle change in camera position.
Keep the shot's story job in mind. If a large camera move distracts from the umbrella, simplify it.
Show behavior, not just emotion. Replace "act kindly" with a visible action: "the traveler notices the umbrella and pauses." Keep the movement simple. Can a viewer understand it without reading the prompt?
An exhausted, grieving character trying to finish a song. Short breaths and interrupted phrases express the effort more clearly than "act sad." For your scene, choose what the character wants, what gets in the way, and one action that shows it.
Follow Generate Video to animate the selected images using the settings available for your model. Check both the beginning and end of each result. Look for changes in the character, object, or background that would distract the viewer.
If the intended action is unreliable, try communicating it through the edit. In this story, showing the umbrella before and after it has been moved is a valid storytelling choice.
When another attempt is not improving the shot, use Fix the shot without losing the scene to choose between a smaller repair and a different way to show the action.
5. Arrange the story on the timeline
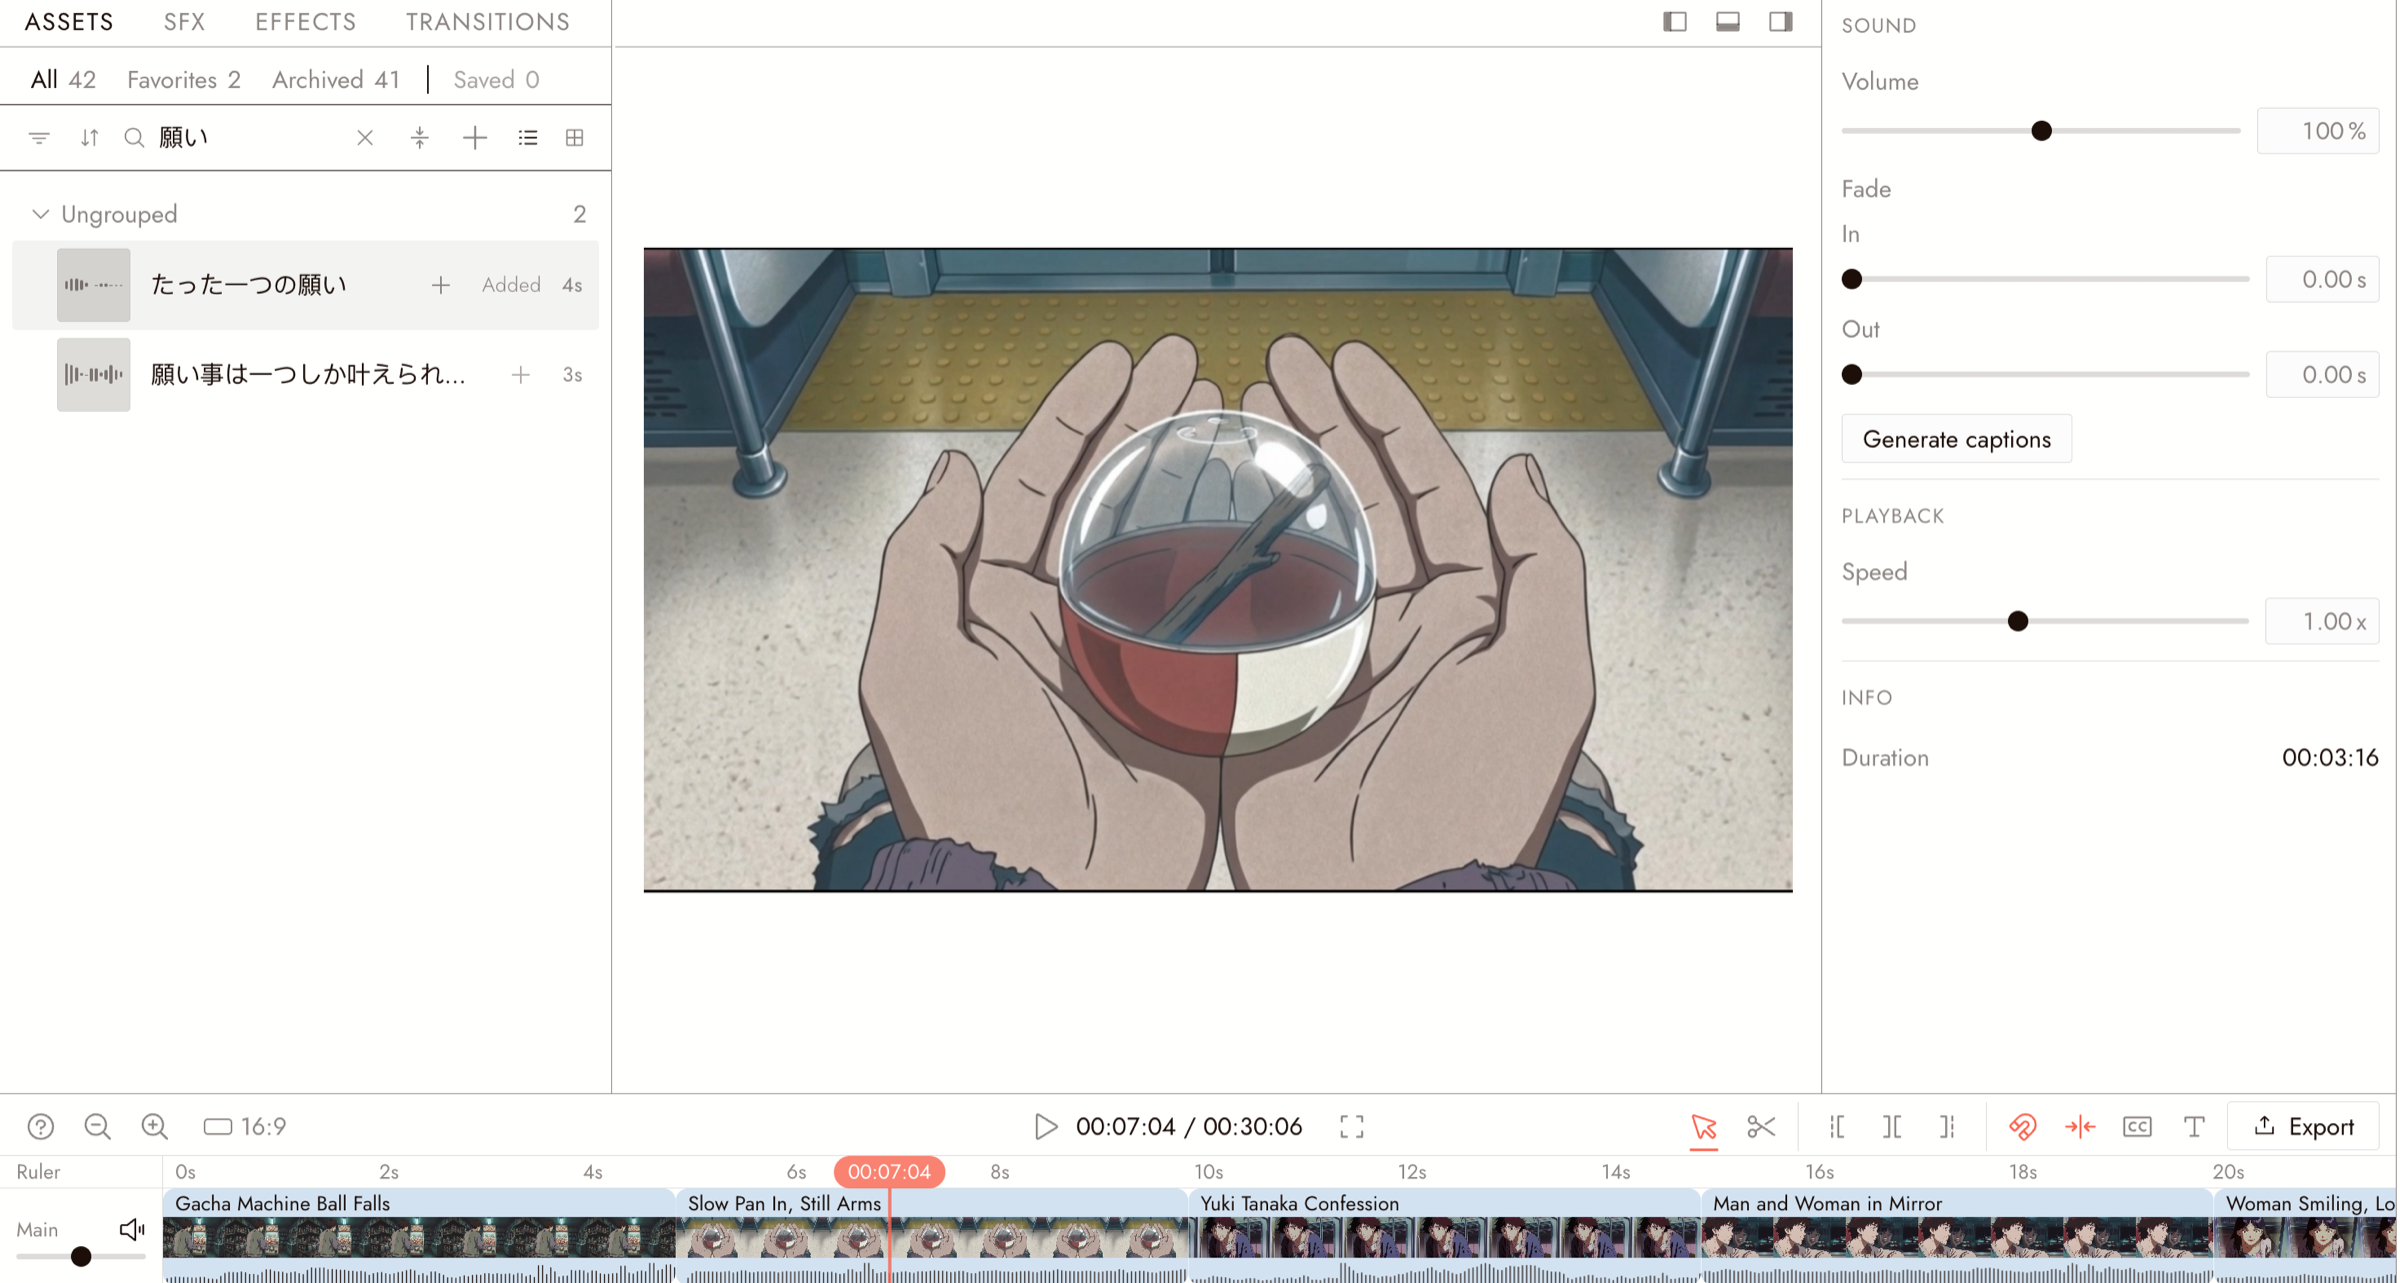
Follow Add and reorder clips to place your selected clips on the timeline in story order, then Trim and split to adjust their timing. Preview the sequence before adding effects.
Trim anything that adds no information. Hold the umbrella shot long enough for viewers to notice it, then cut.
Try cutting to the final shot earlier, then later. Keep the version that makes the traveler's decision clearest.
A straight cut is a useful starting point. Add a transition only if it helps communicate a change in time, place, or feeling.

6. Add a sense of place through sound
Try a quiet station ambience or soft footsteps using audio you have permission to use. Keep the sound at a level that supports the images.
Watch the film with and without the audio. Does the sound help the place feel coherent? Does it introduce an event the picture does not support?
Music is optional. If you use it, check whether it changes the meaning or pace of the scene in a way you want.
For a simple sound plan and an ambience-versus-music comparison, follow Build a soundtrack that serves the scene.
7. Review and export
Watch without referring to the brief. Is the place clear? Can you tell what the traveler notices and what changes?
Then check the technical details: framing, missing media, audio level, and the final frame. Follow Export and download your film to download your film and review the downloaded file.
Make another version
Change the setting or the object while keeping the three story jobs: establish, notice, resolve.
Try a forgotten book in a cafe or a dropped scarf at a bus stop. Keep the first version simple enough to finish. Afterward, choose one thing to improve, such as character continuity, motion, or the timing of a cut.
What you learned
You practiced planning shots, comparing images, directing motion, and telling an action through editing. Try the same process with a new story.