3D Stage basics
The 3D Stage is a set you can walk around: place characters, props and cameras, then record what a camera sees and use the take as a reference for video. This page covers getting around the stage, adding things, and placing them.
Open the stage
- Click 3D STAGE at the top of a project.
- Or turn an image into a set: select it on the canvas and choose Convert to 3D, then click Open in 3D Stage on the scene card. See 3D scenes on the canvas.
- Or ask the agent to build the scene from your image.
New to the stage? Click Tutorial above the timeline for a short walkthrough built around a real set.
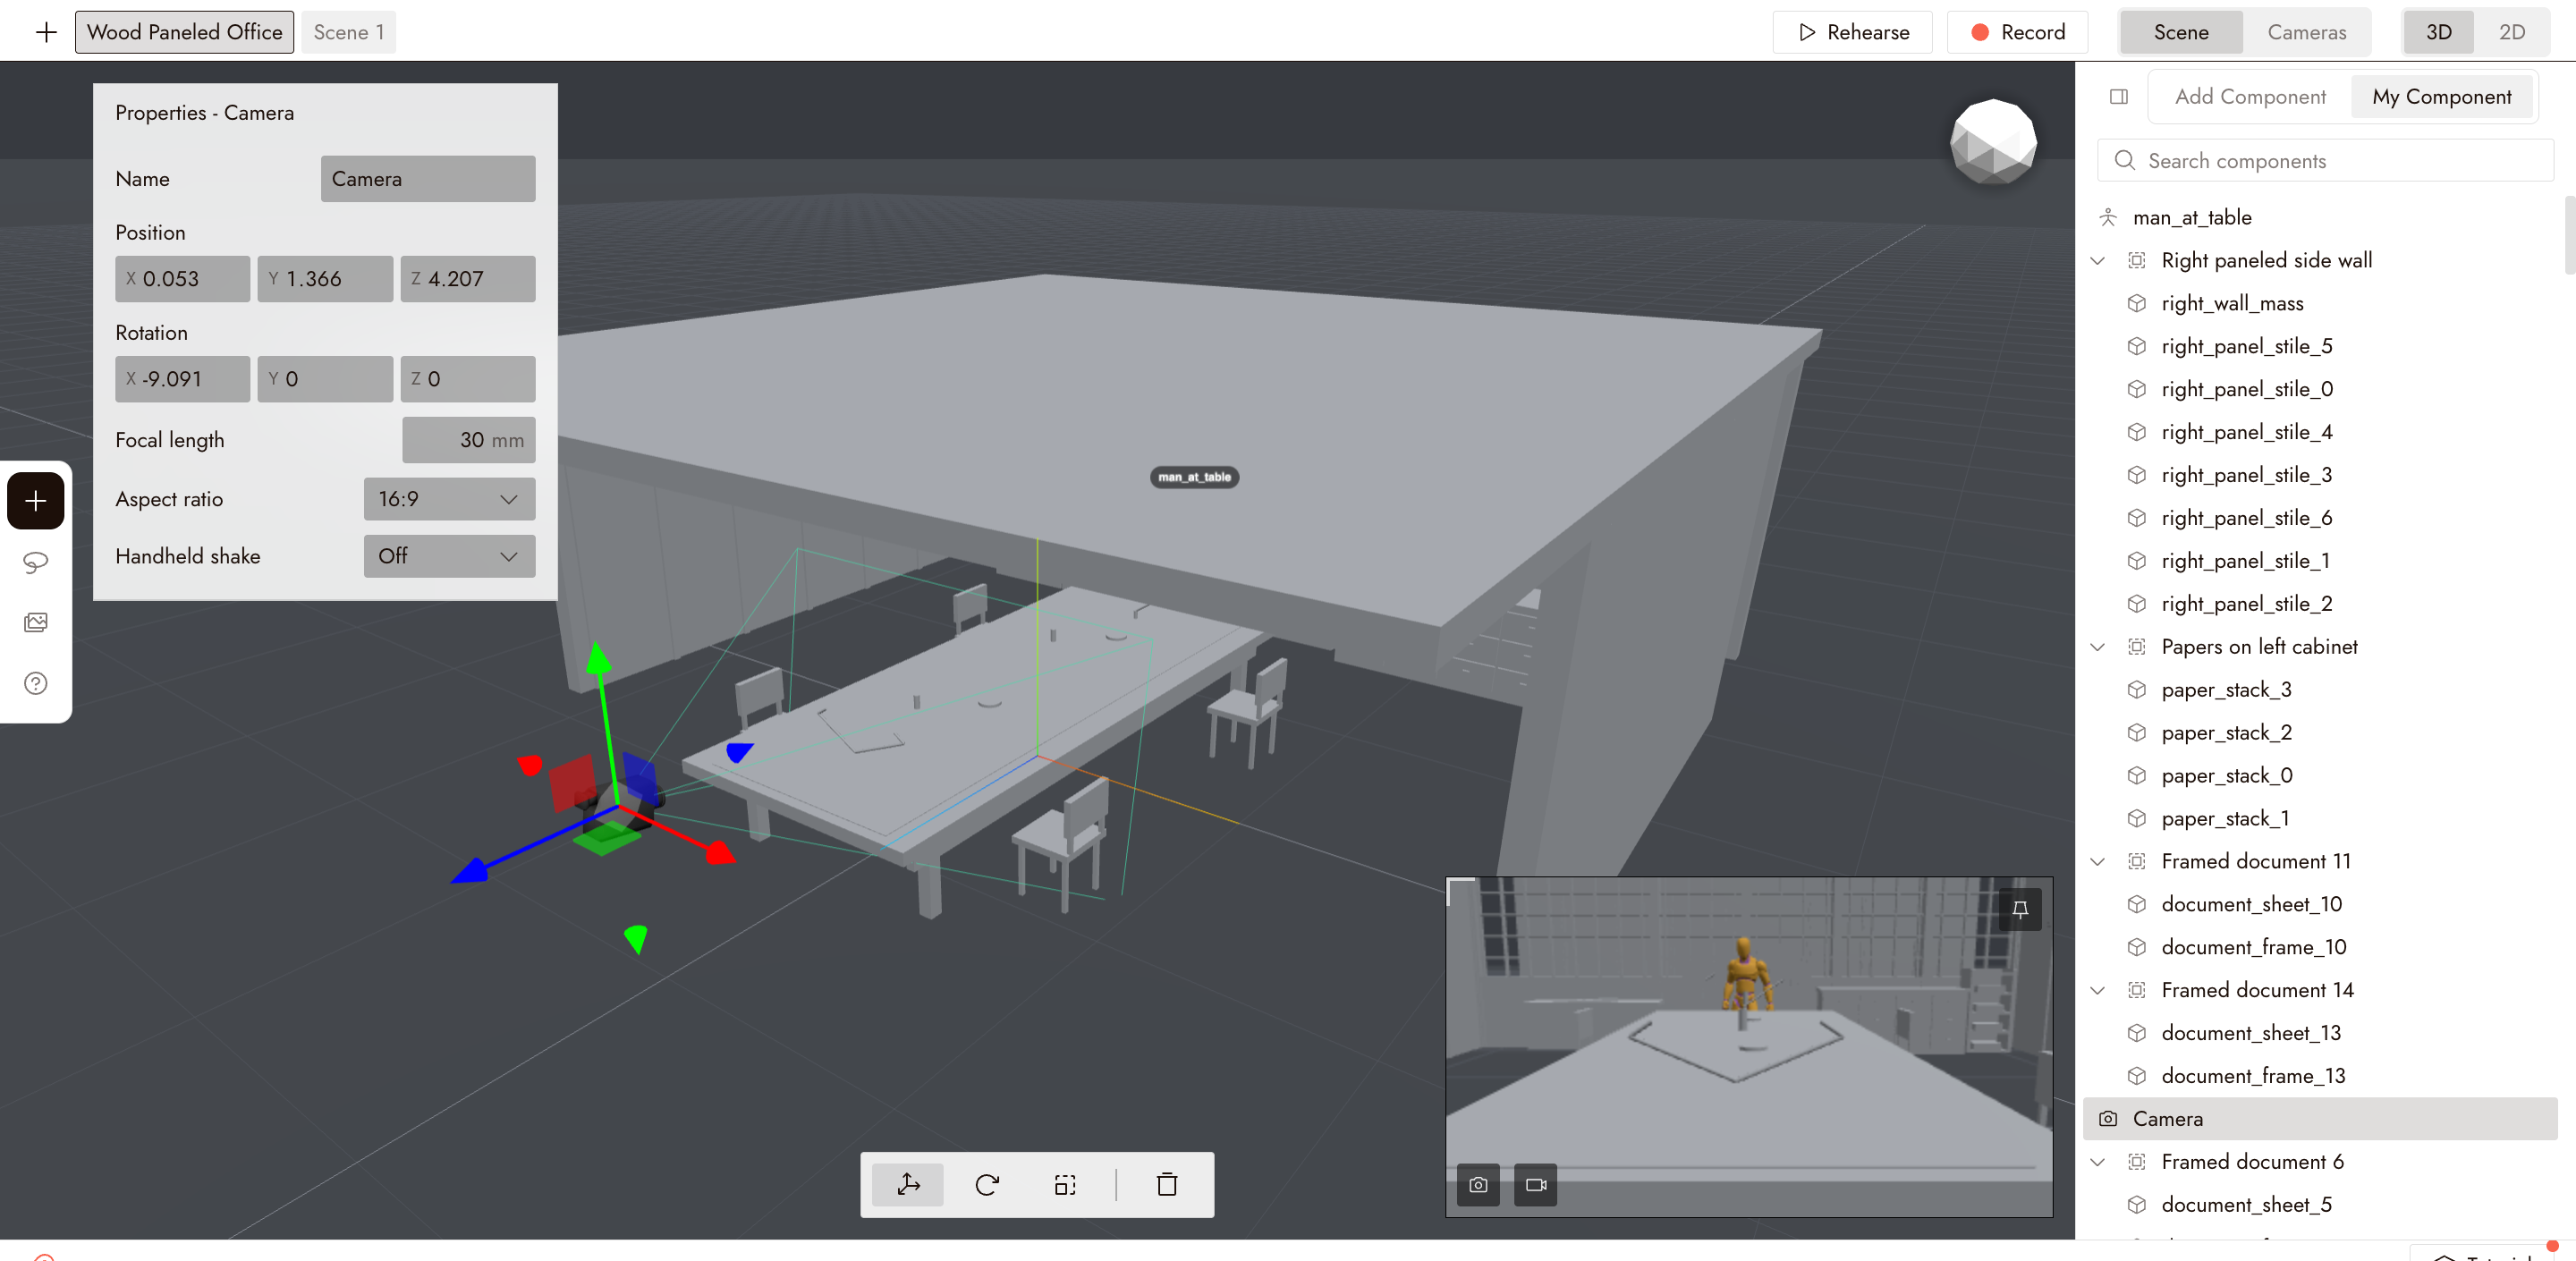
What is on screen
- Top bar: + adds a scene, and each scene has a tab with Send to canvas, Duplicate scene and Delete scene. On the right: Rehearse, Record, Scene or Cameras (the editor or the camera monitors), and 3D or 2D (2D shows a top-down plan of the set).
- Left toolbar: + (Add component or Add action), lasso select, Assets, and ? for controls and help.
- Components column, right: Add Component is the library; My Component lists everything in the scene, so you can select an object by name.
- Timeline, bottom: one track per camera or character, holding the actions that play over time.
Move around the scene
There is one way to move, for a mouse or a trackpad:
| To | Mouse | Trackpad |
|---|---|---|
| Orbit the view | Left-drag | One-finger drag |
| Pan | Middle-drag, or Alt + left-drag | Two-finger scroll |
| Zoom | Wheel | Pinch |
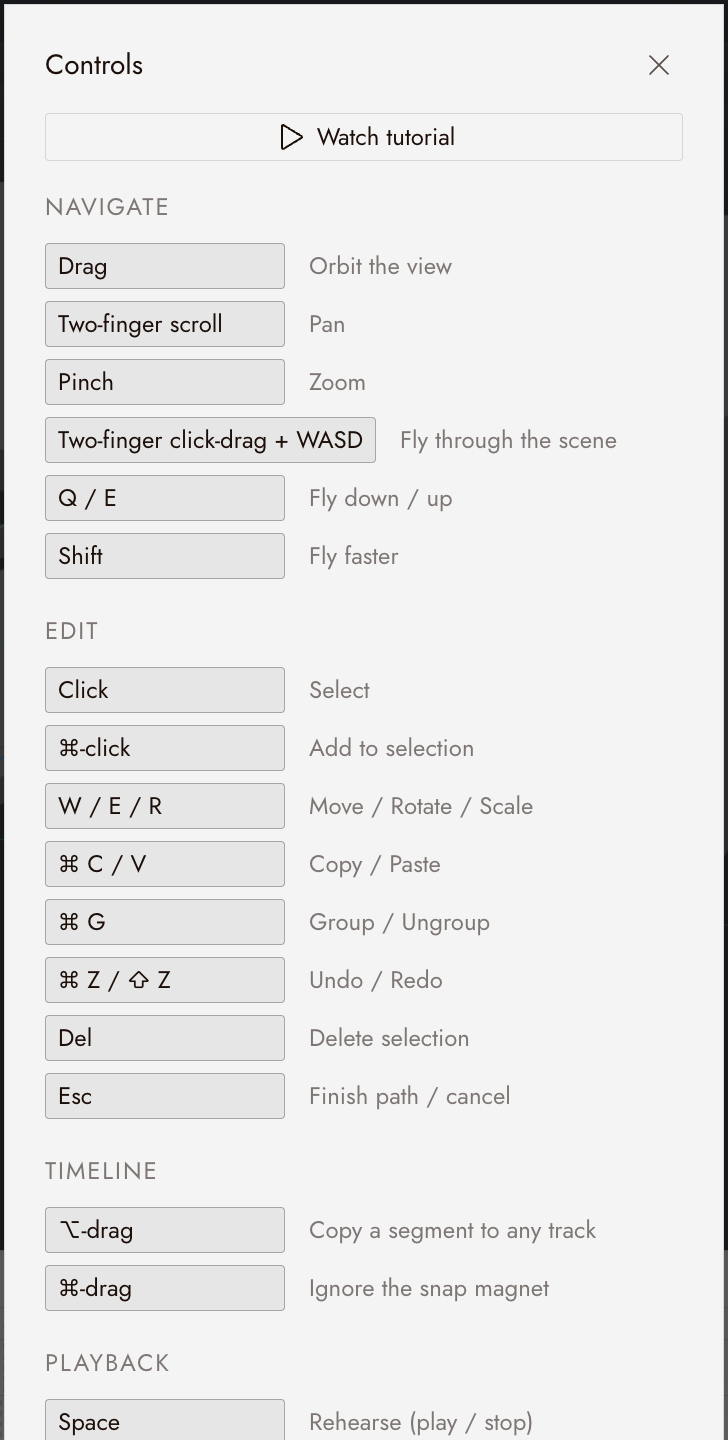
| Fly through the scene | Right-drag + W A S D | Two-finger click-drag + W A S D |
While flying, Q and E fly down and up, and Shift flies faster. You can also drag the ball in the top-right corner of the view to fly.
Click ? on the left toolbar for the full list of controls. Its Input device setting switches between Mouse and Trackpad, and Replay onboarding runs the tutorial again.
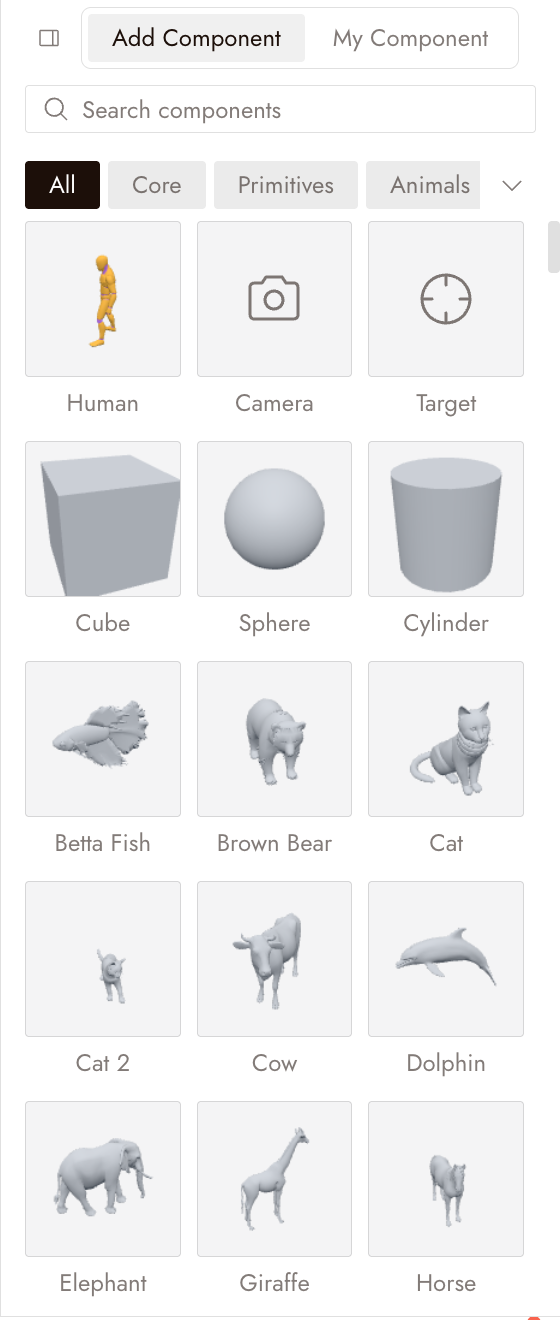
Add a character, prop or camera
- Click + on the left toolbar and choose Add component, or open Add Component in the right column.
- Search, or pick a category: Core (Human, Camera, Target), Primitives, Animals and more.
- Click a component to add it to the scene.
A new scene starts with one camera.
Select and place things
- Click an object to select it, or click its name under My Component. Command-click adds to the selection; the lasso tool selects everything inside a box you drag.
- The selected object's Properties open at the top left: name, position, rotation and, for a camera, focal length, aspect ratio and handheld shake. Type exact values to match positions across scenes.
- Use the bar at the bottom, or press W, E or R, to move, rotate or scale, then drag the colored handles.
- Command+C and Command+V copy and paste, Command+G groups, Delete removes the selection, and Command+Z undoes.
Give each character a clear name in Properties so you can tell them apart on the timeline.
With a camera selected, its view appears at the bottom right, with buttons to save a screenshot to the canvas or record the camera. See 3D Stage export.
If something looks wrong
The mouse wheel pans instead of zooming. Open ? and set Input device to Mouse.
I cannot pan with a Magic Mouse. Hold Alt and left-drag.
I cannot select an object. Pick it by name under My Component. It may sit inside a group; open the group in the list.
The character is the wrong size next to the props. Type exact values in Properties instead of dragging, and use the same scale across scenes.
I deleted a scene by mistake. Deleting a scene asks first, and Command+Z brings it back.
Next
- 3D Stage cameras to frame the shot and give the camera a move.
- 3D Stage animation to make the character act.
- 3D Stage export to record the take and send it to the canvas.