Visual Styles
A visual style guides the medium, colors, lighting, and texture of your images. Reuse it across shots, then compare the results for consistency.
Set a style
Click No style in the home prompt box or the style button at the top of the canvas to open Explore Styles.
Browse categories, search by name, description, or tag, or open Saved Styles for your saved references. Categories include Cinematic, Cartoon, Anime, Drawing, Illustration, Painting, and 3D.
You can either:
- Choose from 900+ curated visual styles
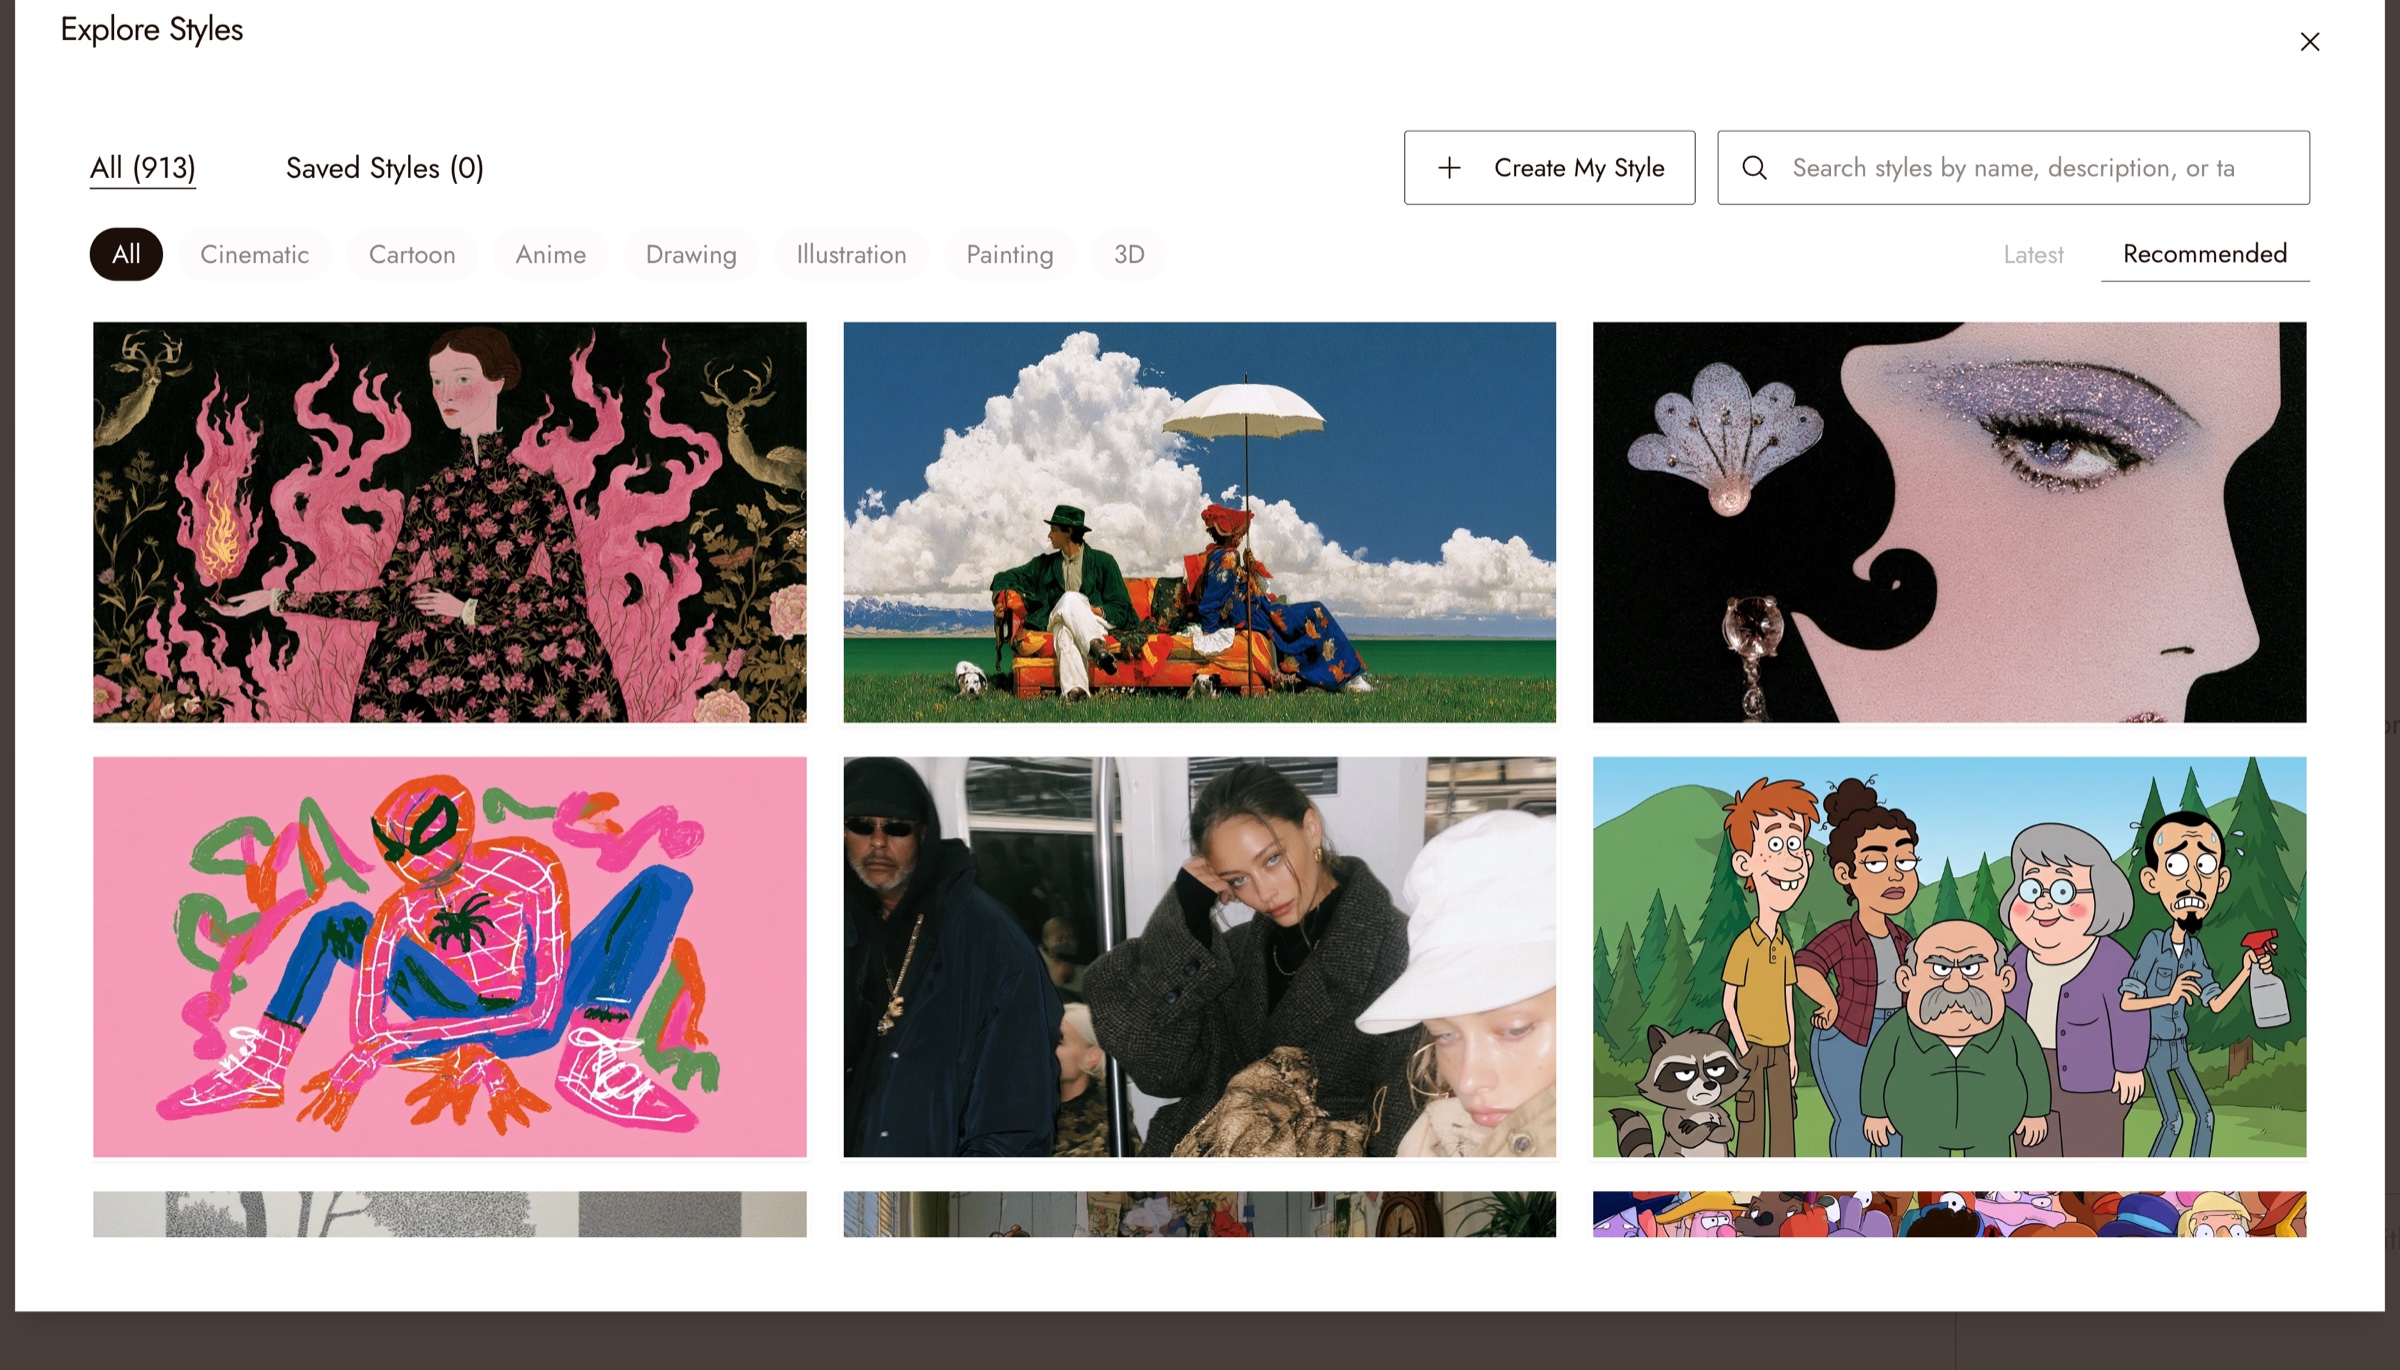
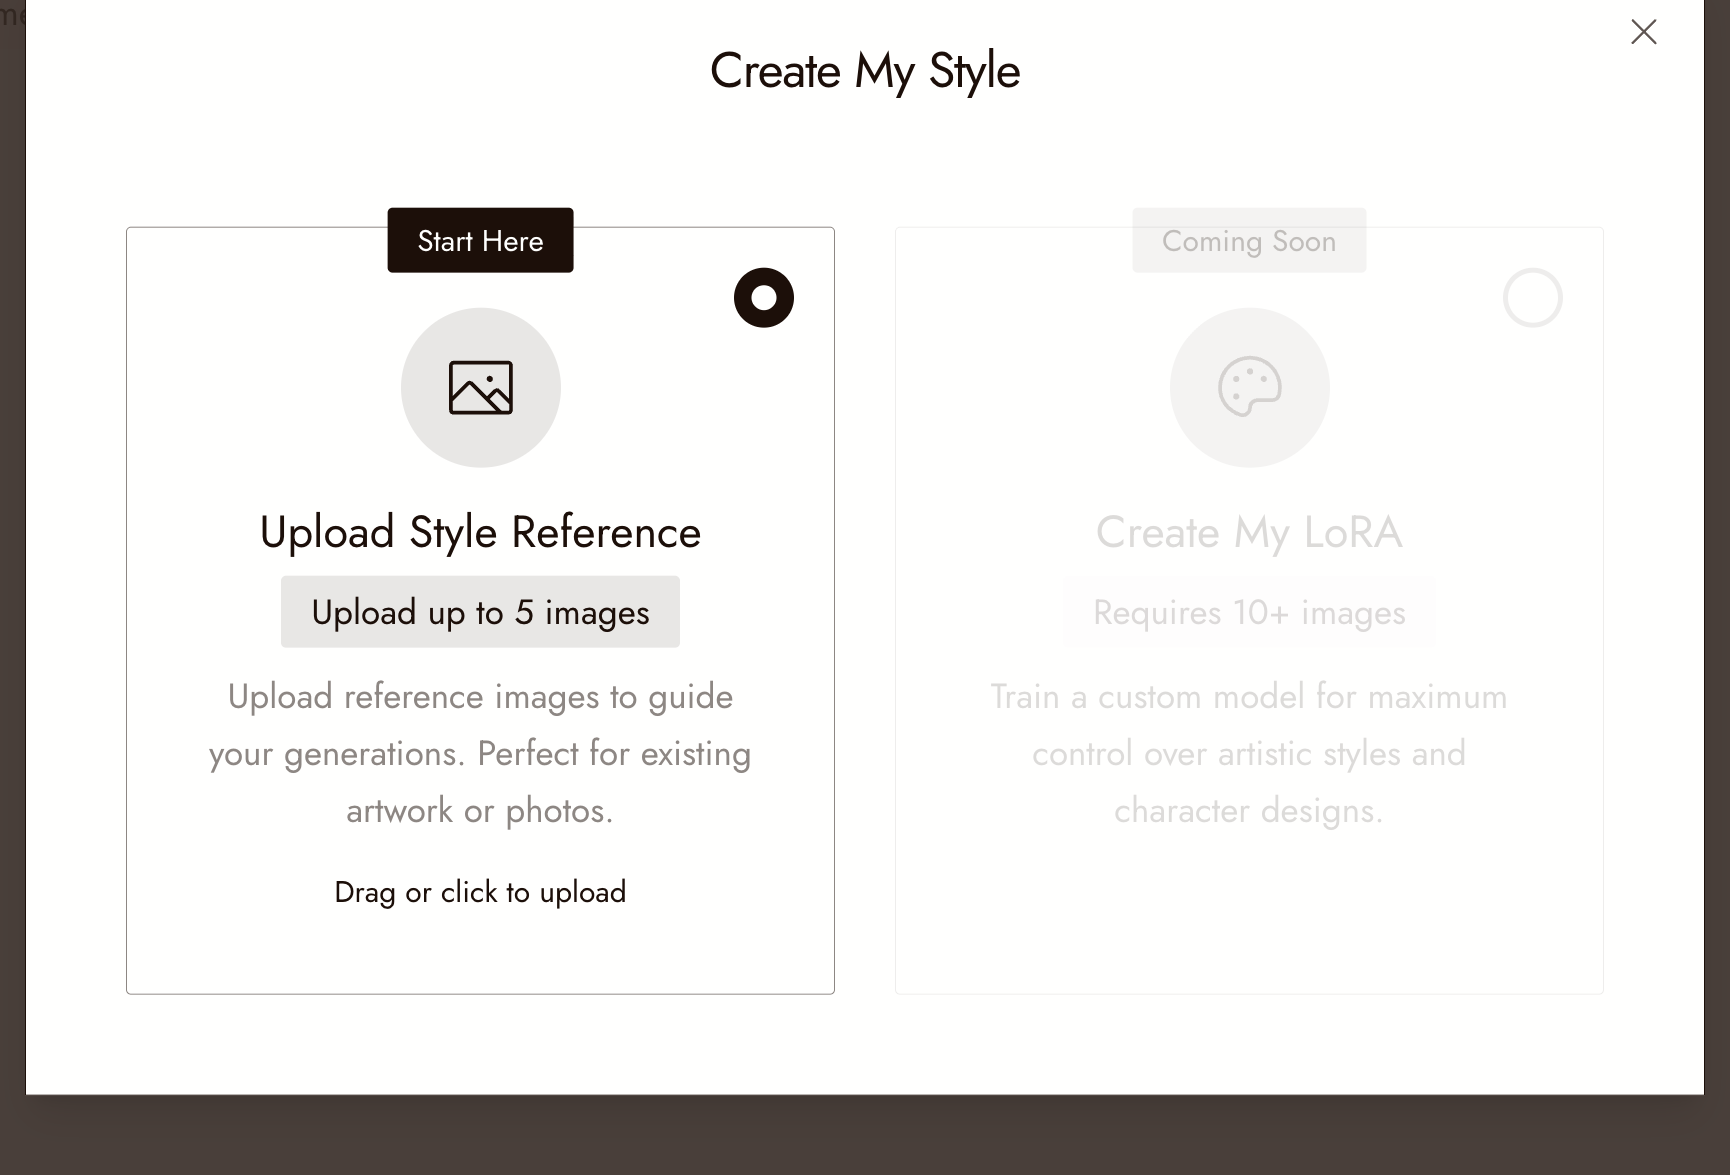
- OR build your own style from reference images: click Create My Style, then Upload Style Reference and add up to 5 images that show the look. The style appears under Saved Styles.
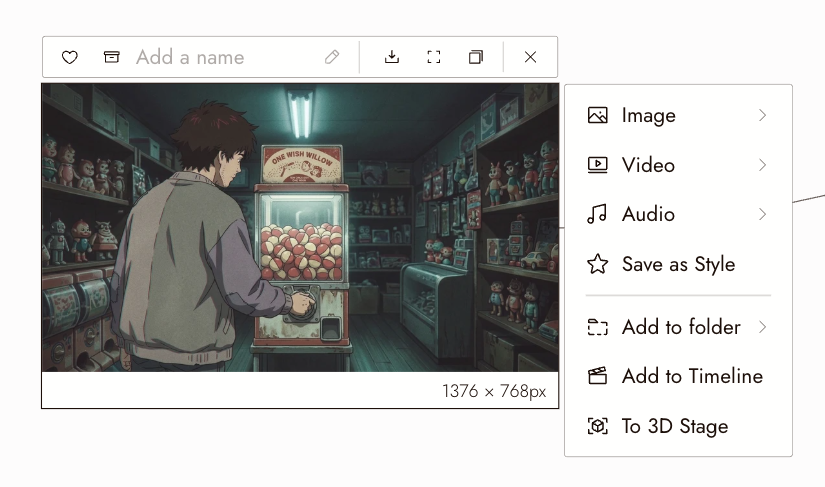
- To use an image already on your canvas, select it and click Save as Style in its menu, then pick it from Saved Styles.
Where the style applies
The style stays pinned beside the aspect ratio and guides new images. Changing it does not restyle existing images. Use Change Style in Edit Image for those.
Best practices
Choose the style before the first shot. Changing it later means regenerating what you already like.
Save a style from your own best frame. Once one image has the look, "Save as Style" and use it for every shot in that scene.
Avoid conflicting style descriptions. Keep the prompt focused on content when a style is pinned.
Review the result
- Every shot in the sequence reads as one film.
- The style supports the subject instead of burying it.
- The look holds at both a wide shot and a close-up.
If something looks wrong
The style drifts between shots. Confirm the same style is pinned and that no node was generated with a different one.
The style is too strong. Simplify the prompt, or pick a subtler style for that scene.
"Save as Style" does not give the look you expected. The source image should show the look plainly: lighting, palette, texture. A busy scene makes a poor style source.
Next
- Generate Image to make shots in the style.
- Edit Image for the Change Style workflow on an existing image.
- Keep a character consistent across three shots when the look and the character both have to hold.
- AI character consistency: 5 methods compared to keep the same character across style changes.