Keep a character consistent across three shots
A character should stay recognizable across changes in angle, lighting, and action. One convincing image is not enough.
Create a wide shot, a medium shot, and a close-up of one character. Decide what to preserve, then learn to spot and correct unwanted changes.
Start with a recognizable identity
Choose a few visible features that matter to the character: a distinctive hairstyle, the shape of a face, a particular coat, or a recognizable accessory.
Write a short identity description. Keep it separate from the description of the shot so you can change the framing without accidentally rewriting the person.
For this exercise, use an original fictional character. The following is a starting description to test:
An adult traveler with a short dark bob, a mustard raincoat, and a small brown shoulder bag.
The coat and bag may help the audience recognize the traveler in a wide shot. In a close-up, the face and hair carry more of that work. A repeated costume alone does not establish facial consistency.
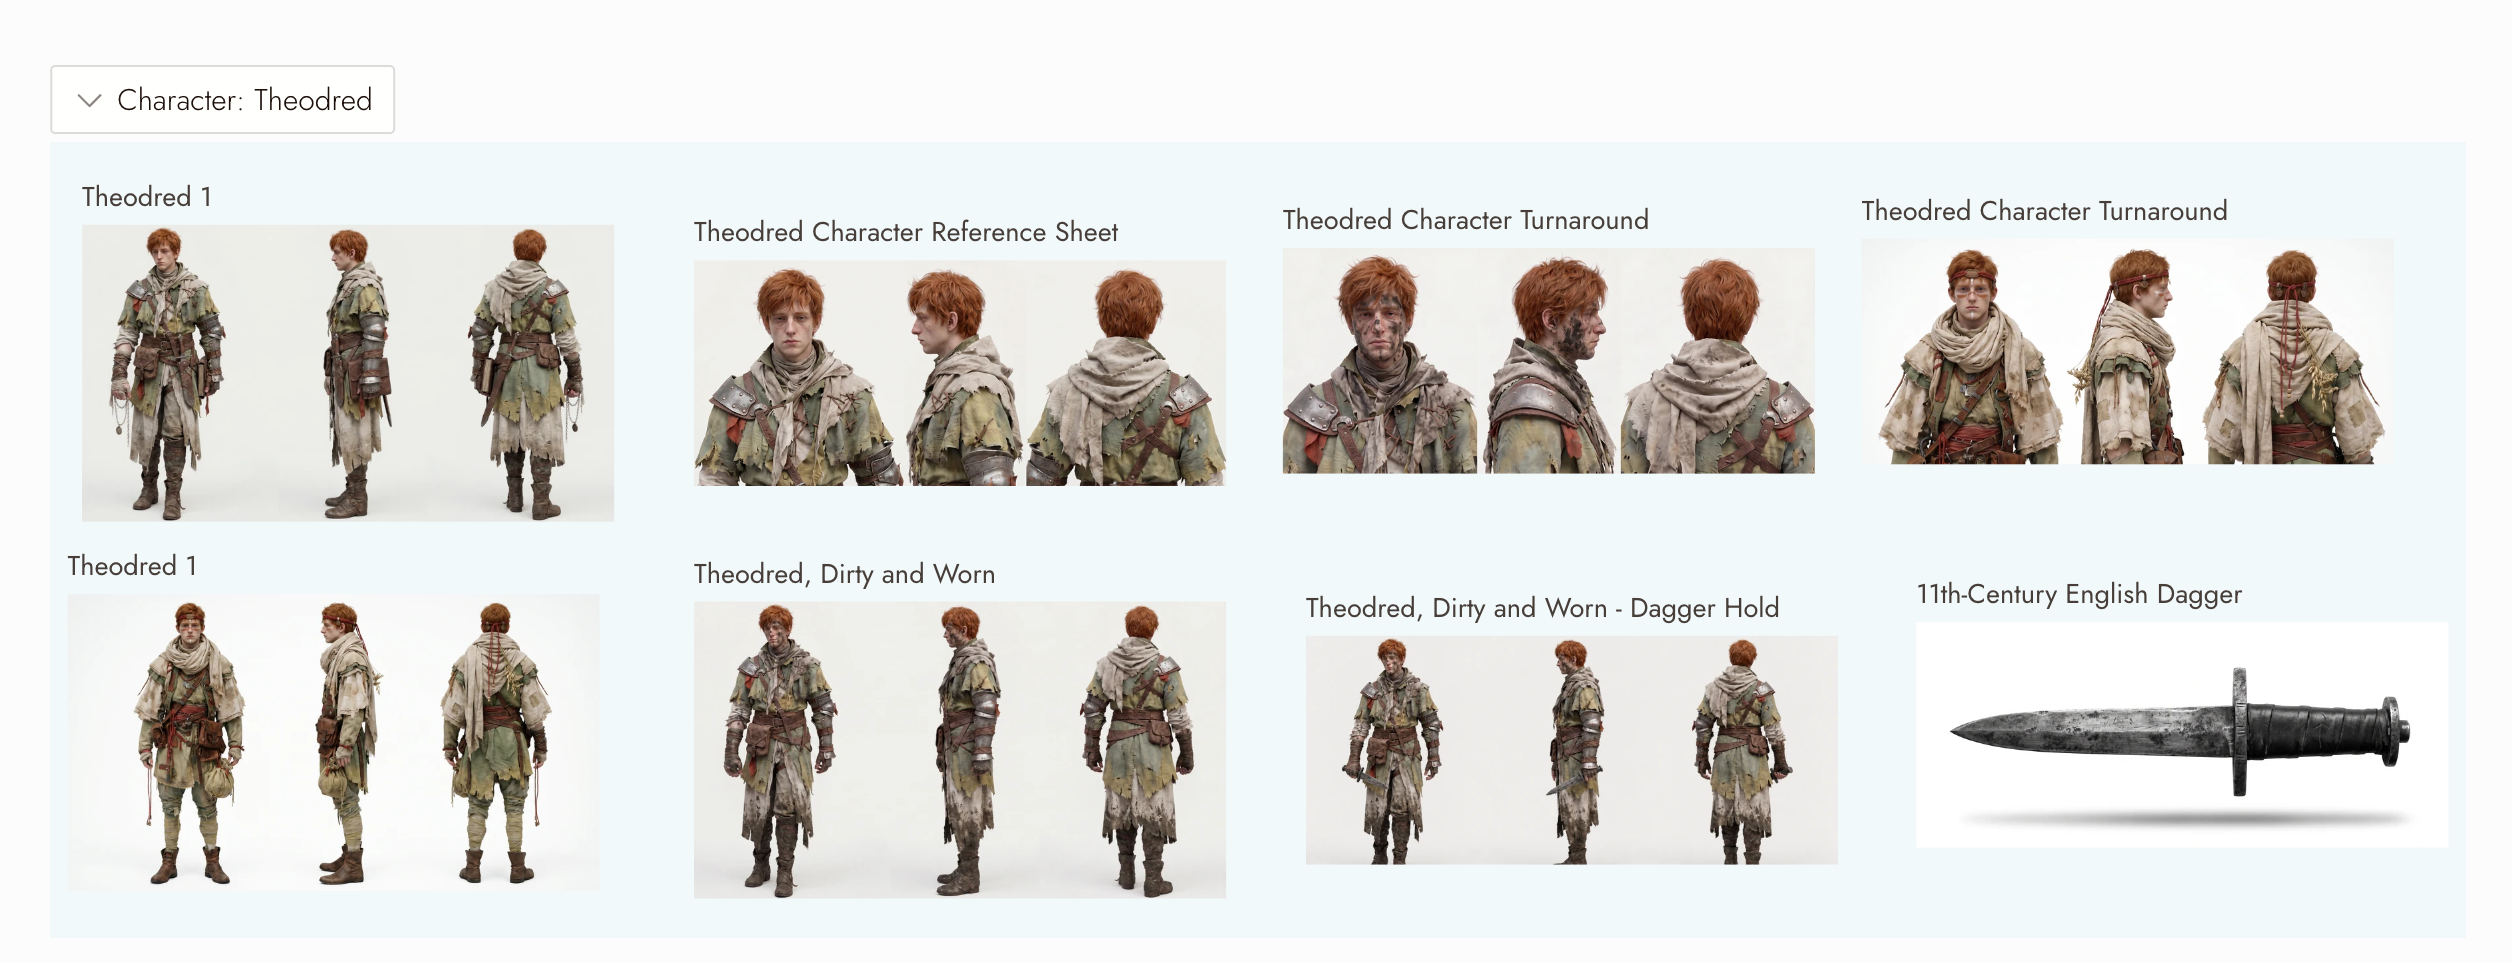
Choose a useful reference
Use an image in which the features you want to preserve are easy to see. Heavy shadows, obstructions, or very small faces make it harder to judge identity.
In Flick, use the reference workflow supported by your selected model. Reference types and behavior differ between models, so check the relevant product guide before generating.
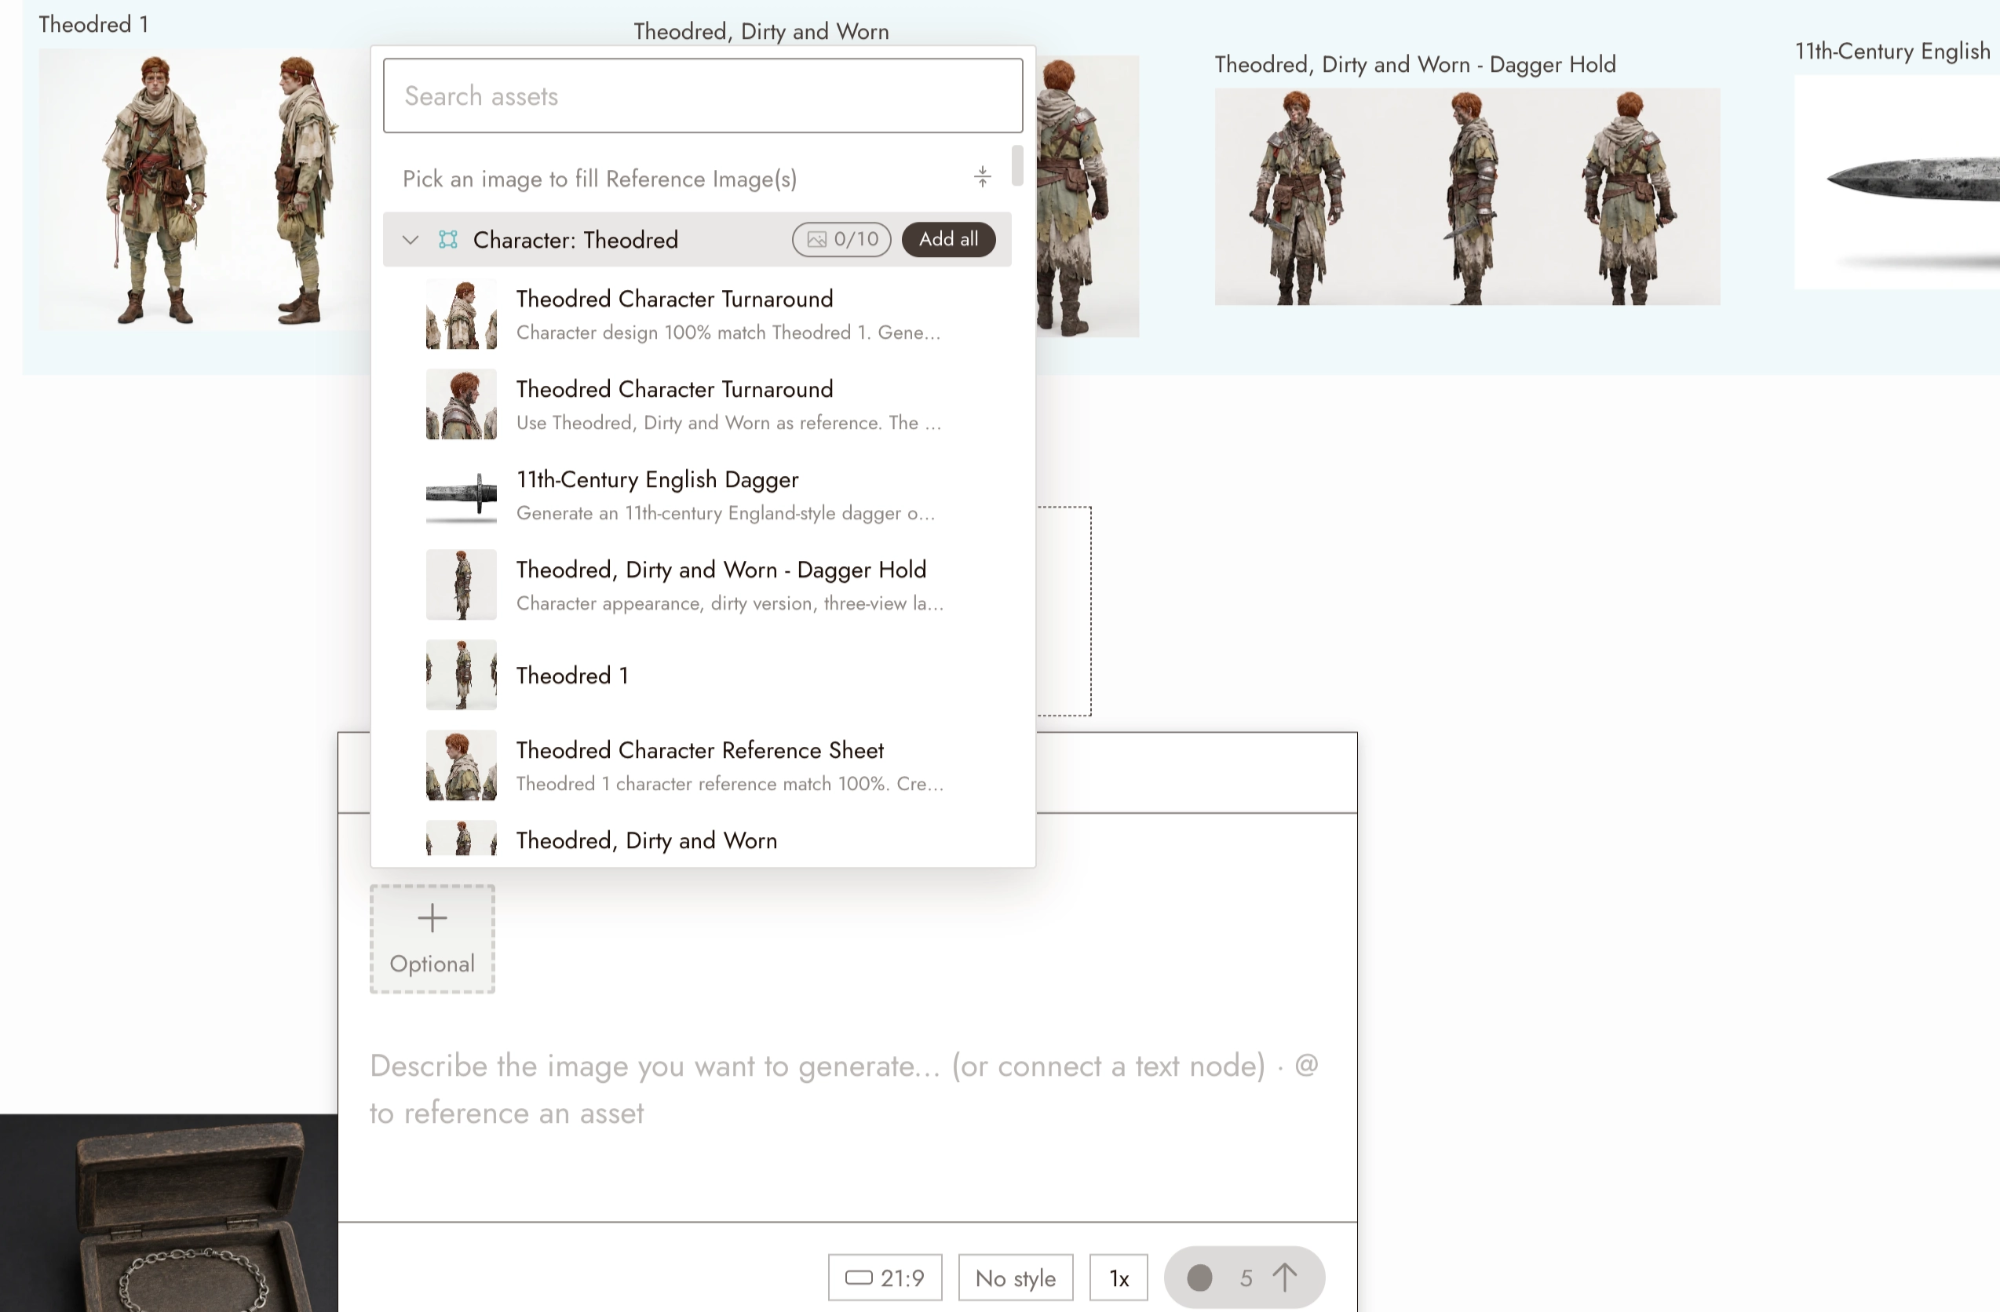
For the steps, see Character Reference.
Keep the identity, track the changes
Consistency allows intentional changes: a coat gets wet, a character ages, or an object moves. Check whether each change serves the story or is a generation error.
Before adding more shots, make a small reference checklist:
| Element | Must stay recognizable | Changes in this scene | Useful reference |
|---|---|---|---|
| Traveler | Face, short dark hair, mustard raincoat | Expression and viewing angle | A clear face and the relevant wider view |
| Umbrella | Red fabric, curved handle, overall shape | Position beside the bench or on it | The object in each position the story needs |
| Shoulder bag | Brown color, strap and size | How it hangs as the traveler turns | A view in which the strap is easy to read |
Use only the references this scene needs. You do not have to build every possible pose or costume before starting.
In the residency interview for Seasons, the creator described preparing different ages of the same characters alongside recurring household objects. The lesson is to define intentional change, not to freeze a character at one age or keep every surface spotless.
Give important details their own reference
Give important details their own close-up reference, such as a watch, an eye detail, or a piece of equipment. Check the supported inputs in Character Reference.
The creator of Mila & Sasa described preparing hands, a story-important watch, equipment and expressions, then correcting scale and placement during iteration. A convincing face alone would not answer those other continuity questions.
Show each state of a prop clearly. In the Xenogenesis interview, the creator describes a scanner inside a kit, an empty kit, and the removed scanner. Some generations duplicated the scanner. Clear references help explain these relationships, but the results still need checking.
Plan three different views
| Shot | What changes | What the audience should still recognize |
|---|---|---|
| Wide | The character is small within the station | Coat, hairstyle silhouette, bag |
| Medium | The upper body and face become clearer | Face, hair, costume, accessories |
| Close-up | Attention moves to the expression | Face structure, hair, distinctive details |
Keep the identity description stable and write a separate shot description for each view. For example:
- Wide: The traveler stands beneath a station shelter after rain. The empty platform fills most of the frame.
- Medium: The traveler looks down toward an umbrella beside the bench.
- Close-up: The traveler pauses with a thoughtful expression, with soft daylight across the face.
These descriptions express an intention. Treat the generated images as candidates to evaluate, not guaranteed matches.
Three views of the tailor from the same film, all generated in Flick from the sheet above:
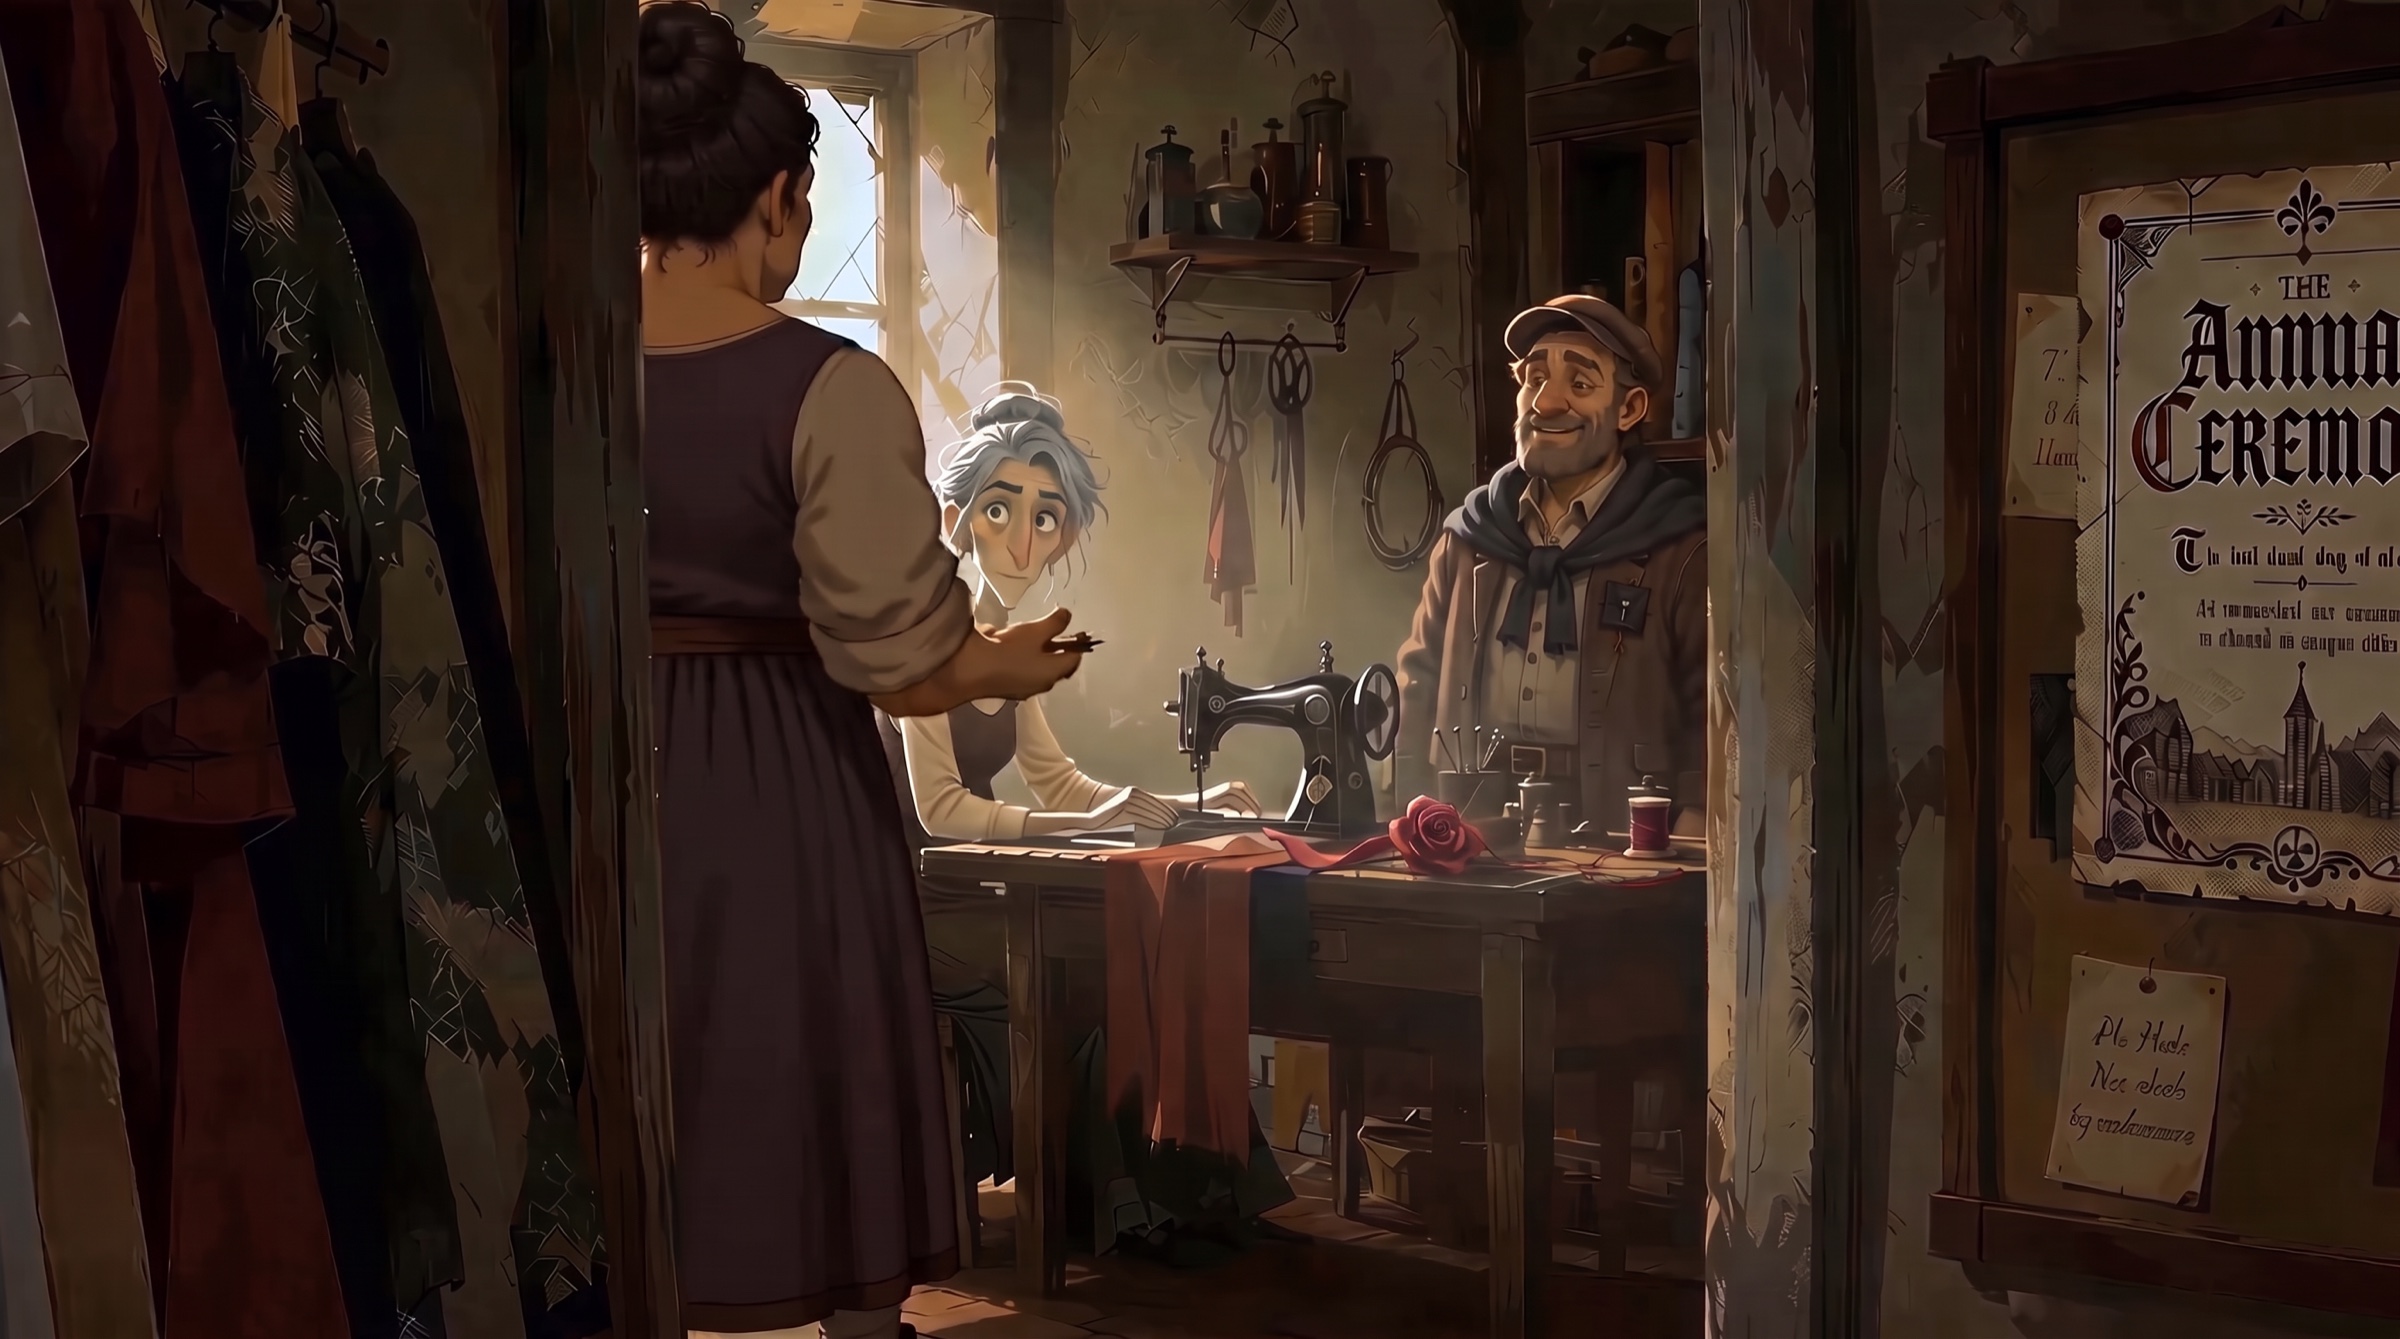
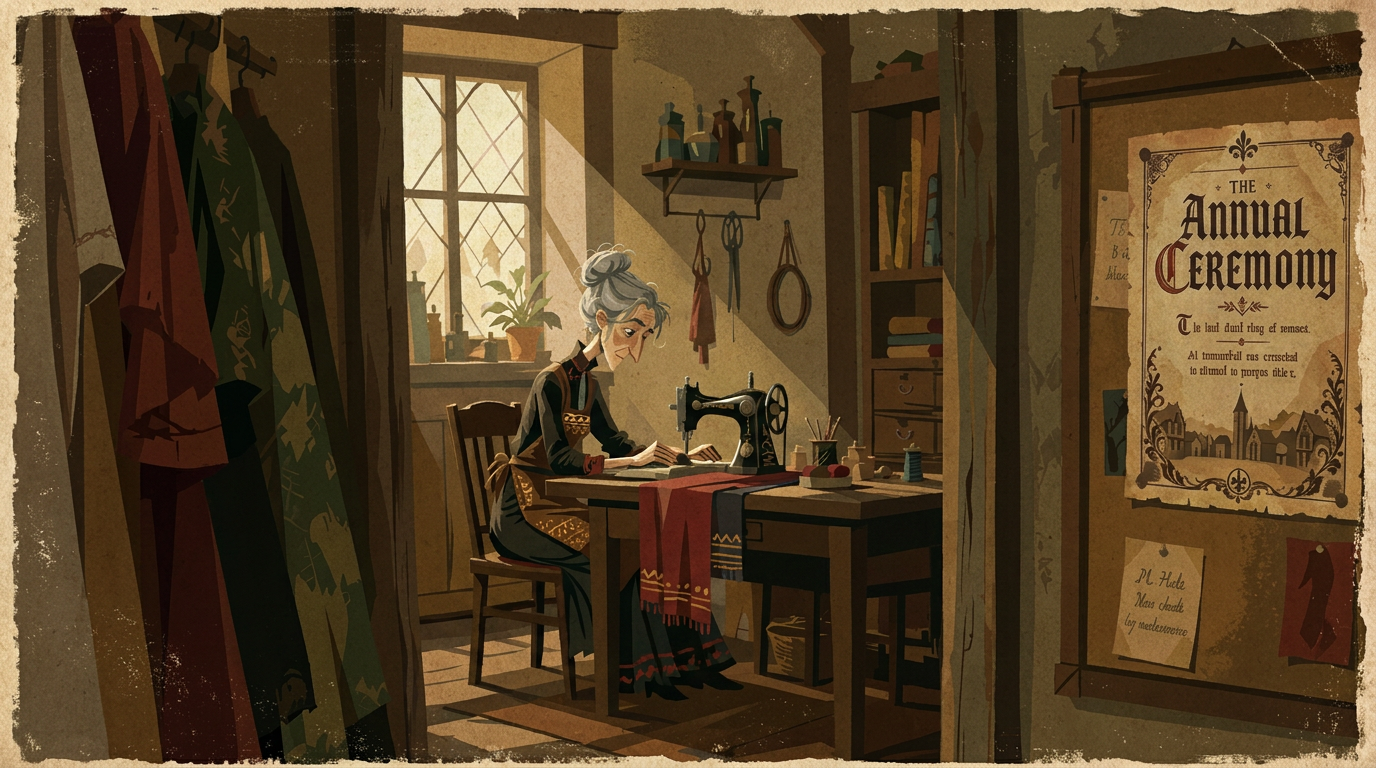
Compare before you animate
Place the three images side by side. Look at the face, hair, costume, and accessories in that order.
Ask whether a stranger would recognize the same person without reading your prompt. Look for details that have silently changed, such as the length of a coat or the shape of a bag.
Lighting and pose can change naturally. Decide whether a difference fits the scene or makes the person appear to be someone else.
Improve one problem at a time
If the face changes, first check whether the reference shows the face clearly and whether you used the intended reference mode. If the clothes change, check for contradictory costume descriptions. If the overall look changes, inspect the model and style choices used for each shot.
Change one main input and compare again. Record the model, settings, prompt, references, and attempt count. One successful result does not guarantee that the setup will always work.
Once the still images communicate a consistent character, test the video clips too. Motion can introduce new changes that were not visible in the starting frame.
Your practice
Move the traveler from the station to a quiet cafe. Keep the identity description and the intended character features. Change the environment first, then evaluate the result before changing lighting or costume.
The goal is to identify a continuity problem and name one adjustment to test.
Optional next step: Change one intended state, such as moving the umbrella onto the bench, while preserving its recognizable shape. Compare the result with the state checklist. Explain which differences are intentional and which still need work. If repeated attempts do not help, use Fix the shot without losing the scene to choose another approach.
Review your sequence
- Can you recognize the same person in every shot?
- Are changes in costume and accessories intentional?
- Do the lighting and pose fit the scene?
- Do the shots give different information while preserving identity?
Put it to use in Tell a small story in three shots.