Omni Reference
Omni Reference generates video from references. Images can guide appearance, video can guide movement, and audio can guide speech. Available inputs depend on the model.
Before you start
Know what each reference is for, and bring one per job:
| You want to control | Attach |
|---|---|
| The first frame exactly | A rendered still as the start frame |
| Who the character is | A character sheet or close-up as a reference image |
| Camera movement and blocking | A reference video: a 3D Stage take, a Blender render, or real footage you own |
| What is said, and lip sync | An audio clip |
| The last frame | An end frame, where the model supports it |
The number of references you can attach depends on the model chosen. The panel shows the limit.
Steps
- Select the start frame image on the canvas.
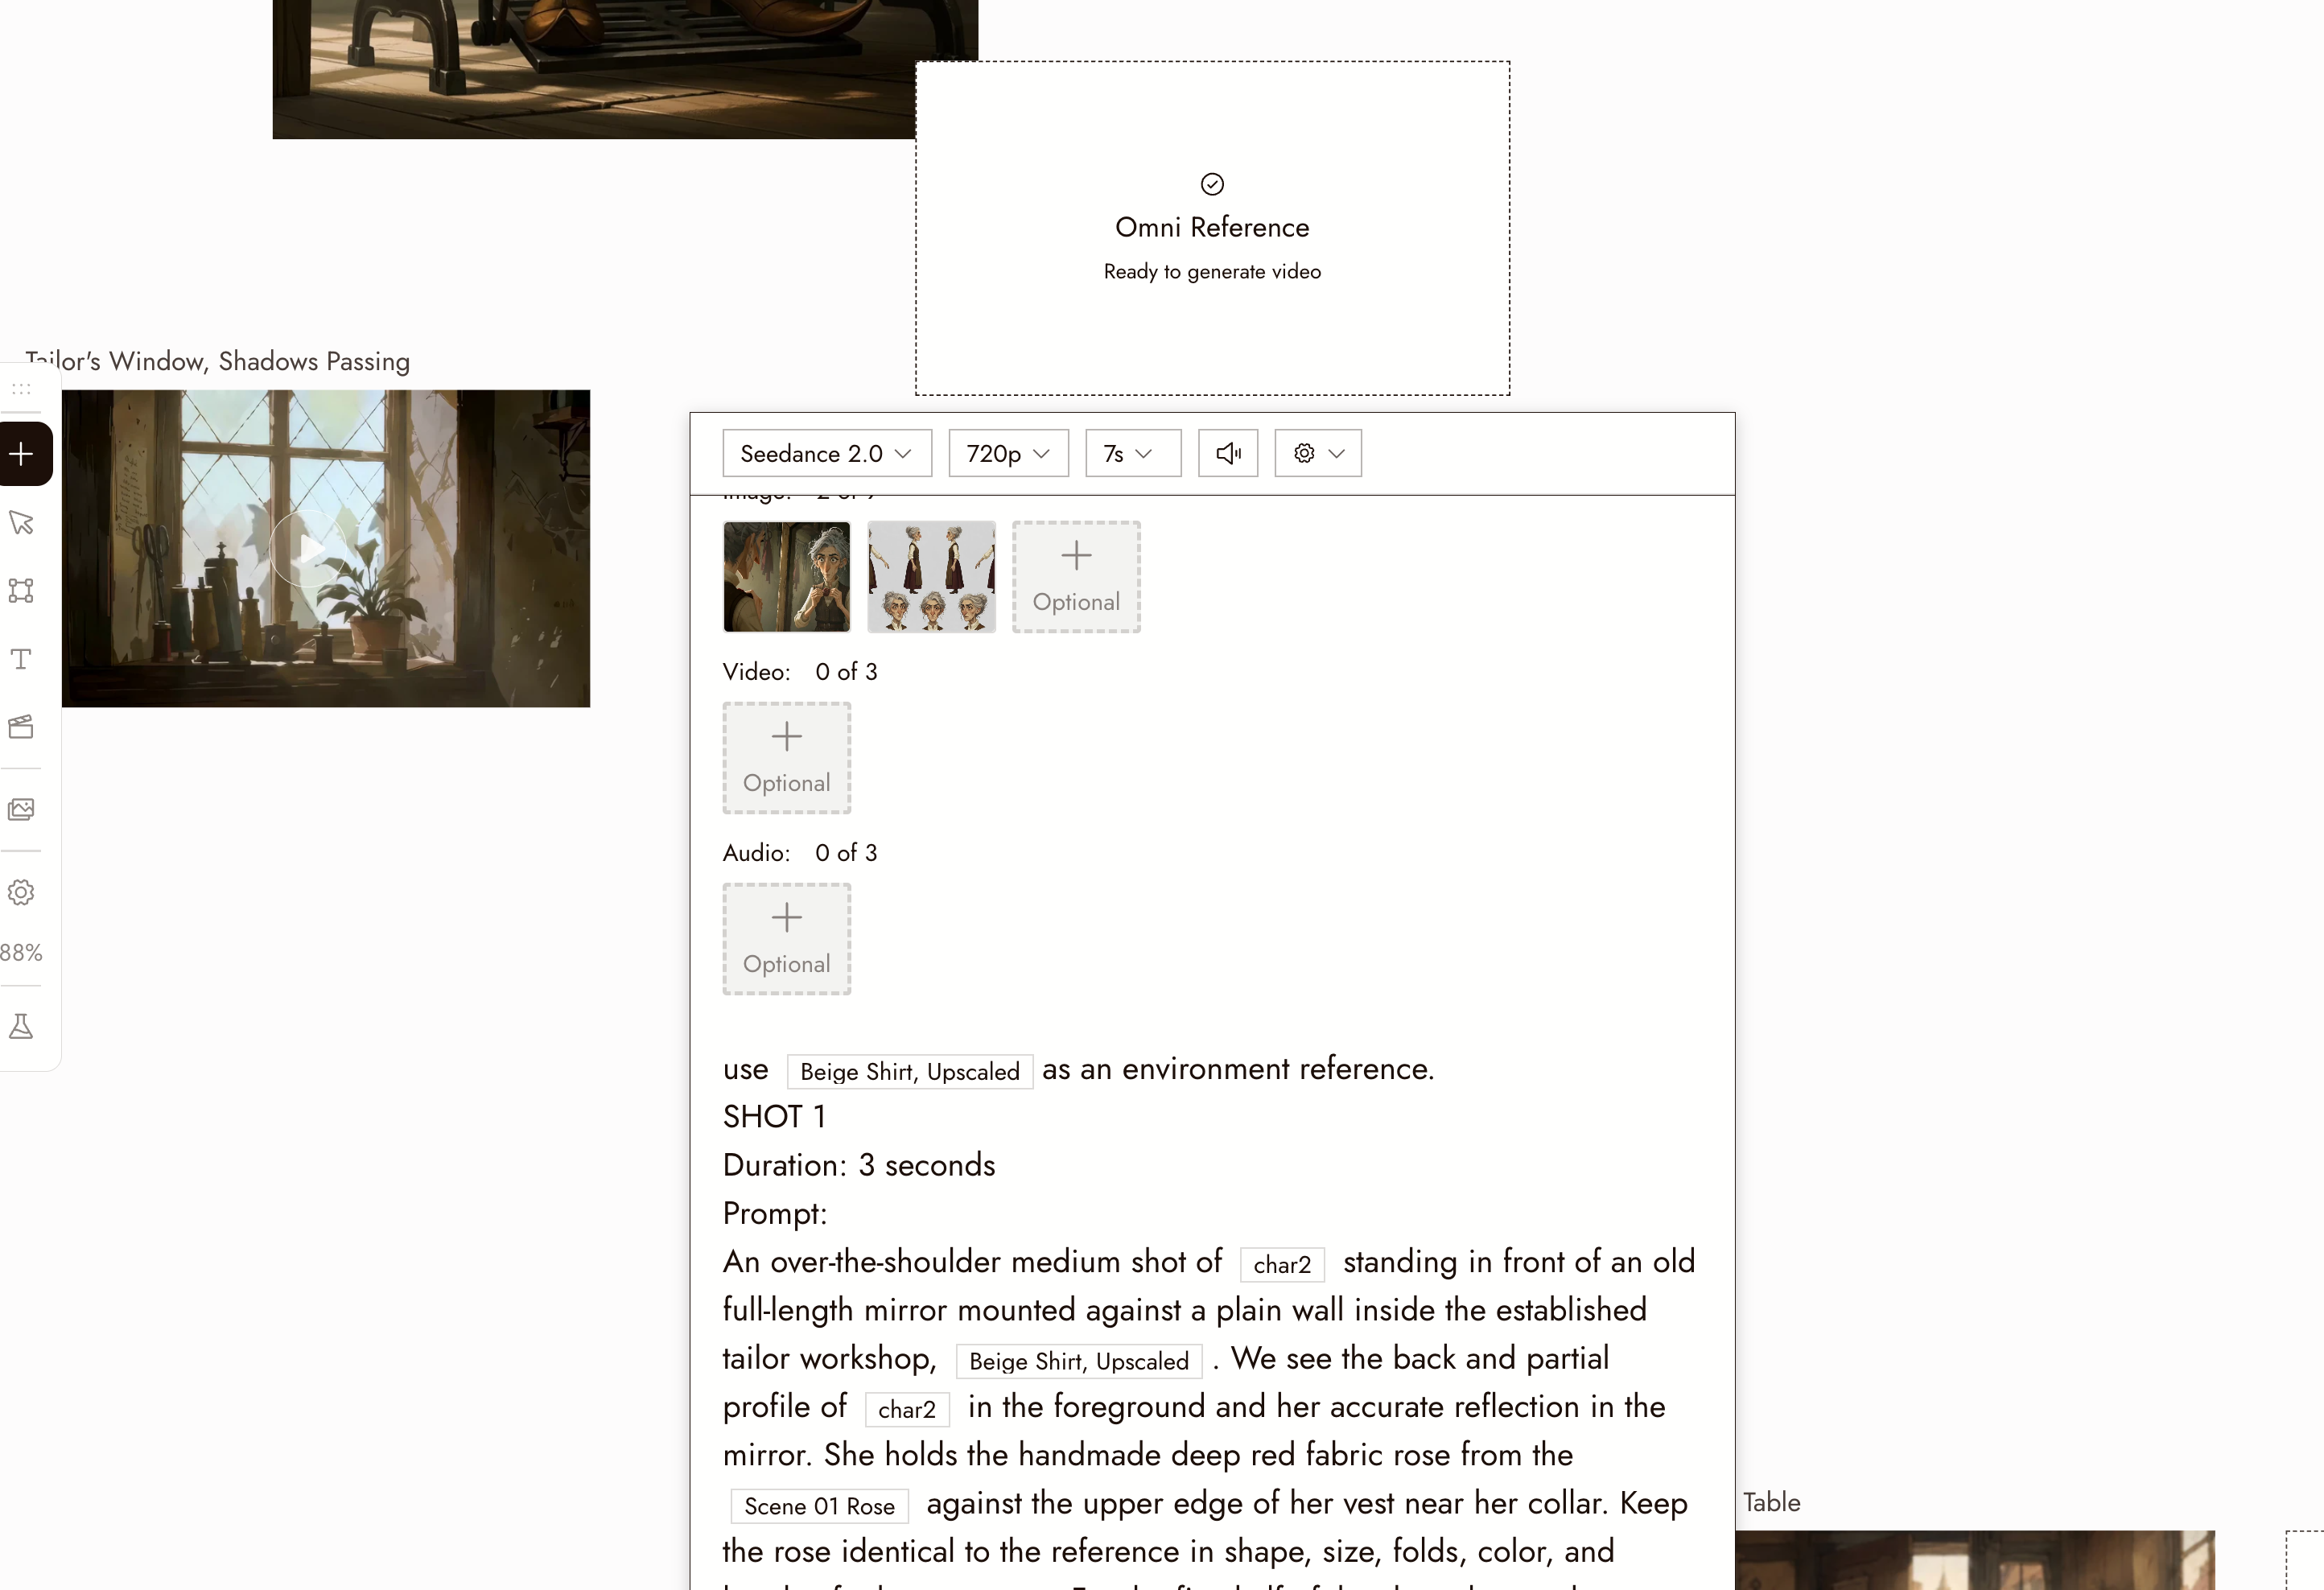
- Choose Video, then Omni Reference, then the model family: Gemini, Seedance, Wan, MiniMax, MiniMax H3 Max, or Kling. A placeholder node with the settings panel appears, connected to your image.
- Pick the exact model in the panel's Model dropdown if the family offers more than one.
- Attach the reference types offered by the selected model. Families differ: for example, Gemini exposes image and video references, not a separate audio-reference input. A Start Frame or End Frame control is not available in every family.
- Write the prompt and mention the references by name: "Reference the character's actions and camera language from @Video1. Keep the character from @Image1."
- Set the duration and any resolution options the model offers, check the cost on the Run button, and run.
The 3D Stage route
To plan a camera move precisely, build and record it in 3D Stage. Extract and render the first frame, then attach the render as the start frame and the recording as the video reference in a model that supports both. Check how closely the generated clip follows them. See 3D stage export or Blender to AI clip.
Best practices
Give each reference a clear job. For example, use a video for camera movement and an image for the character's face. State those roles in the prompt.
Render the start frame first. A finished still as the start frame anchors the look; the reference video then only has to supply the movement.
Mention every reference in the prompt. An attached reference that the prompt never mentions may be ignored.
Keep the prompt about the change. The references carry the look; the prompt says what happens.
Review the result
- The camera did what the reference video did.
- The character is the person in the reference image, from first frame to last.
- The first frame matches the start frame.
- If audio was attached, the mouth follows it.
If something looks wrong
The camera move was ignored. Mention @Video1 explicitly and say what to take from it: "camera language and blocking." Shorten the clip.
The character changed. Use a clearer reference and ask to preserve identity. Check the result; the wording is not a lock. See Character Reference.
The first frame does not match my still. If the model offers Start Frame, check that the still is attached there. Other families expose general image references instead; those guide the result without acting as a dedicated start-frame control.
I cannot attach as many references as I want. Limits are per model. Choose a model that accepts more, or reduce to the references that matter.
Next
- Generate Video for duration, resolution, and motion prompts.
- 3D stage export to record a camera take to reference.
- Voice Consistency for the audio side of this workflow.