Create Your First Project
Watch: Flick Basics Walkthrough
Let’s break down the process step by step:
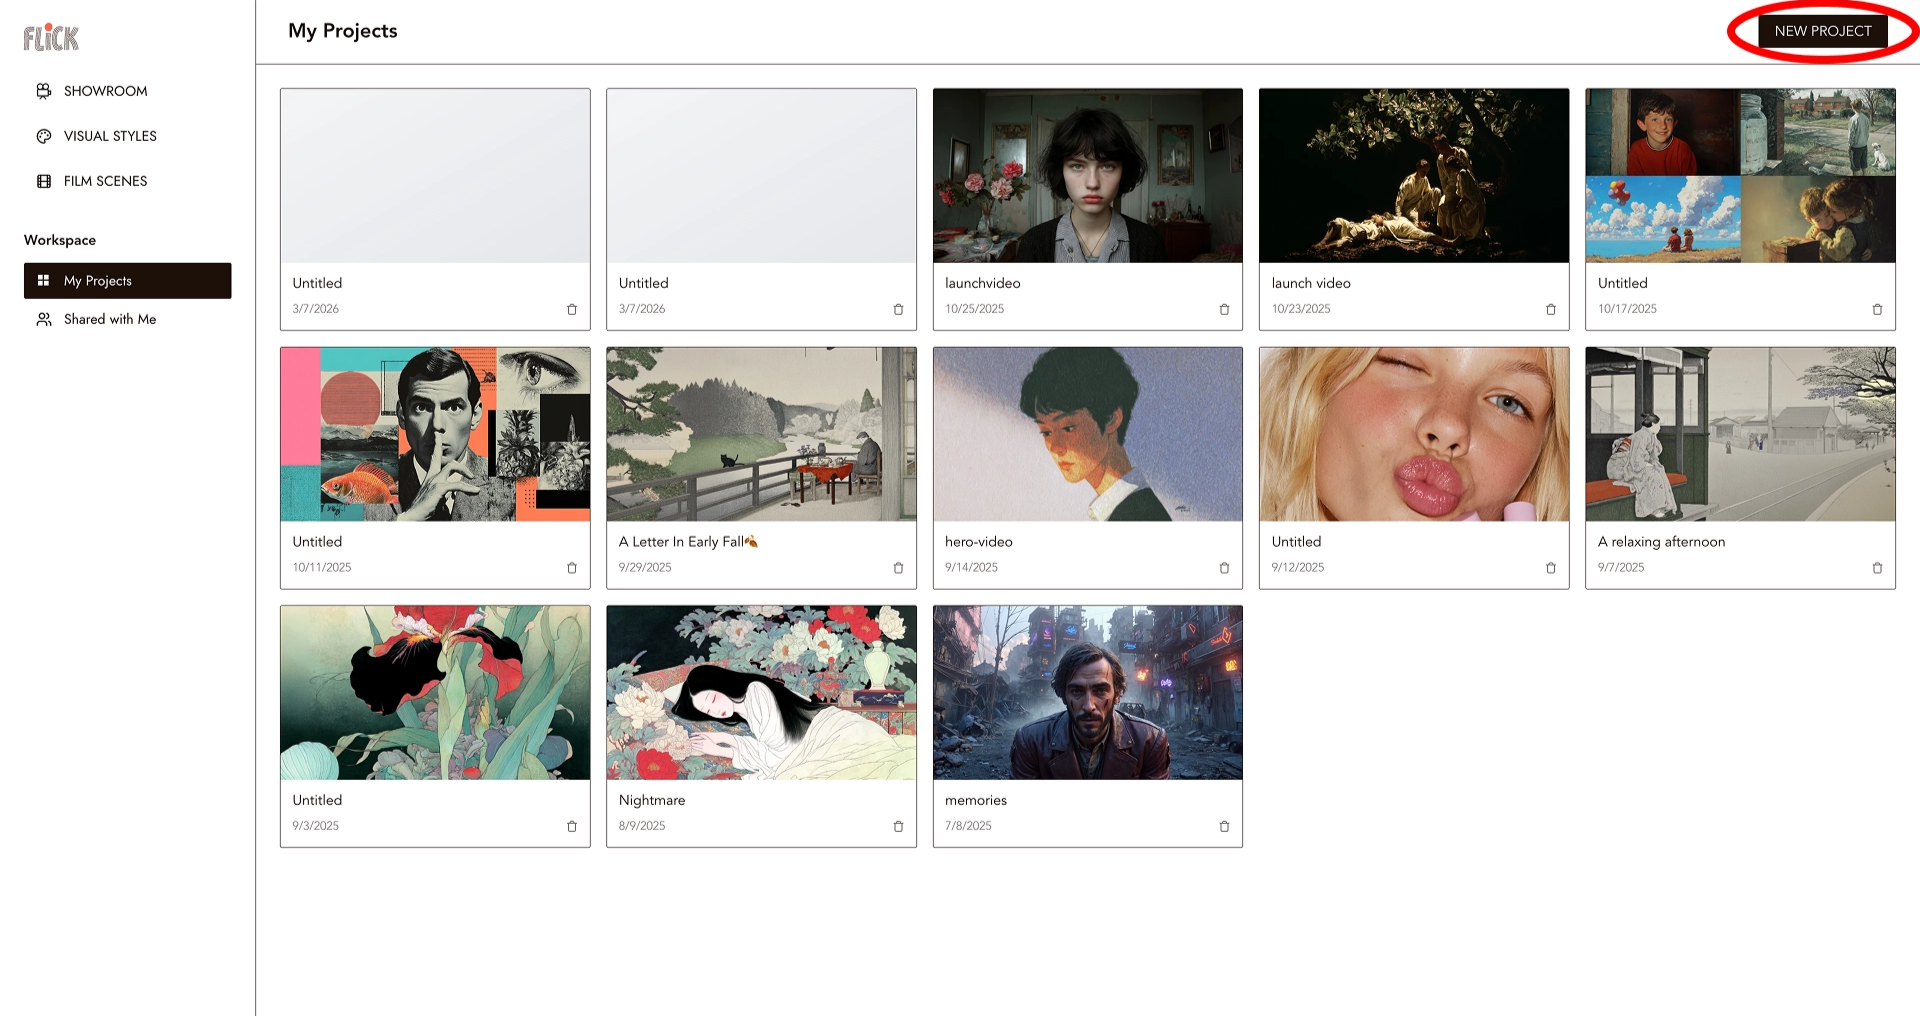
1. Create a New Project
Start by clicking New Project.
2. Choose Visual Styles & Aspect Ratio
You can either:
- Choose from 700+ curated visual styles
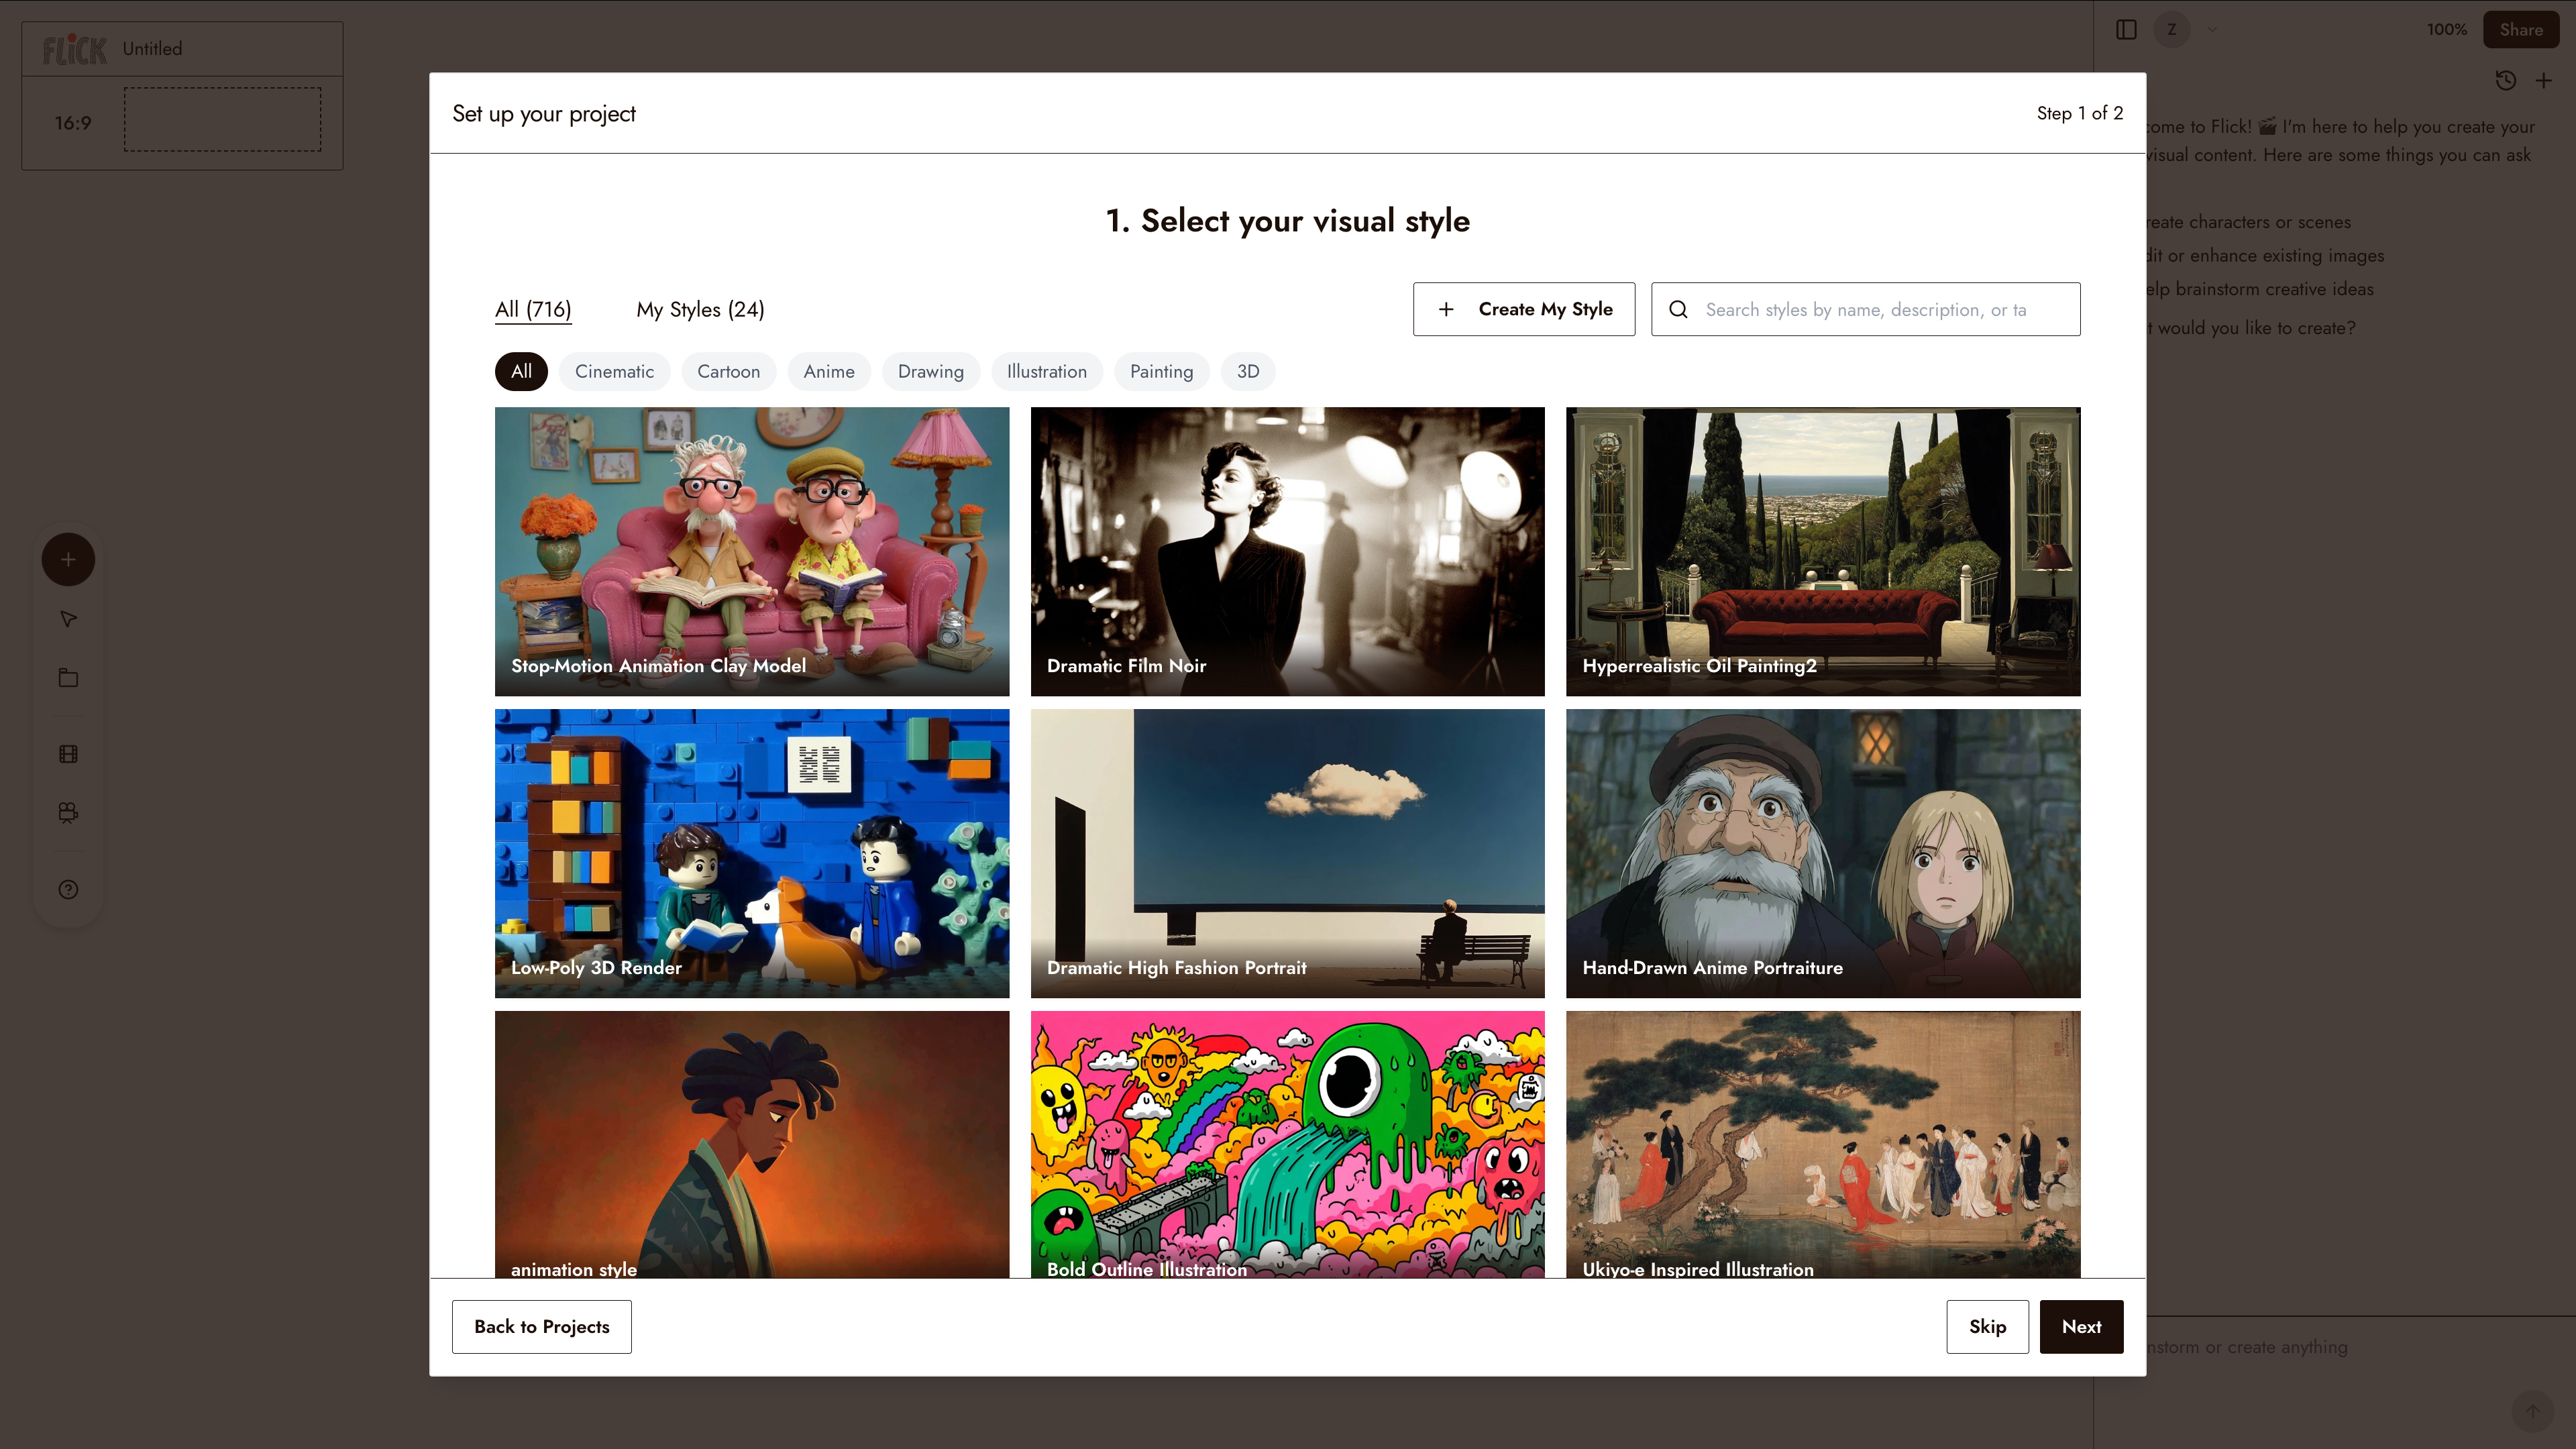
- OR upload your own reference style
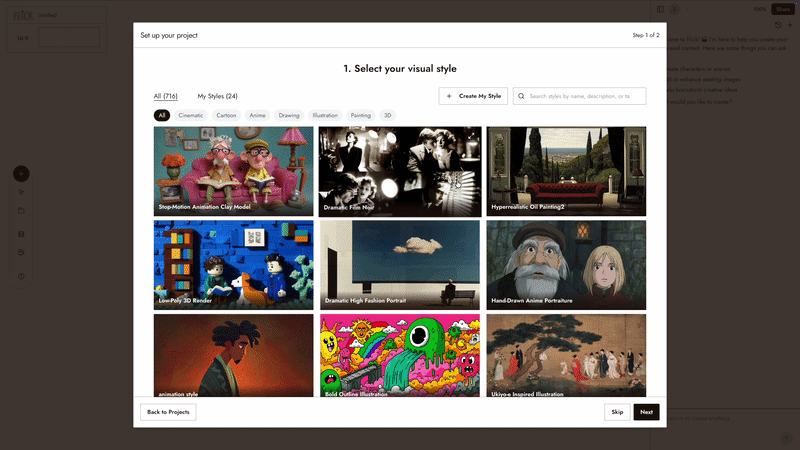
Next, select your aspect ratio: 16:9, 9:16, or 1:1.
Once you're on canvas, both your Aspect ratio and Visual style will remain pinned at the top, ensuring that all generated images maintain a consistent style. You can change them anytime.
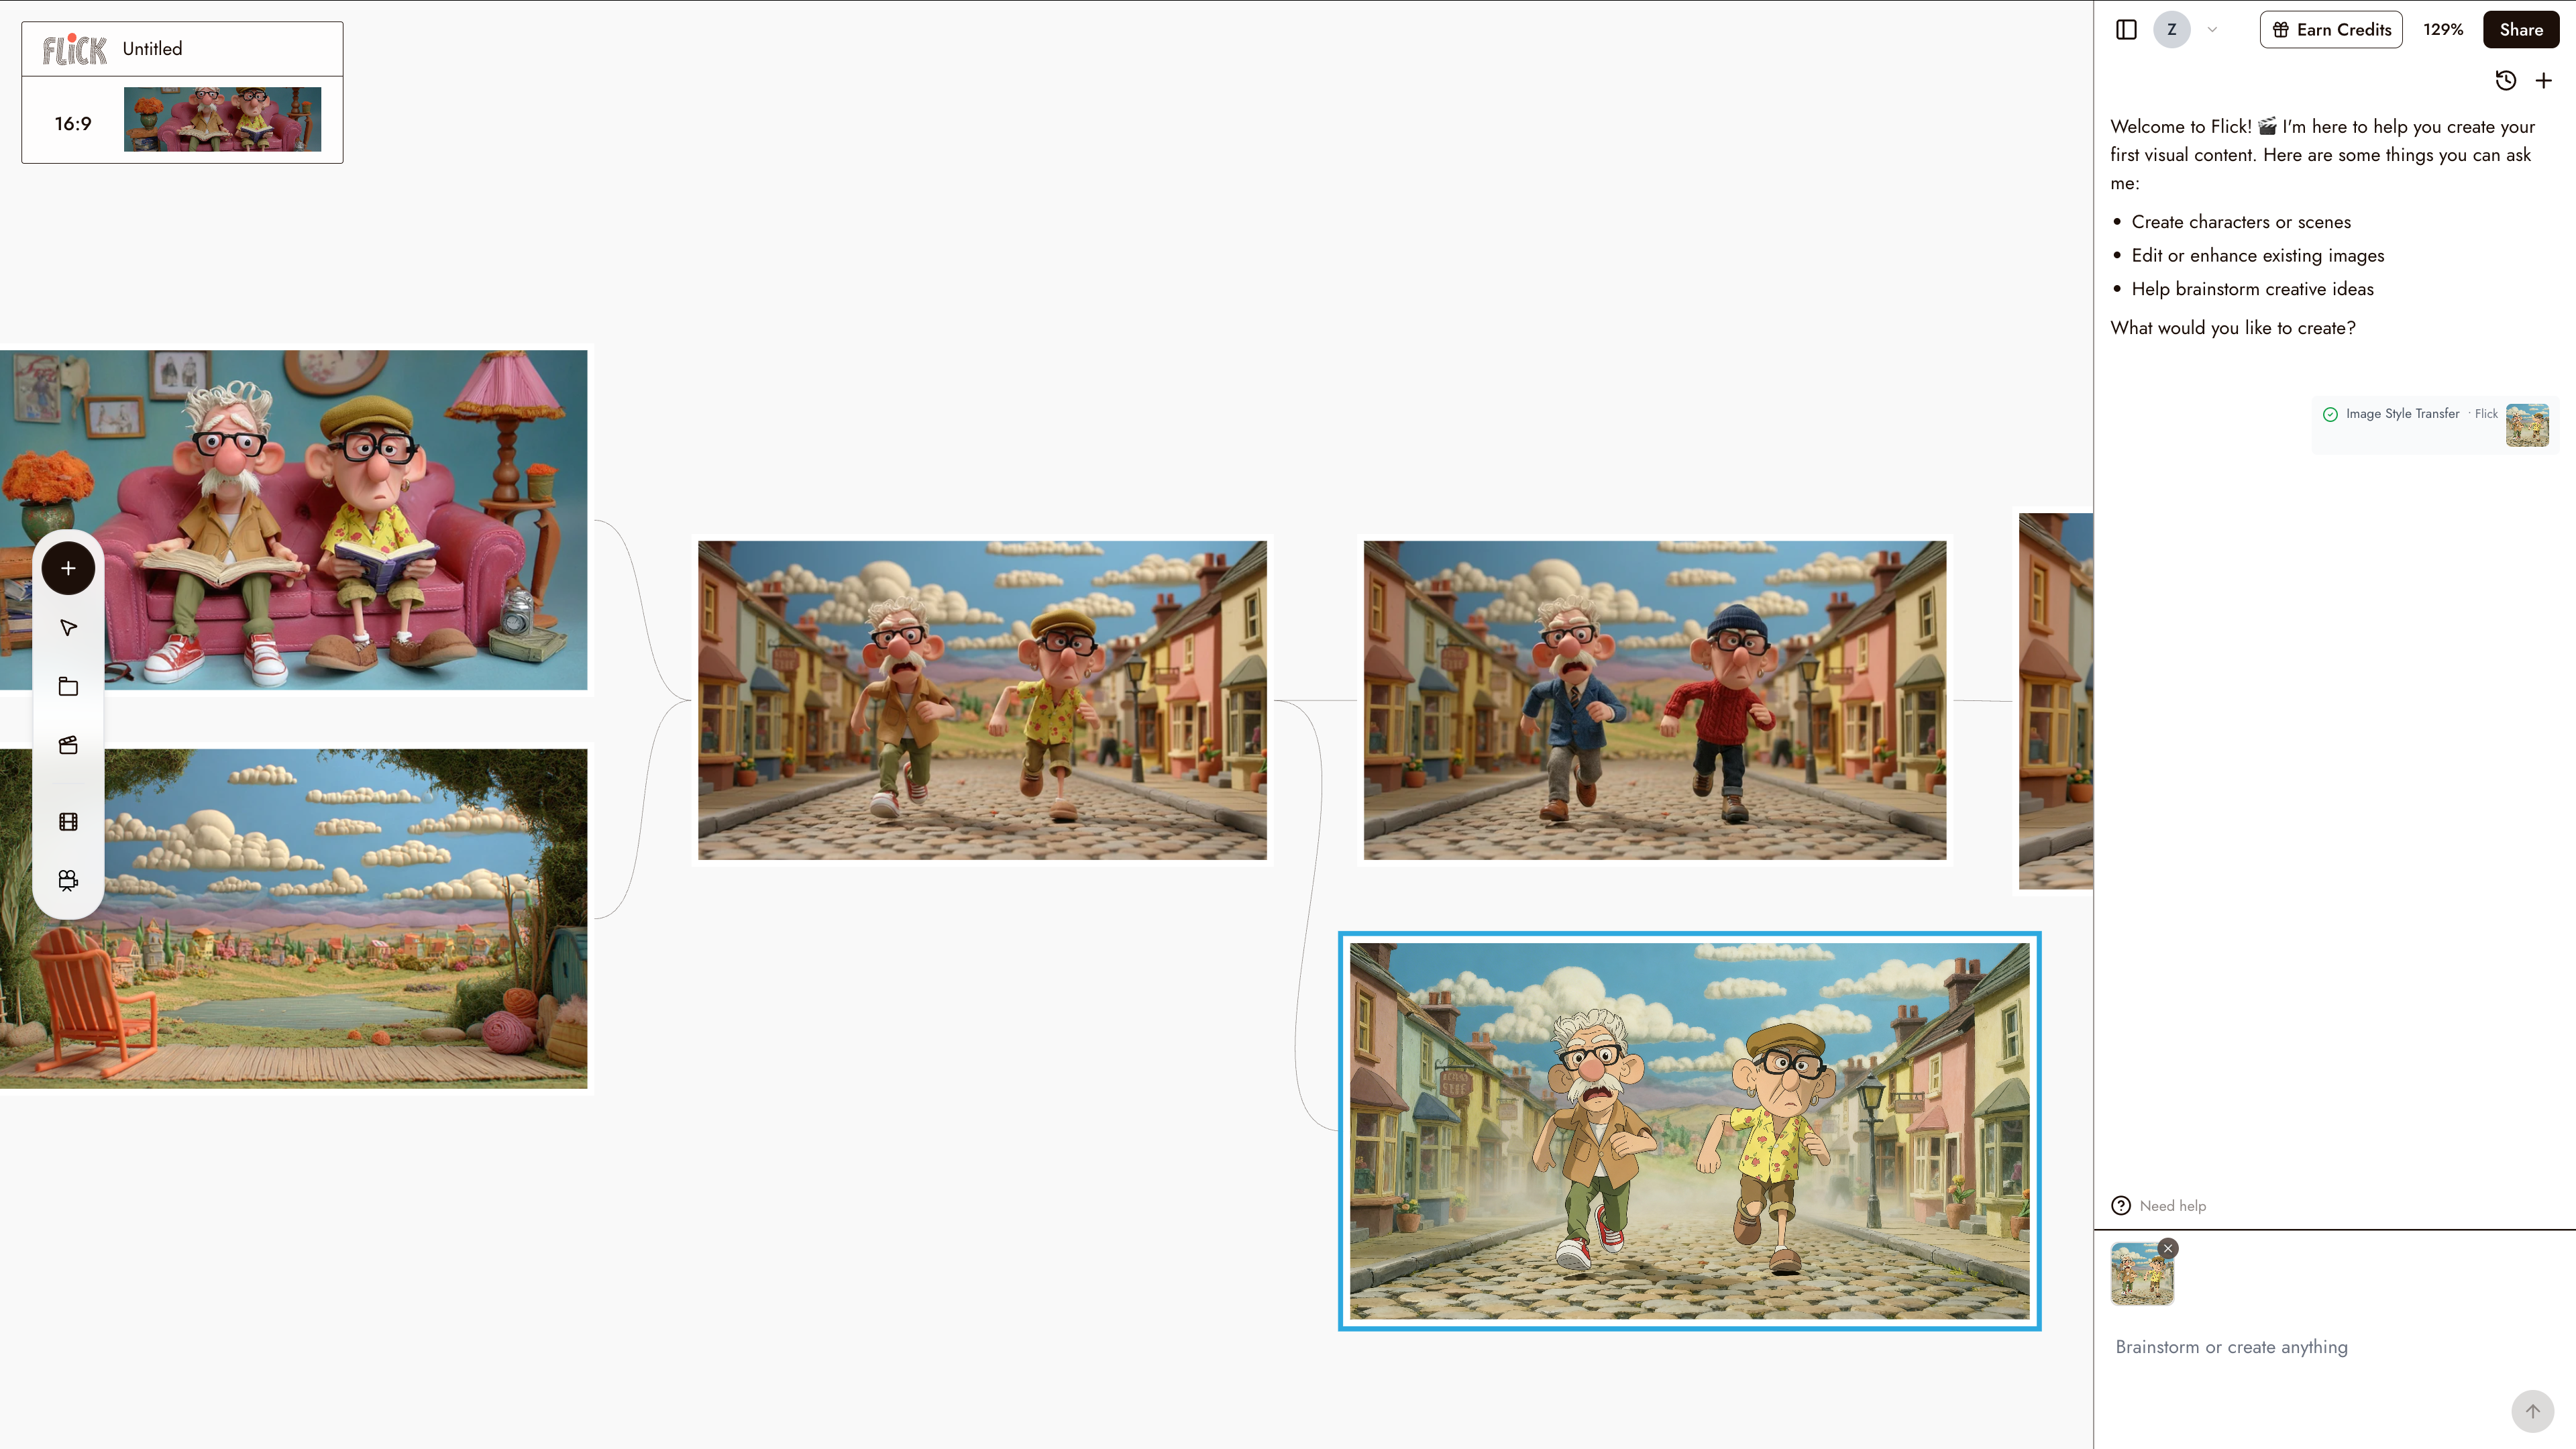
3. Generate Your First Image
To create an image, click the + button, and click generate image button:
Then:
- Select the image node (when you click the image node, it will show a blue stroke).
- Use the chat box on the bottom-right
- Enter your prompt
- Select an image model. (Recommend MidJourney or Nano Banana Pro for image generation)
- Choose how many images (e.g., 10×) you want to generate at the same time to iterate more quickly (optional).
- P.S. The MidJourney model defaults to 4×.
- Click Send
4. Use Text Nodes for Prompts
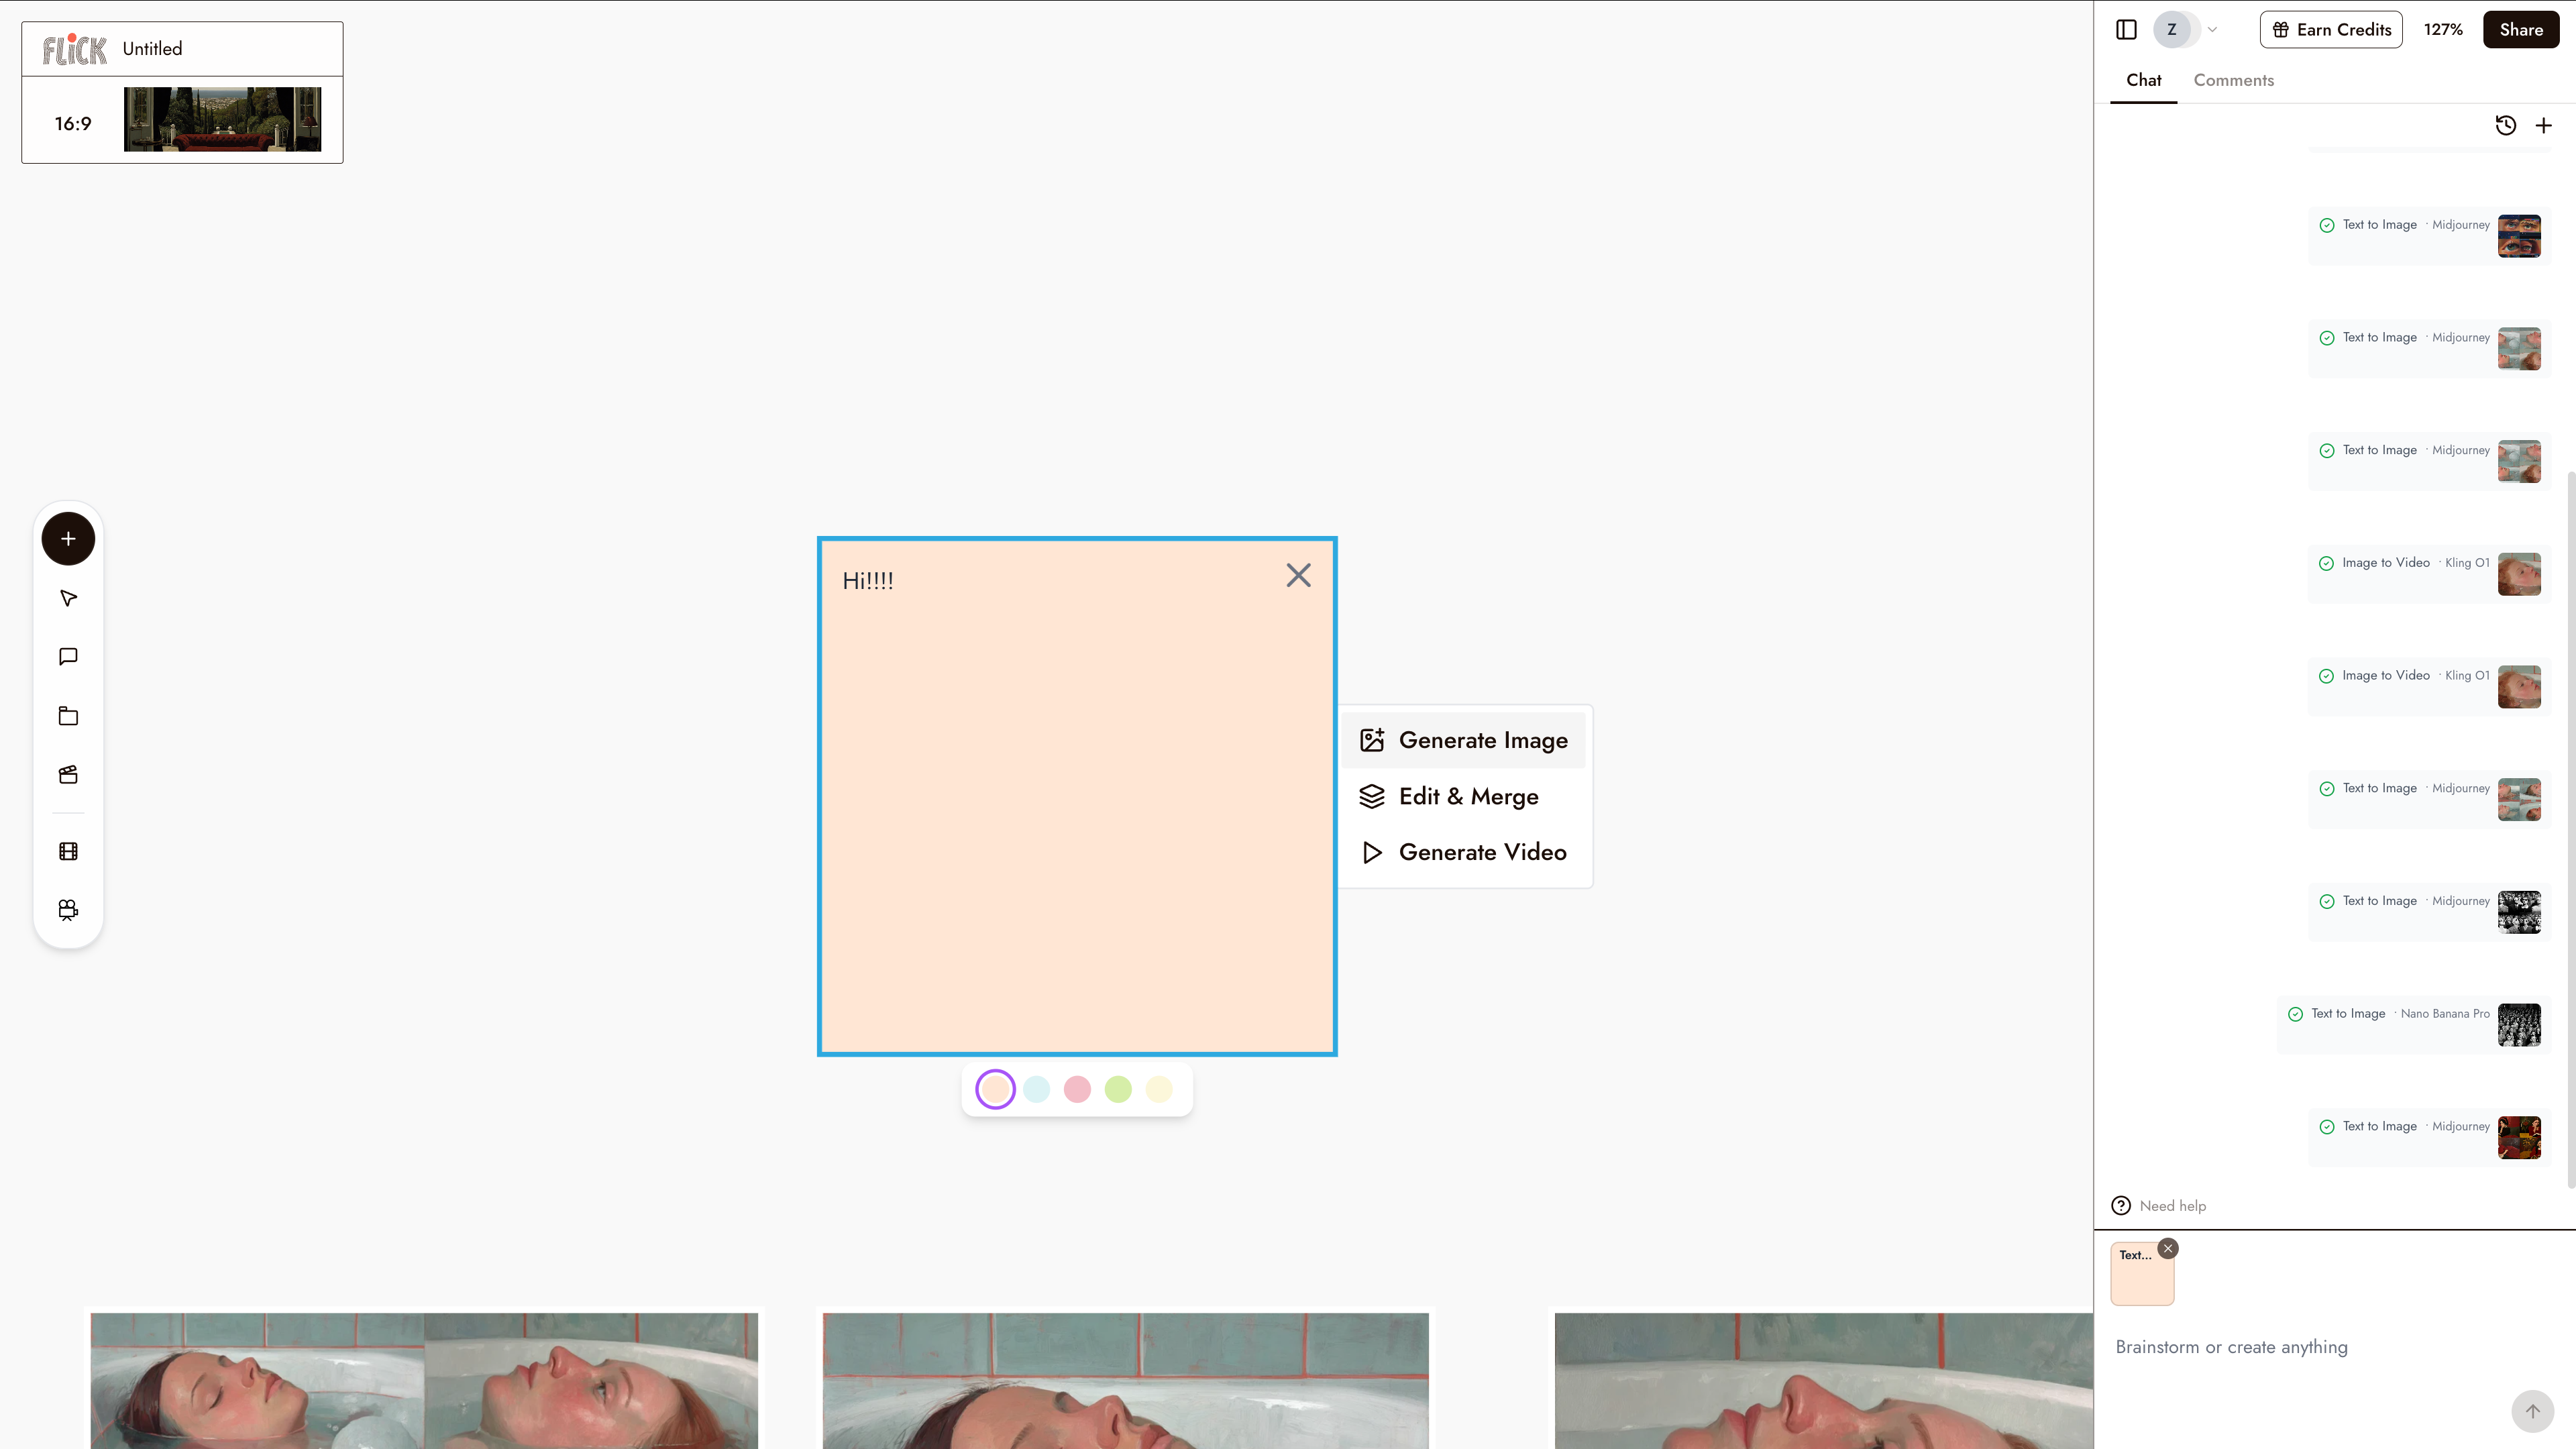
Besides text-to-image, you can also use a Text Node.
Text nodes work like sticky notes on the canvas.
Steps:
- Add a text node
- Write your prompt
- Click Generate Image
Flick will automatically use the text content as the prompt.
If you want to remove the prompt connection, simply click Disconnect.
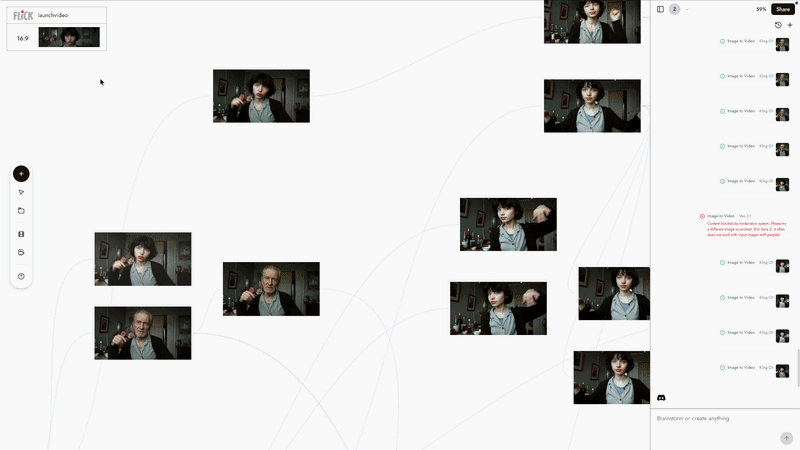
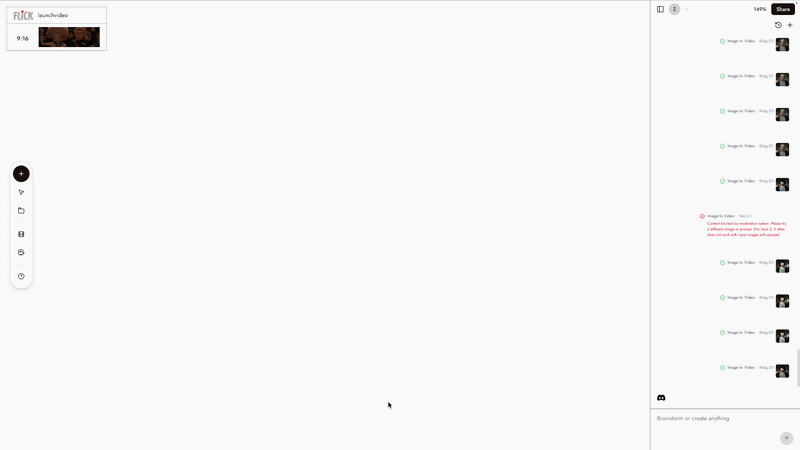
5. Review Image Variations
Each generation with MidJourney model produces 4 variations.
All variations maintain the visual style you selected earlier.
Once you choose an image, you can:
- Generate a video
- Edit the image
- Change the style
- Remove the background
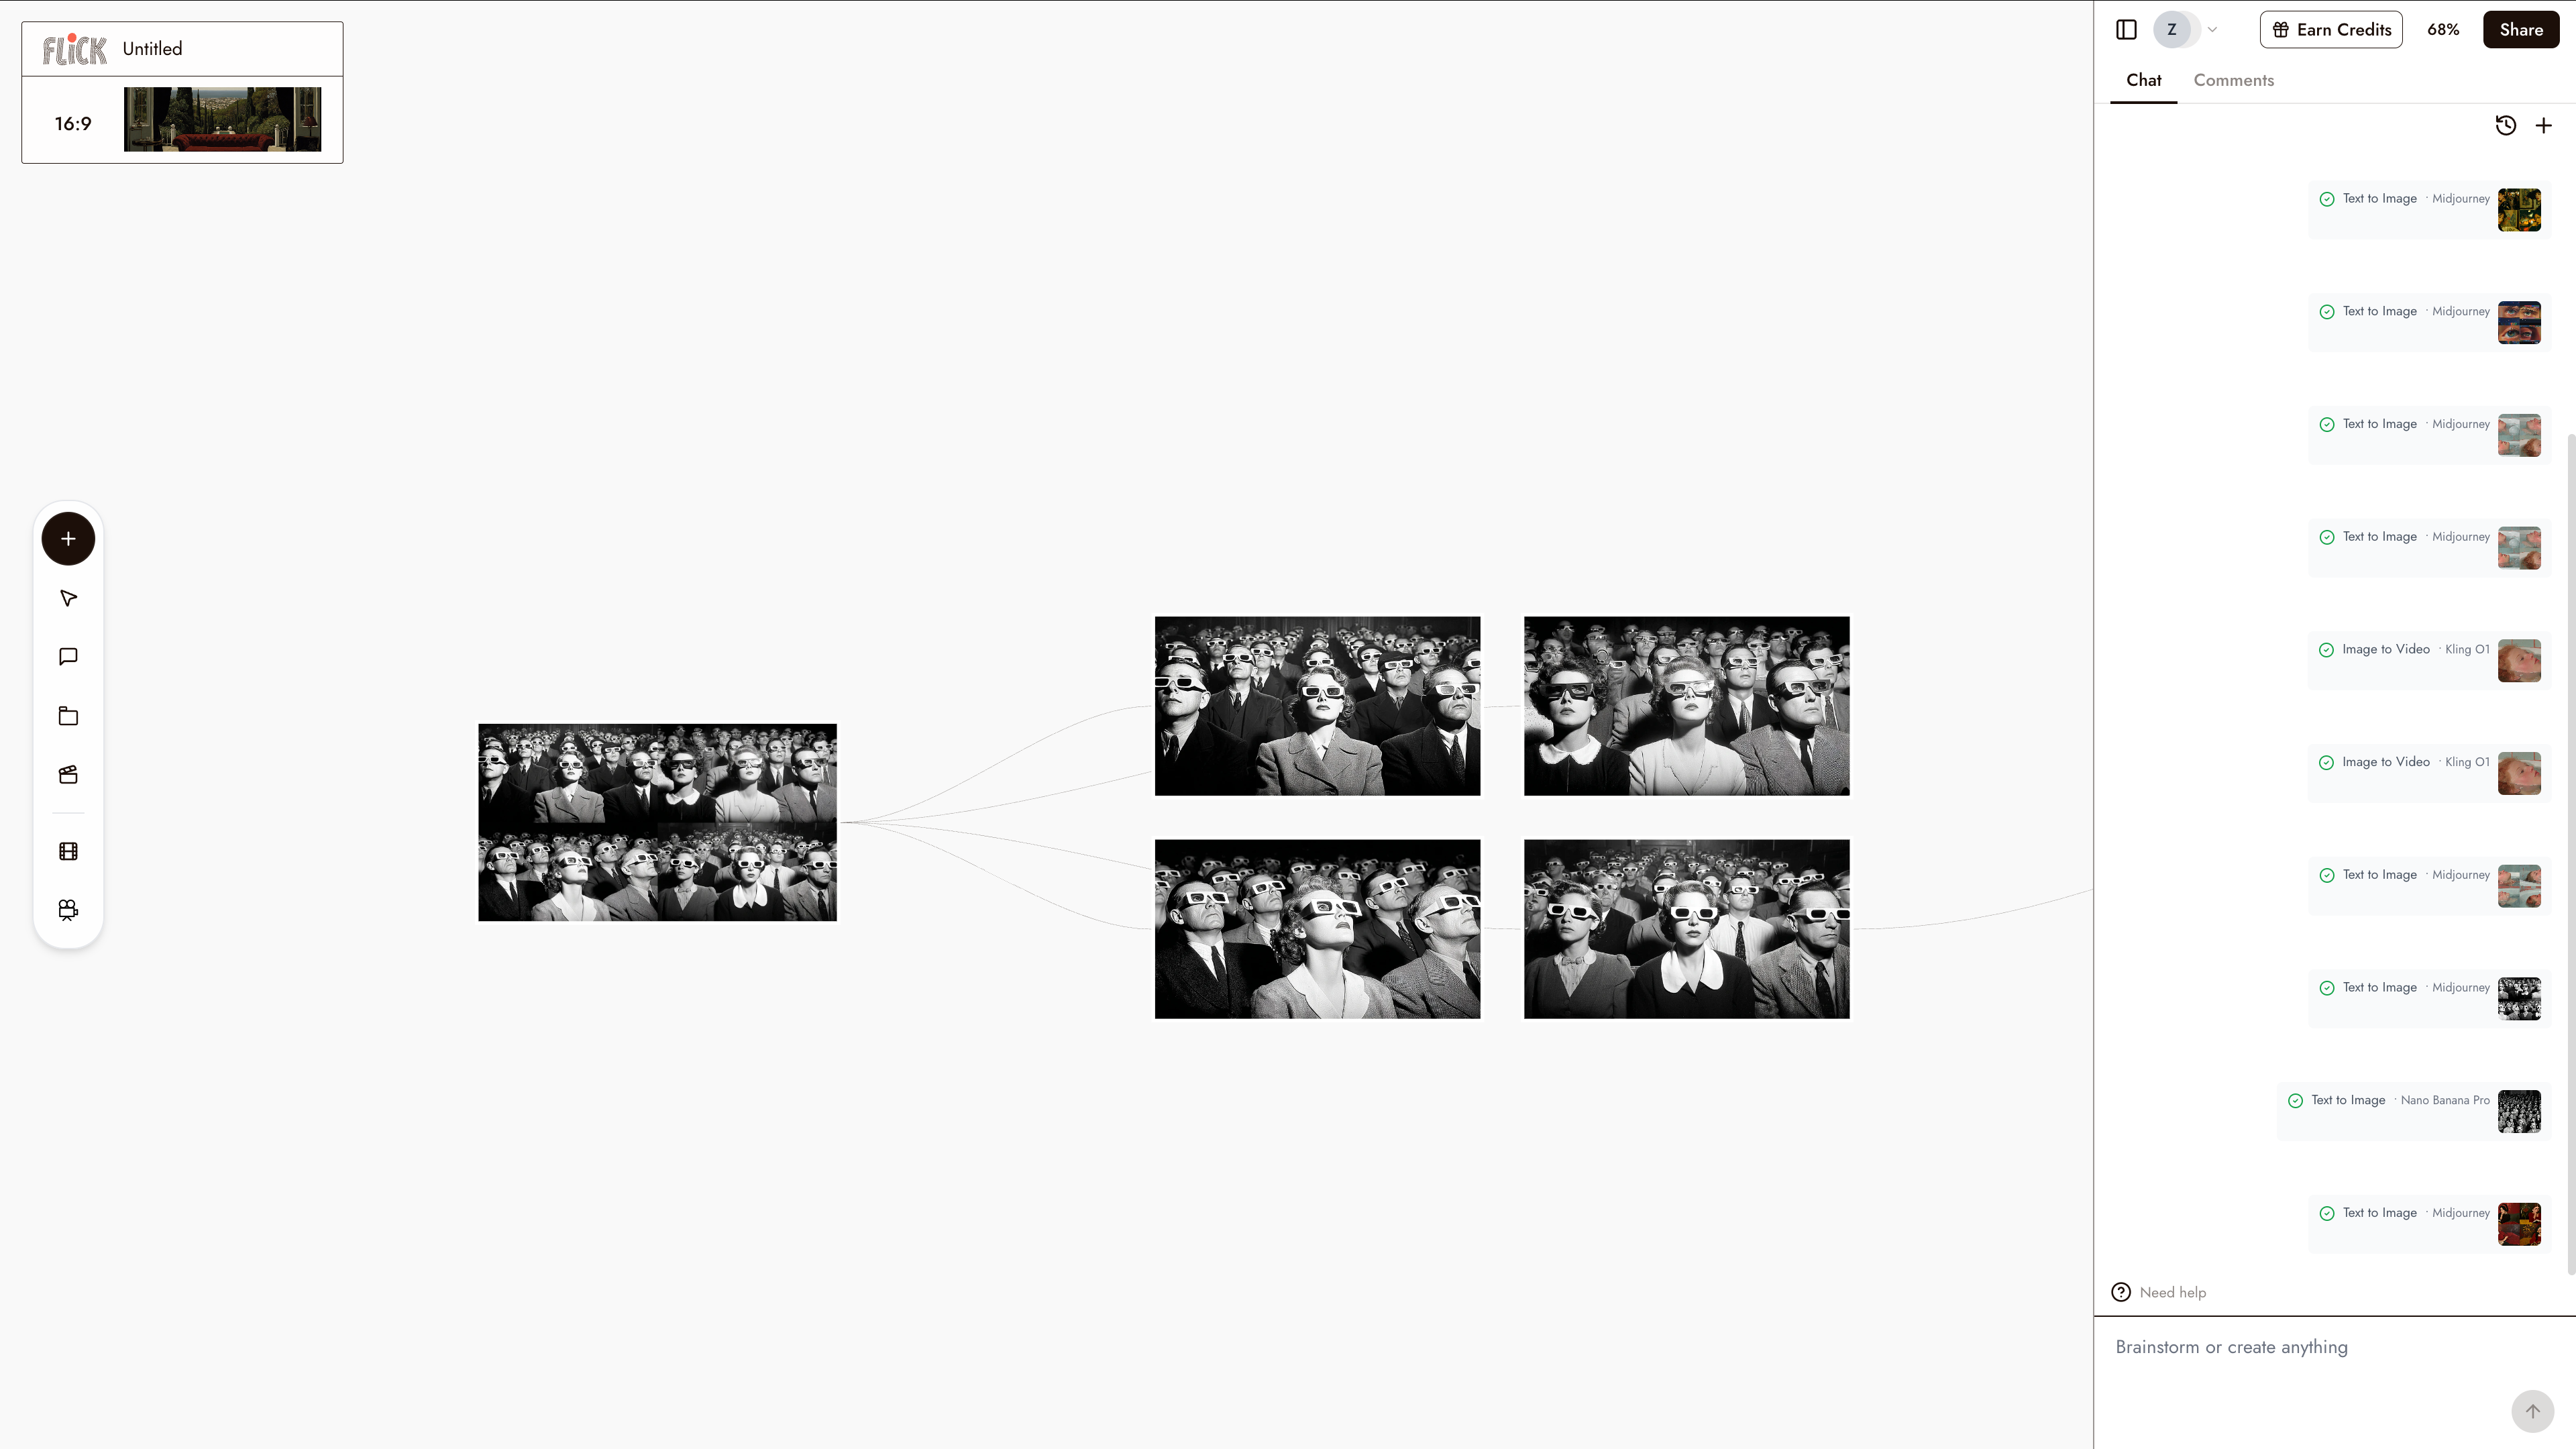
6. Edit Images
Flick supports several editing workflows.
Common use cases include:
- Combining multiple images
- Maintaining character consistency
- Editing specific parts of an image
Example:
You can change attributes such as:
“Change the girl's hair color to white.”
7. Change Style
To modify visual style:
- Click the Change Style Node
- The chat switches to Change Style Mode
- Select a new visual style
Flick will keep:
- The same character
- The same camera angle
while updating the visual style.
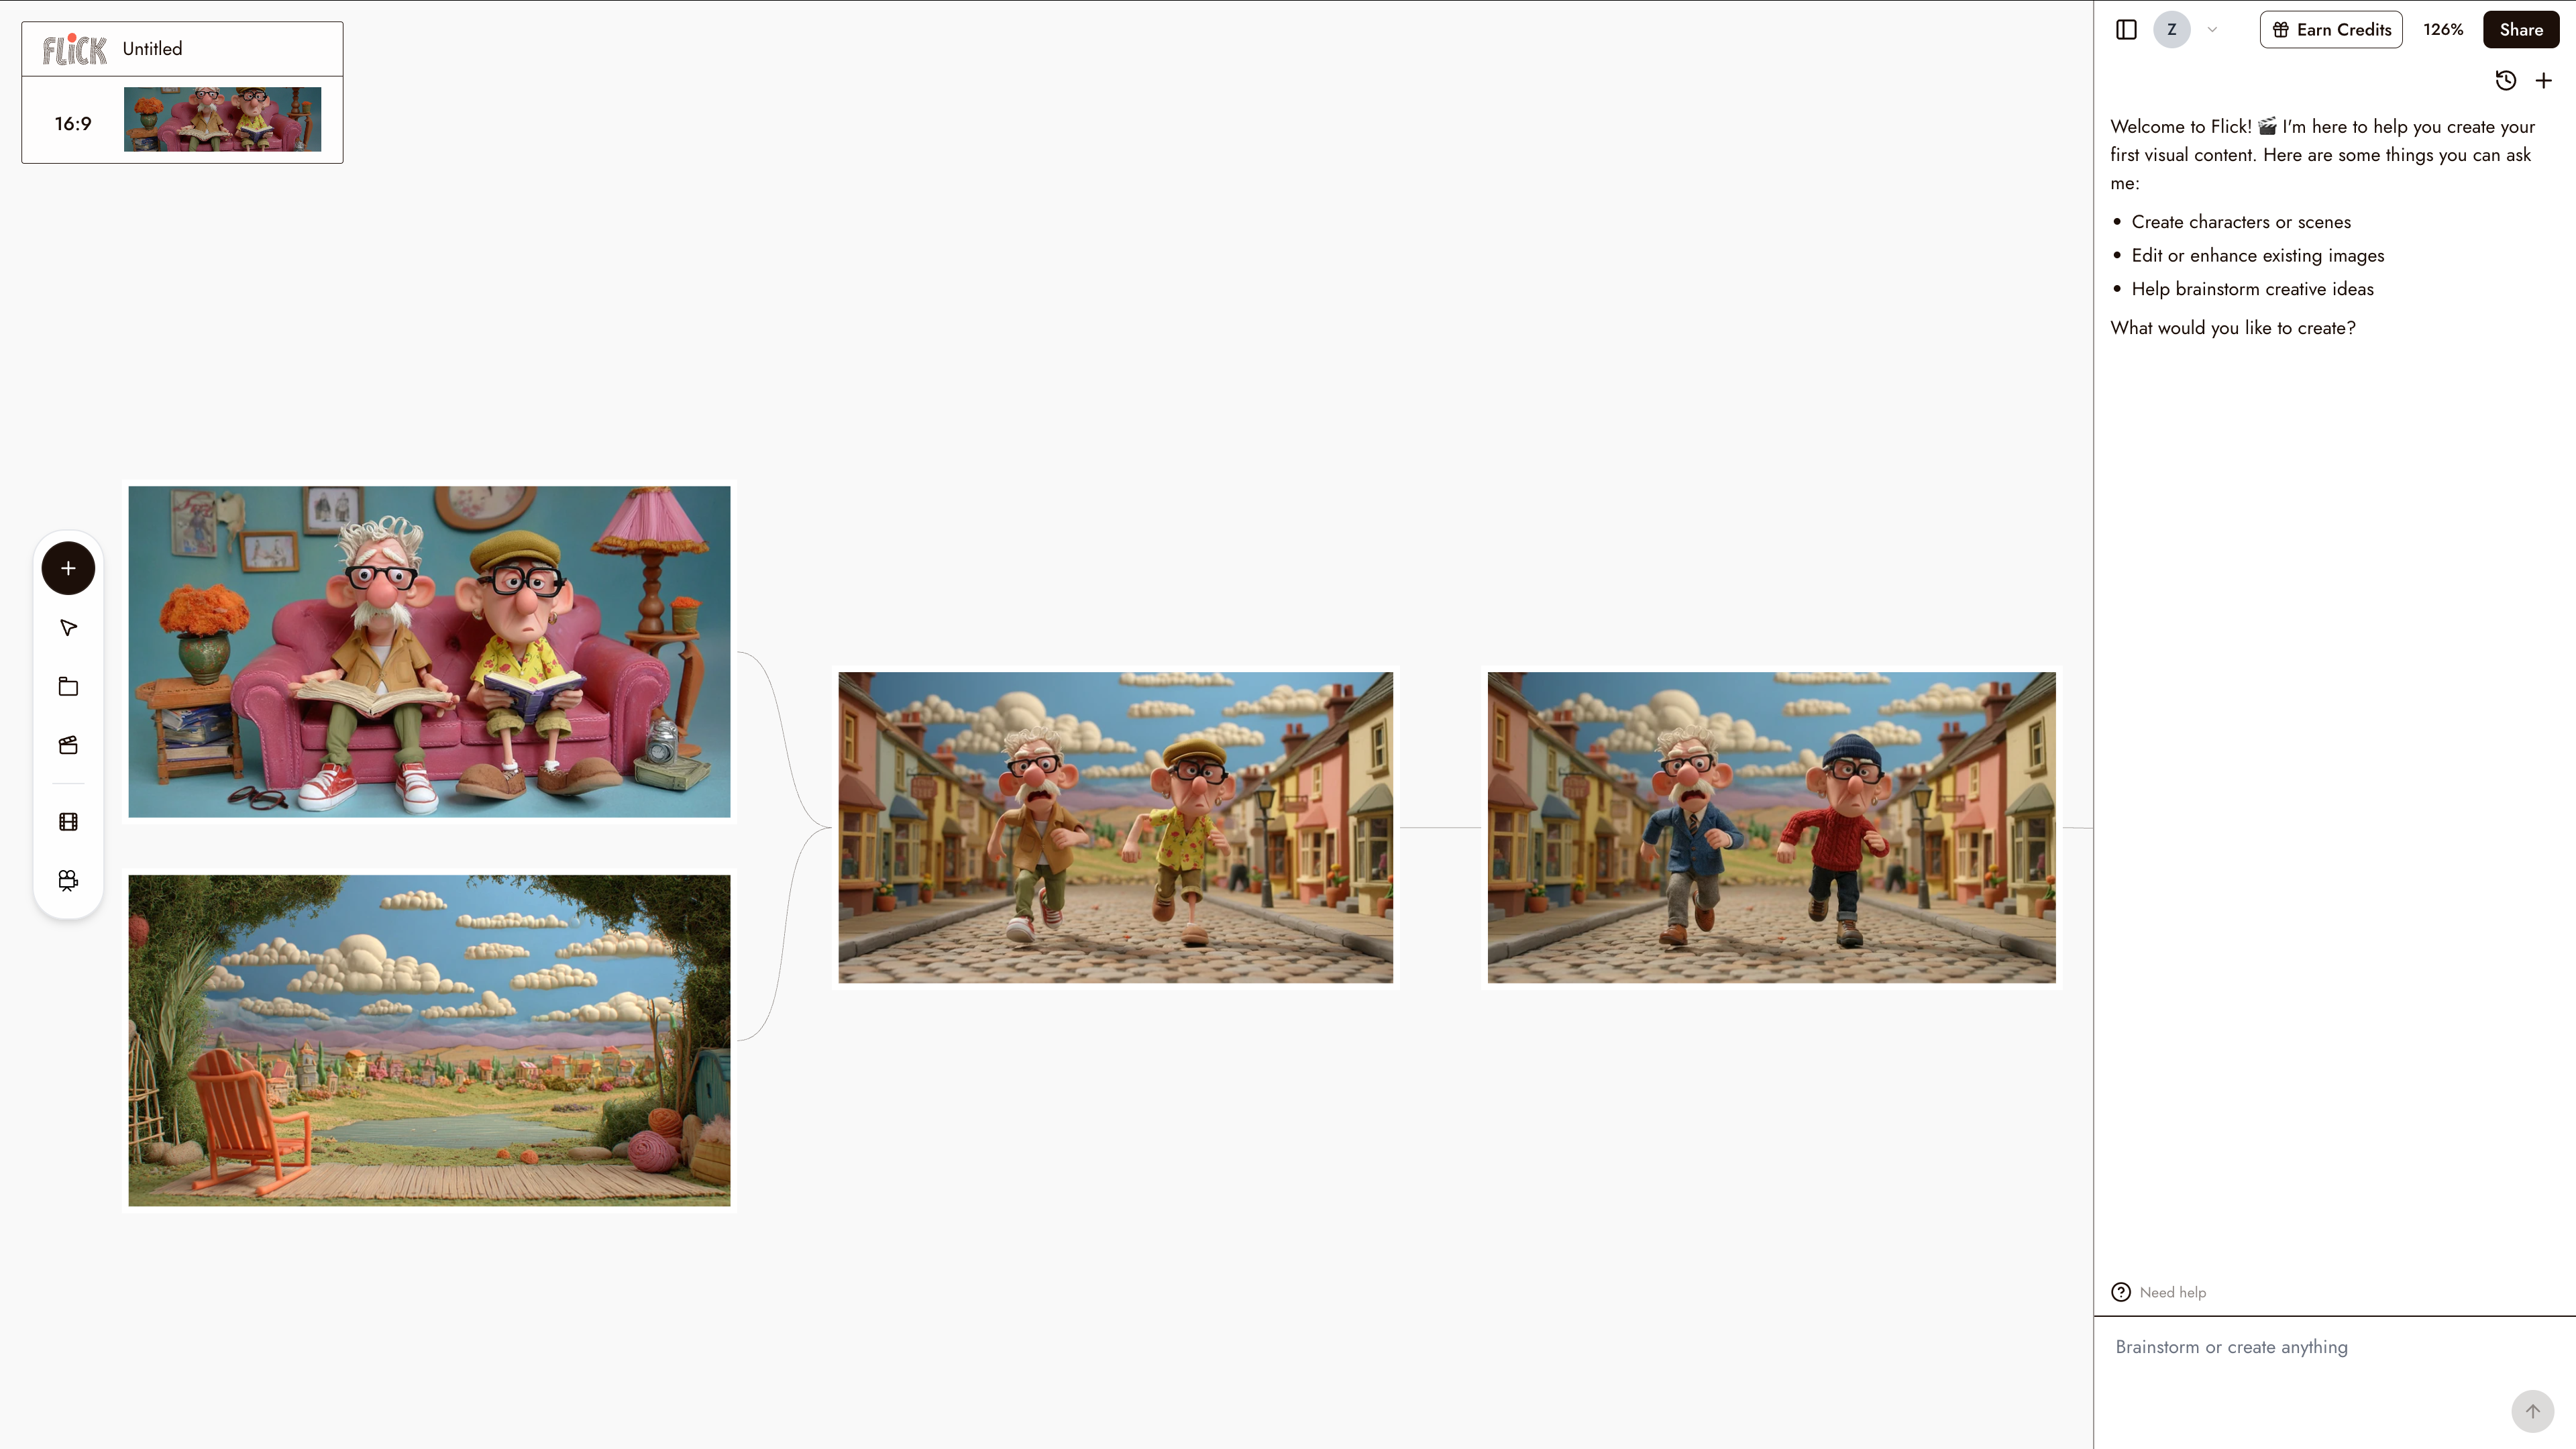
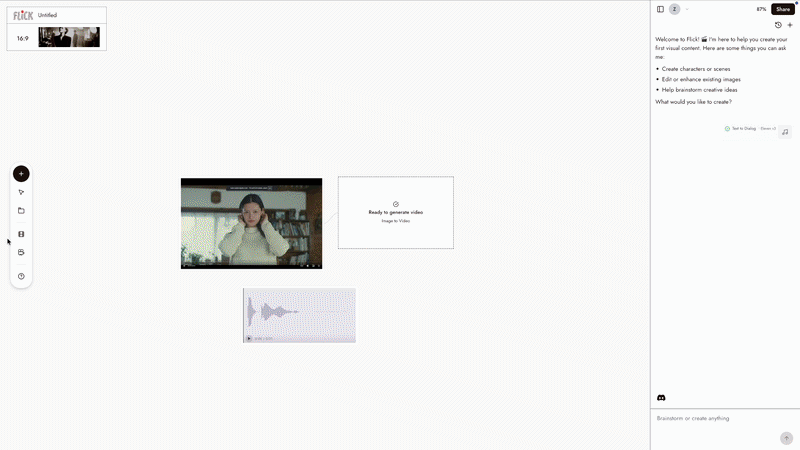
8. Generate a Video

To generate a video:
- Click Generate Video
- Choose a video model
Popular models include:
- Kling O3 pro → better visual quality
- Kling 3.0 pro → better audio-video sync
You can also adjust:
- Video duration
- Resolution
9. Explore Classical Film Shots
Flick includes a Classical Film Search feature.
You can browse 1M+ classic film shots.
Example:
Search for a film like Taxi Driver, then:
- Select a shot
- Click Add to Canvas
This allows you to recreate cinematic compositions.
You can also recreate a Shot
To recreate a shot:
- Click the image
- Use it as a reference
- Ask the AI to analyze the shot
The AI chat can:
- Summarize the composition
- Generate a similar image
- Maintain your chosen style
10. Use the Showroom
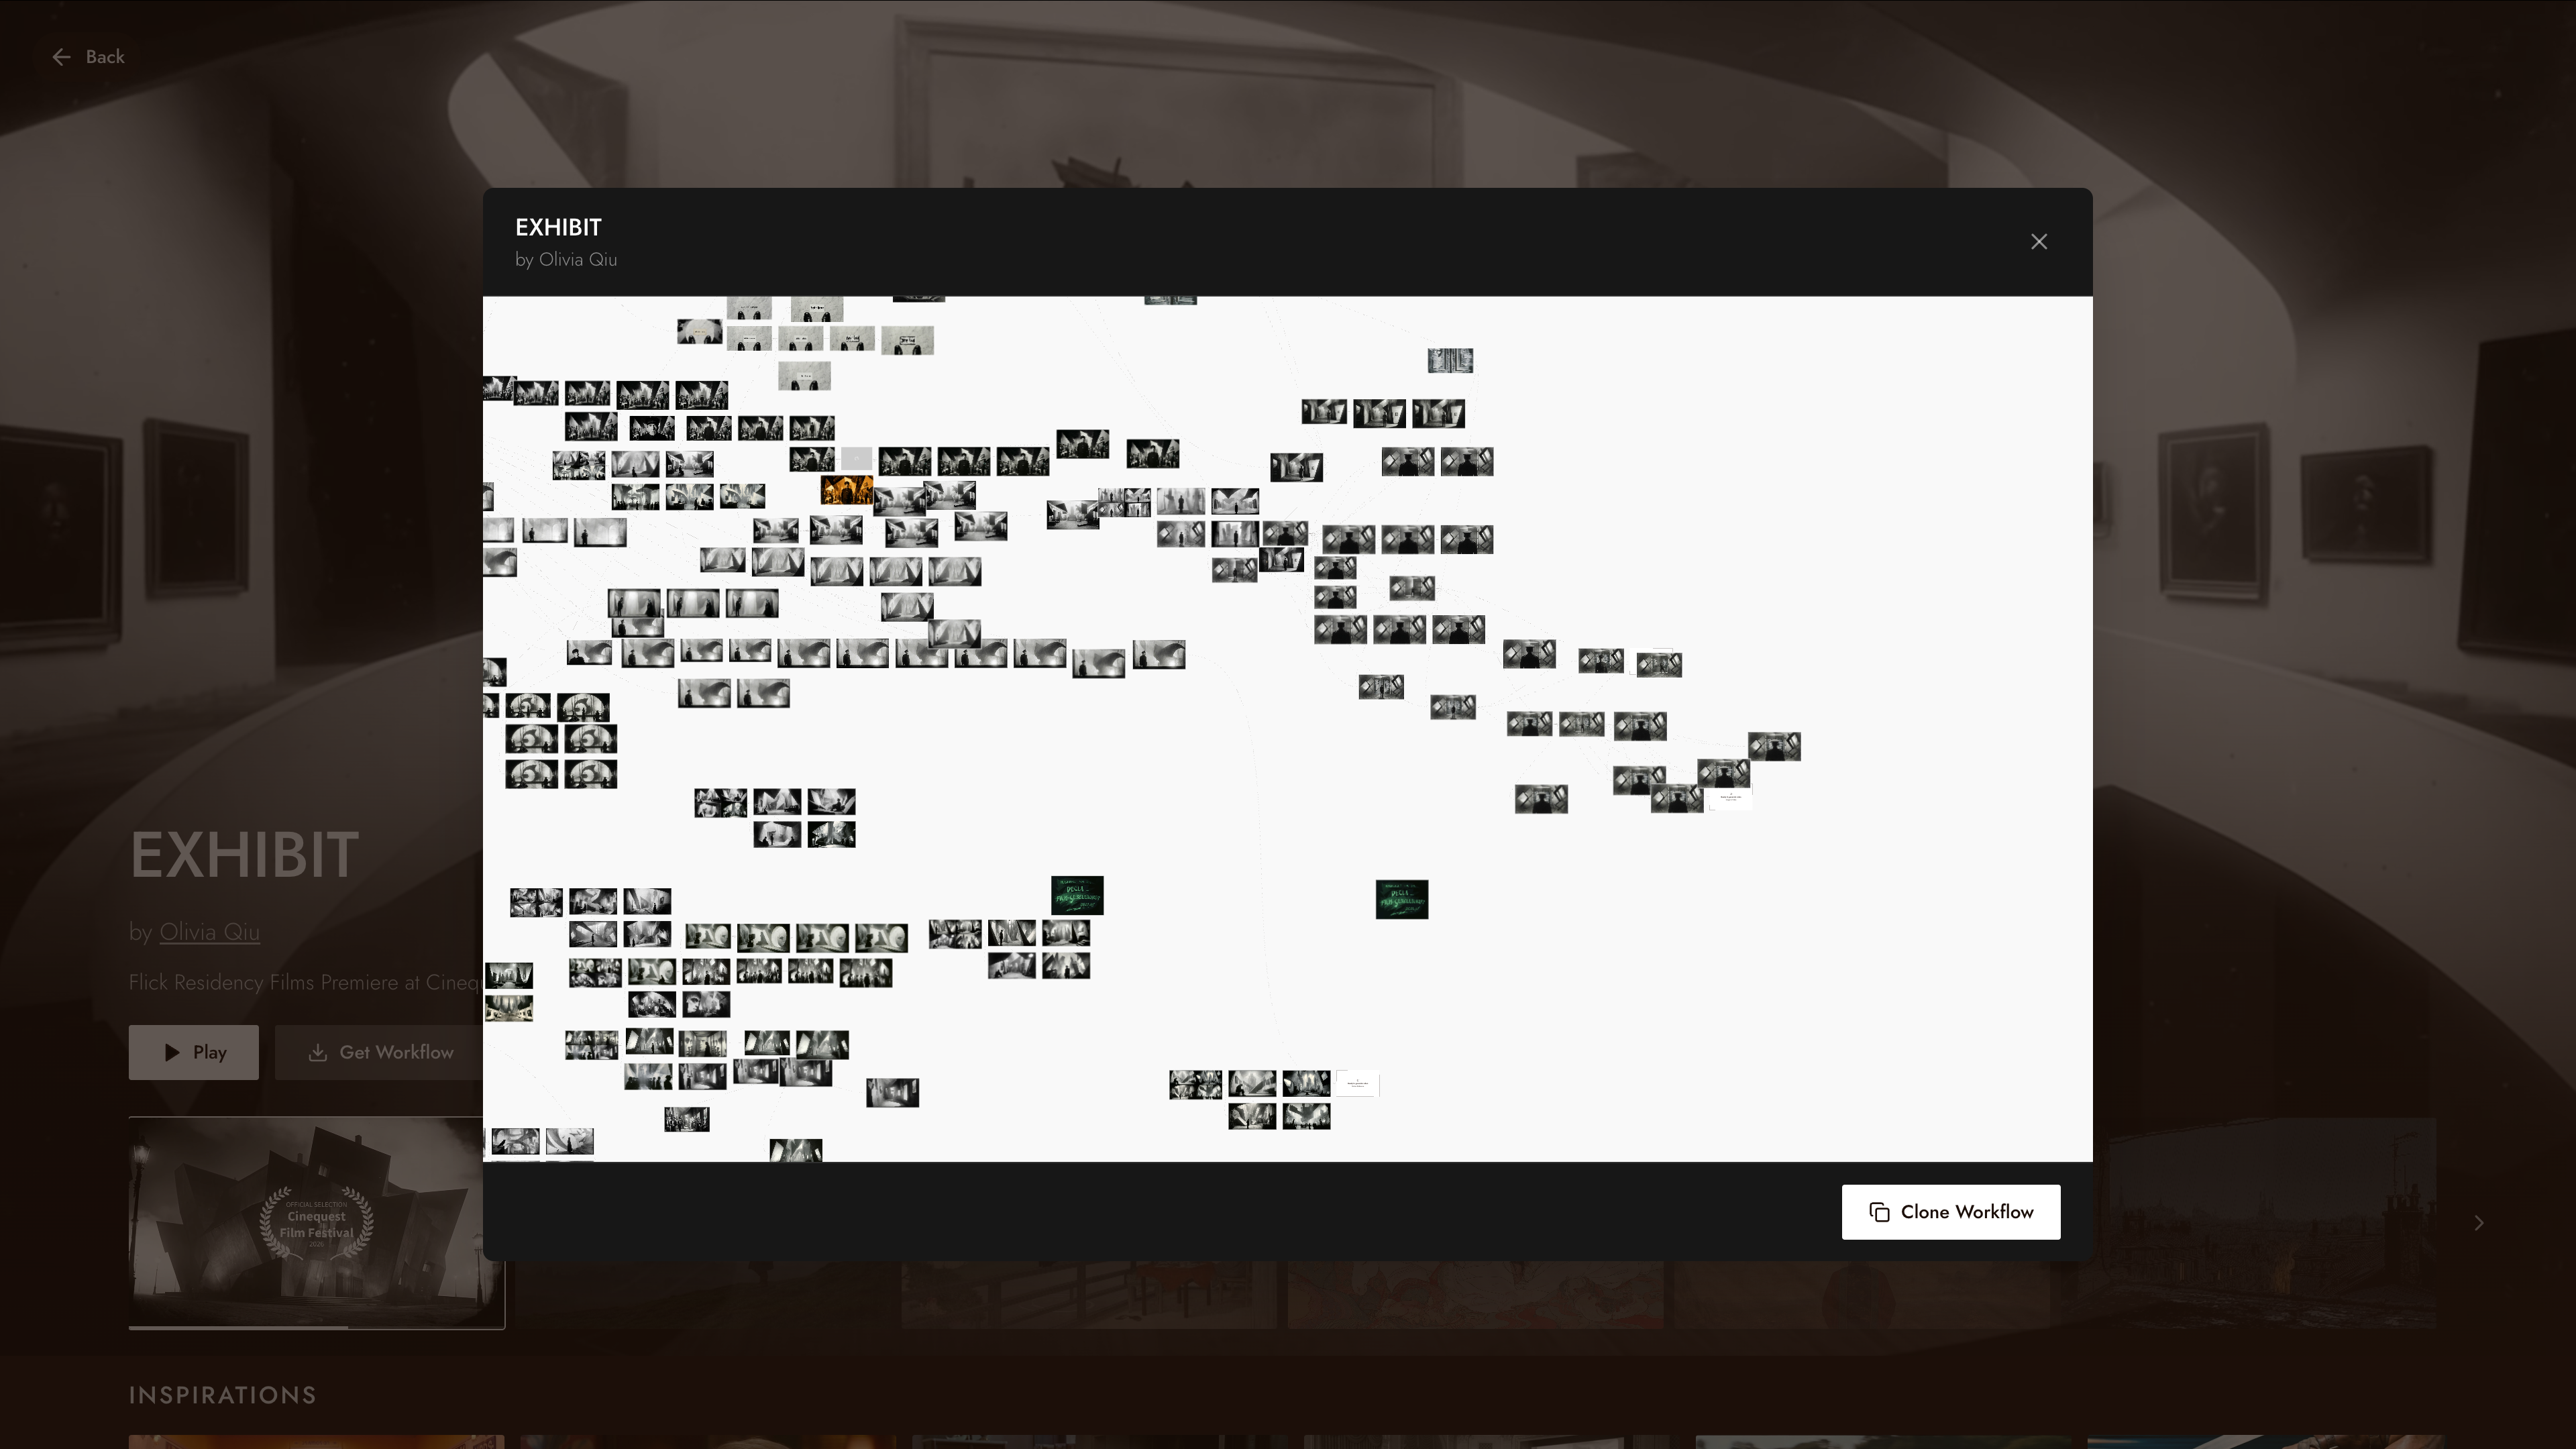
The Showroom displays works created with Flick.
You can:
- Explore projects
- See exact workflows
- Learn how images were generated