3D Stage export
Record a camera view as a video, or save it as an image. The result appears on your canvas.
Before you start
The scene, camera, and animation should be set; see the three guides before this one. Rehearse from the camera view first, because the recording is exactly what the camera shows.
Glossary
| Term | Meaning |
| Camera | An object that defines the view you record. |
| Cameras View | The multi-camera monitor view. |
| Gizmo | An editing guide, such as a move arrow or camera outline. Gizmos do not appear in the recording. |
| Record | Save the camera view as a video. |
| Scene | The 3D editor view. |
Record one camera
Select the camera. Its preview window opens in the lower-right corner with two buttons: Screenshot to canvas and Record this camera.
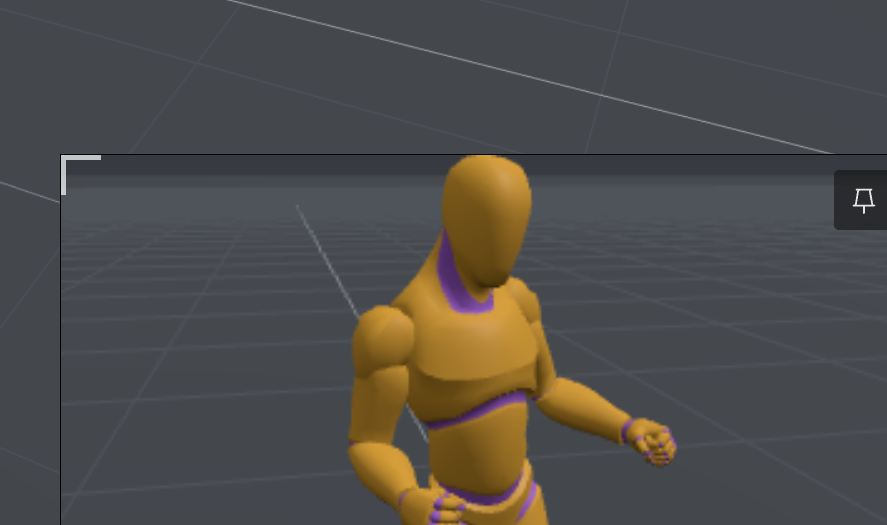
Click Record this camera. The stage plays the timeline while a REC counter runs, and the camera window glows red. When it finishes, a Your camera move dialog shows the result. Click Save to send the video to the canvas.
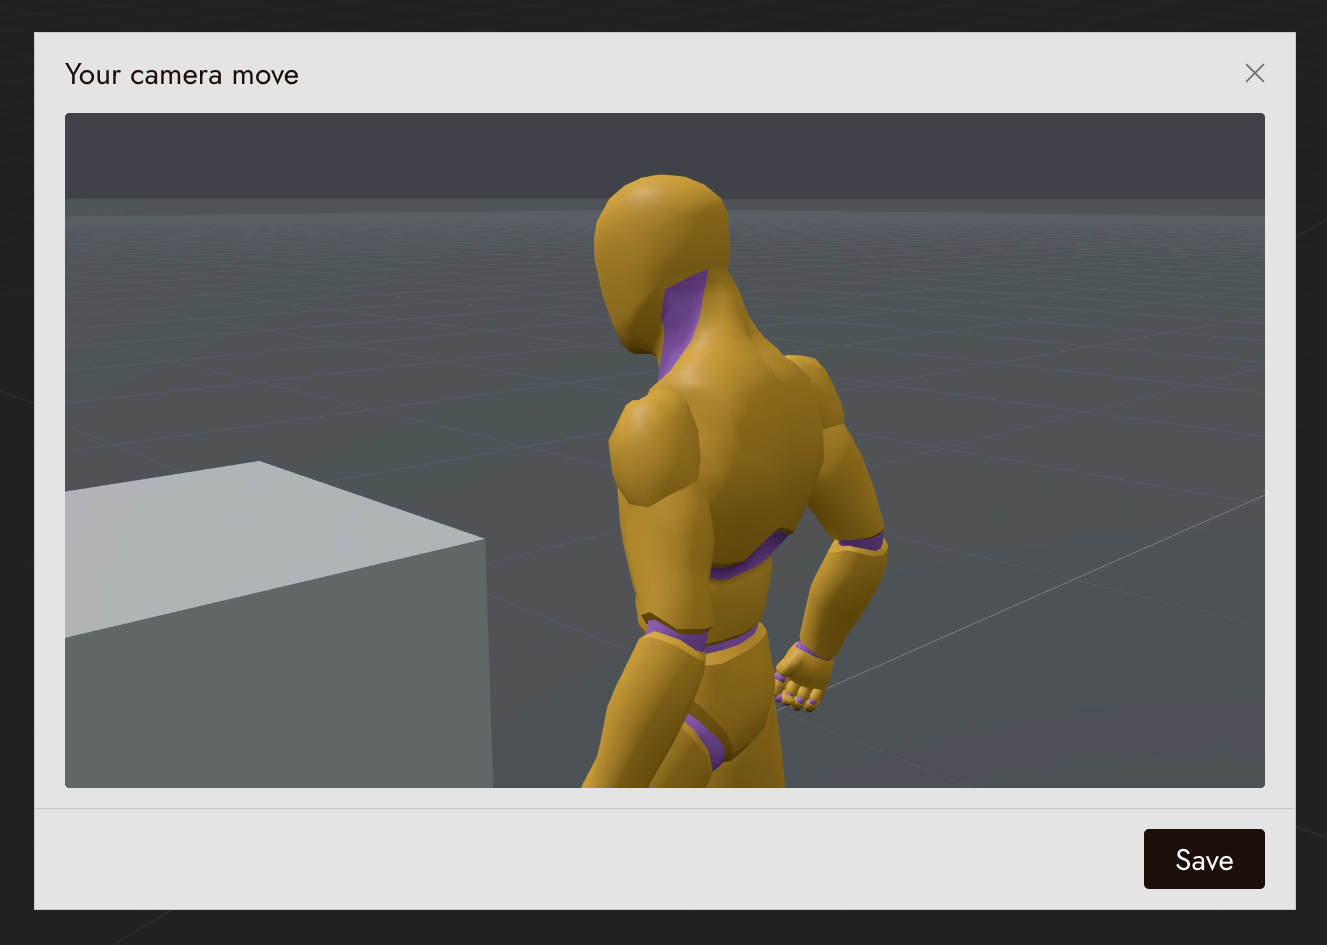
Save an image from one camera
Select the camera and click Screenshot to canvas in its preview window. The still image is sent to the canvas.
Record all cameras
Click Record at the top of the stage. The stage switches to Cameras view, where each camera has its own monitor, and every camera records during its segment on the timeline. A yellow glow means a camera is waiting to start; a red glow means it is recording. Click Finish to stop early.
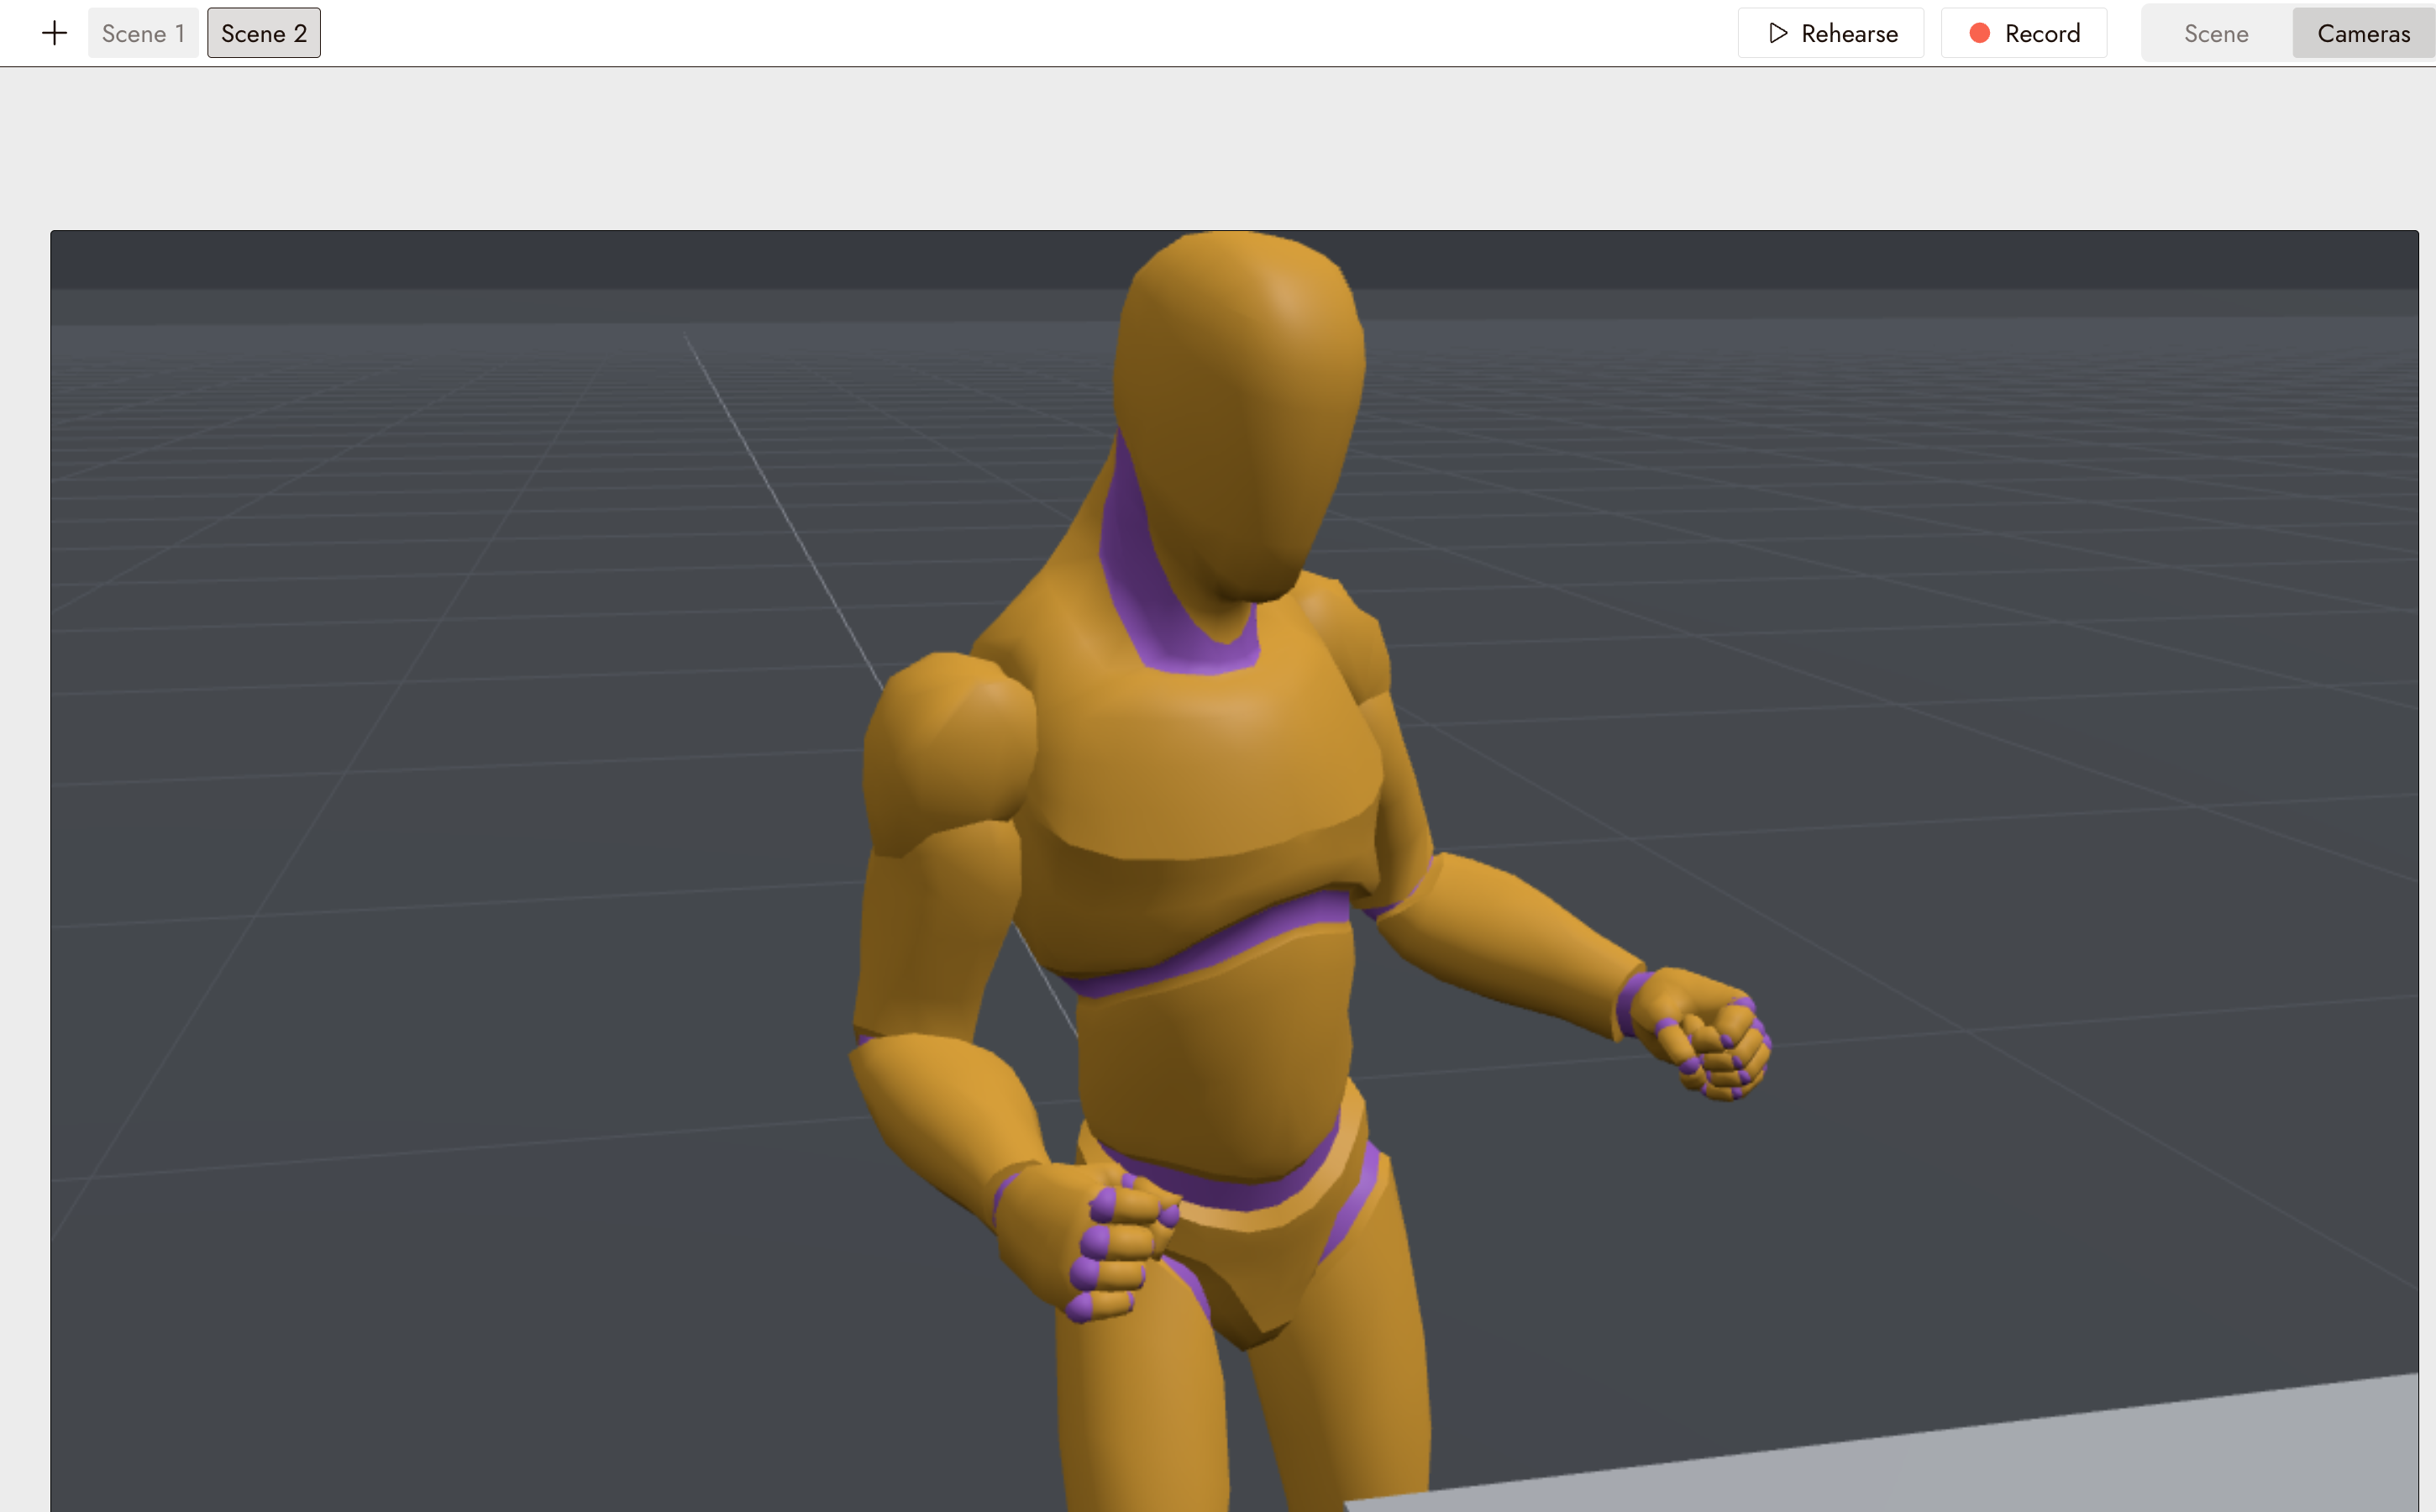
Note: With more than 6 cameras, the stage records in batches of up to 6. Total recording time depends on the number of batches and the longest take in each batch.
Use the recording on the canvas
The recording lands on the canvas as a video node named after the camera. Select it to open its menu: Image holds Extract Frame, Video holds the generation workflows, and Add to Timeline sends it to the video editor.
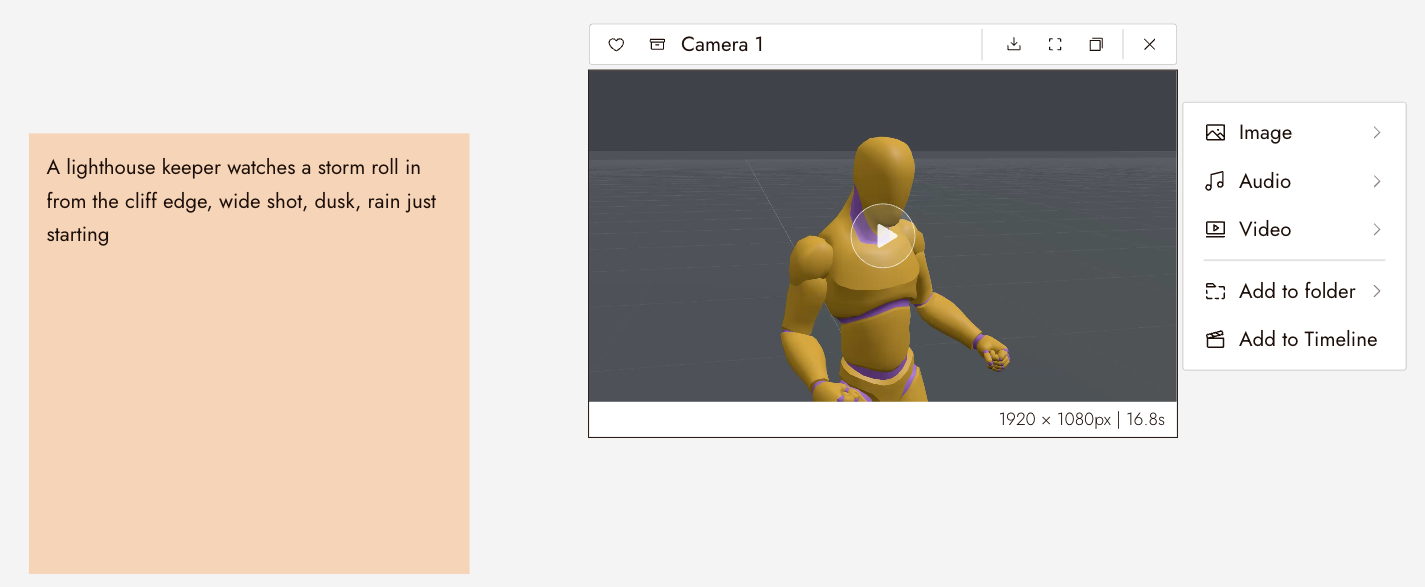
Extract a frame from the recording
First, extract the recording's first frame and use it to create a finished reference image. In Omni Reference, use that image to guide the opening frame and the recording to guide motion. The available reference controls depend on the model.
Use Extract Frame in the node's Image menu to get the first frame.
Export the recording or image to your device
Select the recording or image on the canvas, then click the download icon in its toolbar to save it to your device.
If something looks wrong
A camera window glows yellow and nothing happens. It is waiting for its segment on the timeline to start. Check the camera's start time.
Recording all cameras takes a long time. Cameras record in batches. Longer takes and more batches take more time. Record only the cameras you need.
The result dialog closed and I did not click Save. Nothing was sent. Record again and click Save in the dialog.
The generated clip ignores the camera move. Use the recording as a video reference in Omni Reference, with a rendered first frame as an image reference. Check the selected model's controls; a reference guides the result but does not guarantee an exact match.
Next
- Extract Frame for getting the start frame out of a recording.
- Omni Reference for generating the final clip from the take.
- Generate Video for the video settings.