04. Plan shots that cut together
Bring: Your brief, visual board, and state checklist. Make: A connected shot plan and one evaluated motion test.
Coverage is the set of views you need to tell a scene. Plan it around information and reactions, not a collection of impressive camera angles.
Give every shot one job
Use this six-shot outline as a starting point. Change the number if your story needs fewer or more views.
| Shot | What we see | What the audience learns |
|---|---|---|
| S01 | Wide view of the traveler crossing the station | They are on their way somewhere; the bench and hook belong to this place |
| S02 | The closed red umbrella on the bench | Someone has left an object behind |
| S03 | The traveler stops and looks toward it | They noticed it and are choosing to respond |
| S04 | A hand reaches for its handle | The choice becomes an action |
| S05 | The hand releases the umbrella on the nearby hook | The umbrella has been moved, not taken away |
| S06 | The traveler leaves while the umbrella remains visible | The gesture is complete; the owner can still find it |
You do not need to show every step between S04 and S05. Keep the handle, hand, location, and object state consistent so the audience can connect the beginning and result of the action.
If two shots provide the same information, keep both only when the second adds a useful reaction, rhythm, or detail.
Make the geography easy to follow
Draw the bench, hook, exit, and camera positions. Check each view against that drawing.
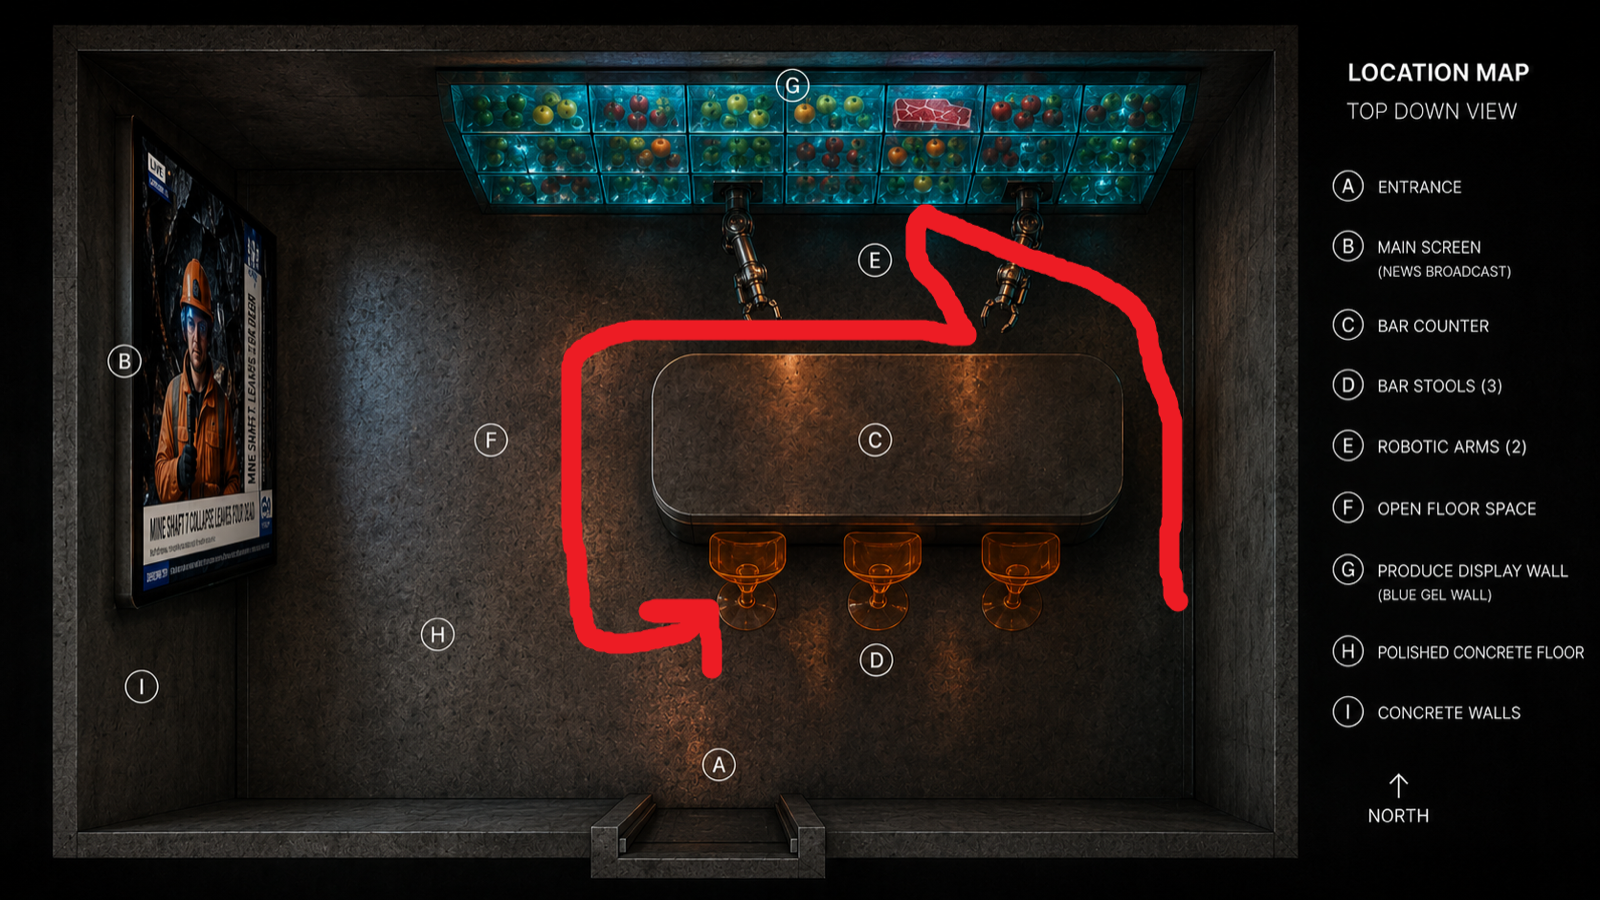
Screen direction is the direction movement appears to travel in the frame. If the traveler heads toward the exit on screen-right, an unexplained reverse view may make them appear to turn back. For this exercise, keep cameras on one side of the route until you can explain a change clearly.
Eyeline is where a person appears to look. Pair the traveler's glance with an umbrella view that fits its direction and height. Test the pair; a convincing portrait alone does not establish what they are seeing.
A new wide view can re-establish the layout when you intentionally change sides. These are clarity tools, not rules that every film must obey.
Build a rough sequence before polished motion
Arrange stills or sketches in story order on the canvas. Label them with shot IDs and their jobs. Talk through what a viewer learns from each without reading the original prompt.
Mark sound ideas now: footsteps establish movement, then a pause helps the discovery read. They are planning notes, not final cue timings.
Once you have clips, start a rough timeline with Add and reorder clips. A rough cut is an early working sequence, not a commitment to keep everything.

Test the riskiest useful moment
Choose one shot that tests an uncertainty: hand contact, a distinctive prop, a camera move, or whether the visual style survives motion. For this scene, try the umbrella being released onto the hook, using a still with a plausible starting position.
Follow Generate Video. Check reference support, duration, and cost. Use a duration that can hold the action, rather than automatically choosing the longest option.
Watch the entire clip. Does the hand separate naturally? Does the hook stay attached to the wall? Does the umbrella keep its design? Does a detailed painted style become a different look once it moves?
If the test fails, simplify the action, revise the visual treatment, or change the planned coverage before producing the rest. A useful test reveals a problem while it is still manageable; it does not have to produce a final shot.
Before you continue
- I assigned a story job to every shot and checked their order.
- I tested the direction of a glance or movement across neighboring views.
- I reviewed one motion test and recorded what to keep, change, or simplify.