05. Direct action and performance
Bring: Your shot plan, references, and motion-test notes. Make: Usable action and reaction clips for the rough cut.
Direct what the person does, what the camera does, and what the viewer needs to notice. An emotion label alone leaves most of that undecided.
Choose a starting image that allows the action
Inspect the still before animating it. The body, hand, prop, and space must allow the movement you want.
If the shot should show reaching for the umbrella, begin before the hand has grasped it. A picture of the completed action can be useful as a pose or ending reference, but it is not automatically the right starting frame.
Give references separate jobs: identity, location, composition, starting state, ending state, or motion. Use the input type your selected workflow supports. A reference that works in one mode is not necessarily an interchangeable Start Frame in another.
Write behavior instead of an emotion label
For S03, replace "the traveler feels compassion" with something visible:
The traveler stops walking. Their gaze settles on the umbrella, and they pause before reaching toward it.
Test the pause or the reach separately if the combined action becomes unclear. You do not need tears, a large smile, or a sweeping camera move to show a small decision.
For dialogue, describe what the speaker is trying to do and how it affects delivery: a hesitant start, an interrupted phrase, a breath before answering. Read the line aloud. Keep only behavior that fits the circumstances; adding every emotional cue can make a performance feel forced.
Separate subject and camera instructions
Write a short brief for one shot:
| Part | S05 example |
|---|---|
| Subject action | The traveler releases the closed umbrella after its curved handle rests on the hook |
| Camera | Static close view of the hand, handle, and hook |
| Important timing | A readable release, then a brief hold on the umbrella hanging by itself |
| Keep | Red fabric, wooden handle, one umbrella, the established wall and daylight |
This is an example brief, not a tested prompt or a timing guarantee. Use Generate Video for the actual controls.
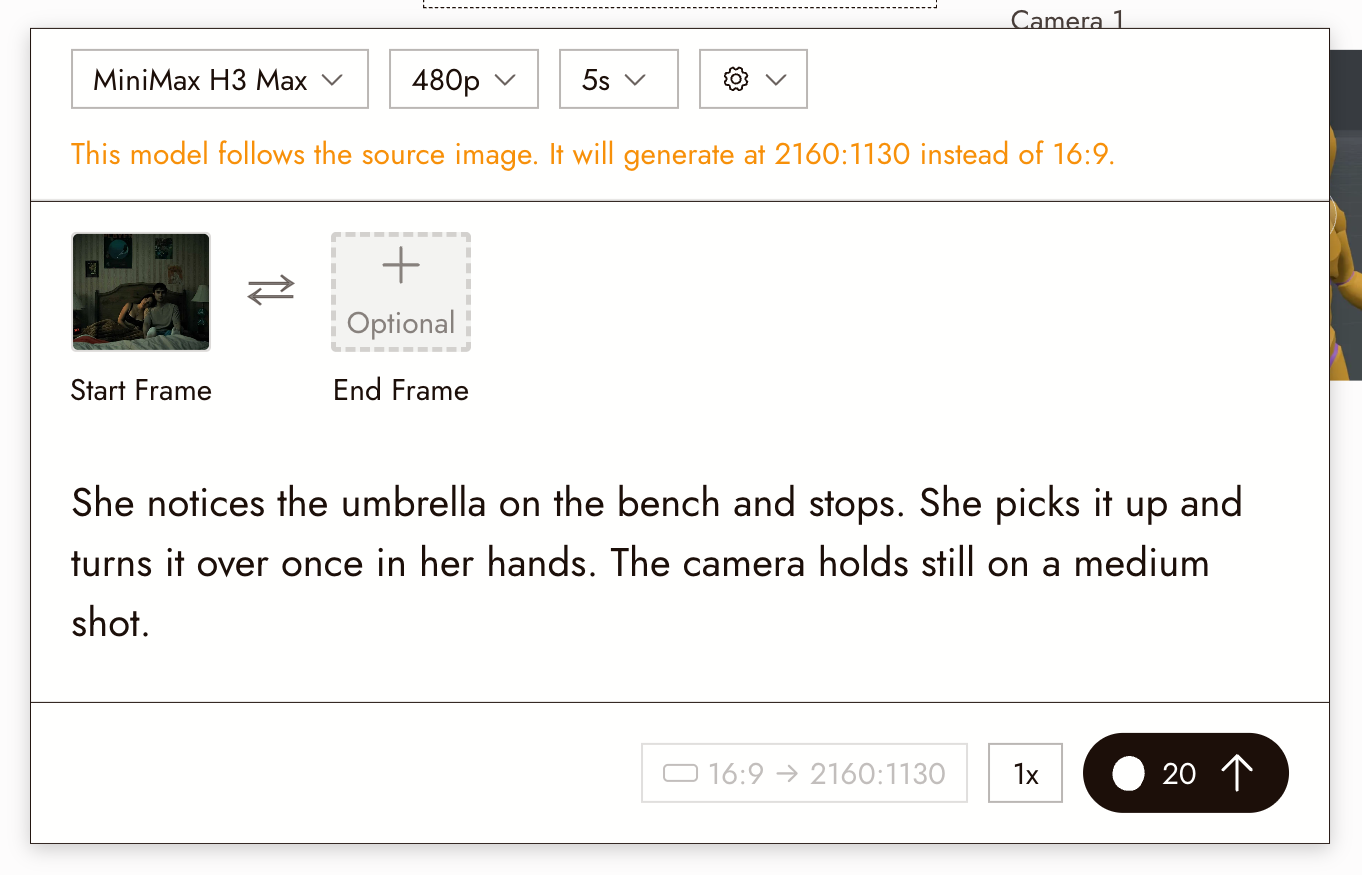
Start with a still camera when it lets you judge the subject clearly. Add movement only when it reveals something, follows necessary action, or changes the audience's attention. If both subject and camera fail, simplify one before retesting the other.
Break difficult motion into readable beats
For handling an object, think through approach, contact, movement, release, and result. These beats explain the action; they do not all have to occur in one generation.
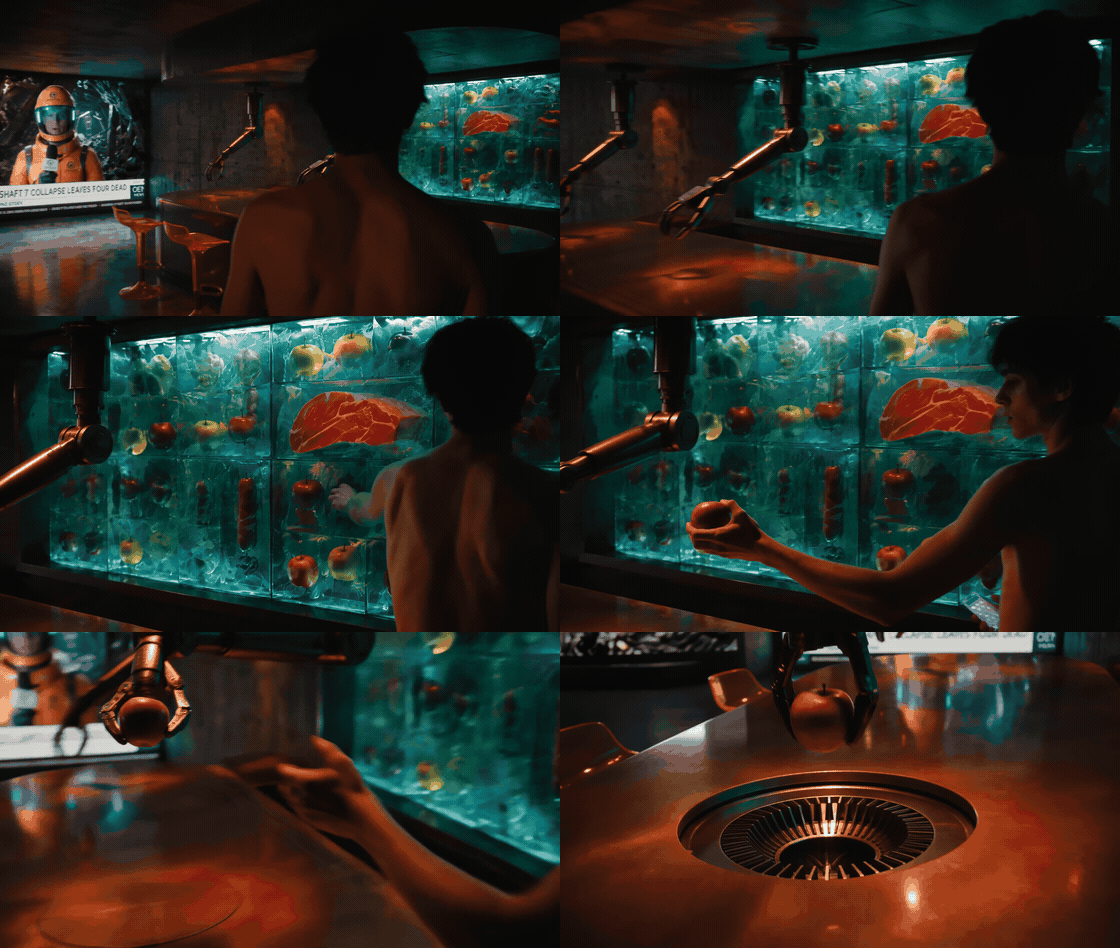
If the full pickup-to-hook movement repeatedly fails, use S04 for the reach and S05 for the release. A deliberate cut can communicate the transfer without showing every intermediate step. If uninterrupted movement matters, test it as a continuous take rather than disguising several incompatible clips as one.
When words do not communicate an essential camera path, consider Omni Reference or a reference made with 3D Stage, where supported. These are optional ways to provide clearer guidance, not guarantees of exact choreography.
Review clips before calling them usable
Watch each clip from first frame to last, including any generated audio. Check action, prop state, face, background, and timing. Keep enough usable time around the important moment for an edit when the result allows it.
Label the clip with its shot ID and note any usable span or defect. Put useful candidates into the rough cut early. A technically clean clip may still be the wrong performance for its neighbors.
At your retry checkpoint, return to the brief or coverage plan. Do not turn a difficult shot into unlimited runs.
Before you continue
- I matched each reference to its job and checked the starting state.
- I directed observable behavior and gave camera movement a reason.
- I watched complete clips, noted usable spans, and added candidates to the rough cut.
Next: 06. Choose your takes.