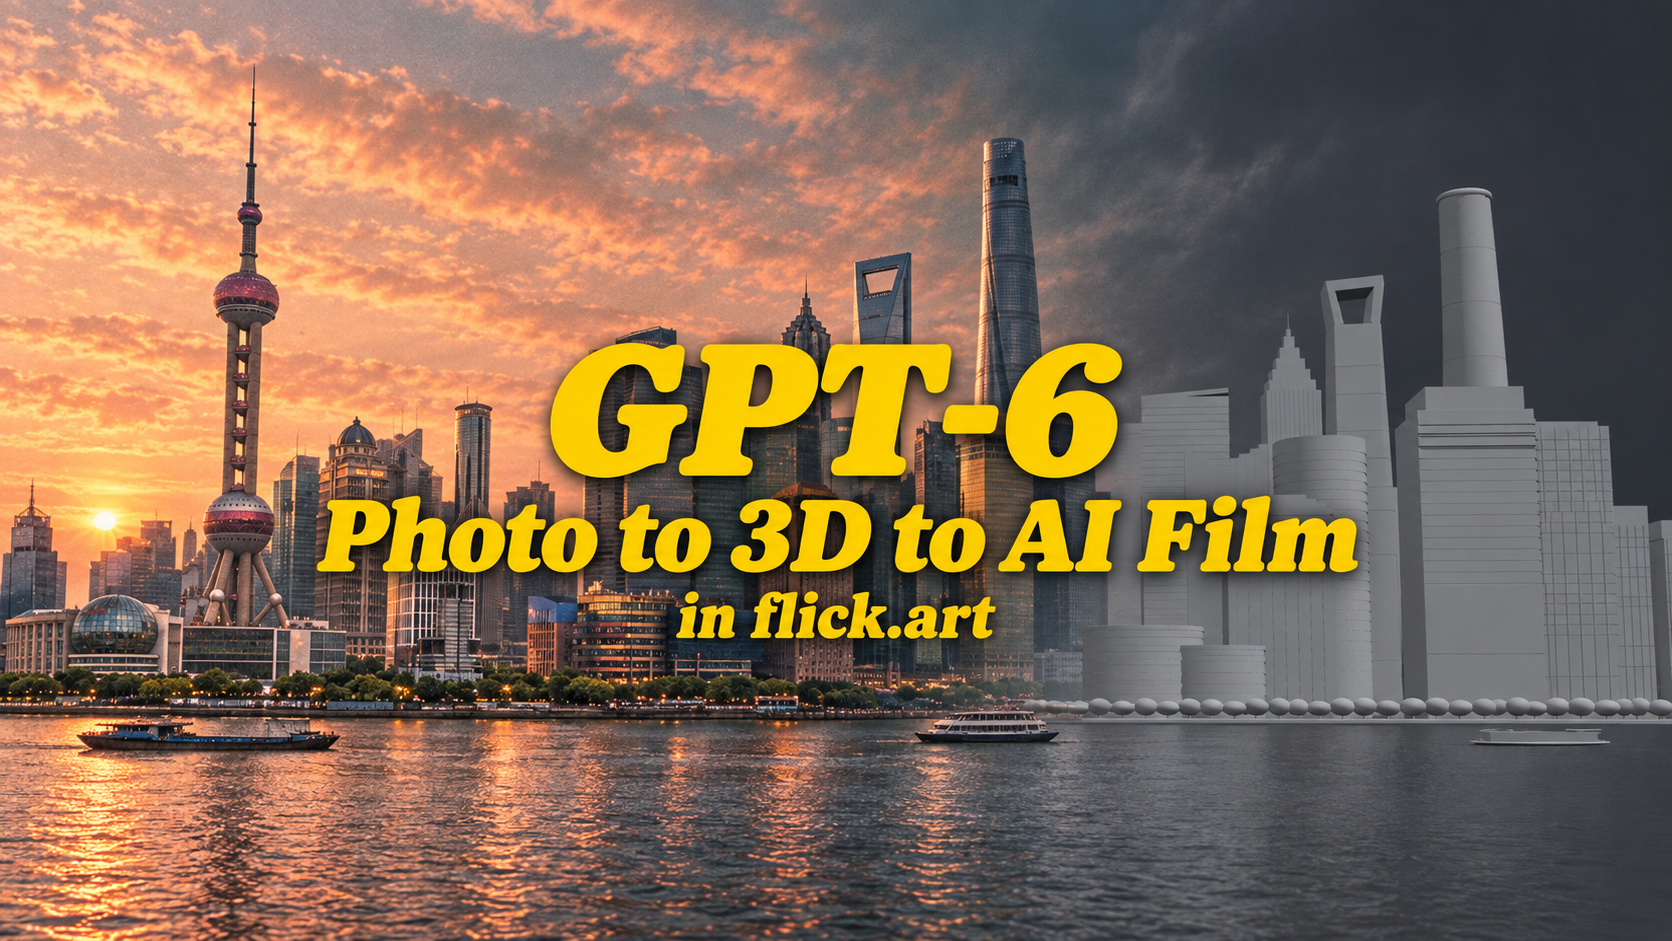
GPT-6 Turned Photos Into 3D Worlds. Now Let’s Make a Film
Sep 2026
The GPT-6 and Seedance 2.5 workflows circulating on X put a familiar filmmaking idea in a new context: build the space, block the action, then generate the shot.
For a filmmaker, the exciting part is control. Where does the camera start? When does the character cross the room? What does the next angle reveal?
We’re bringing that kind of direction into Flick, starting with one photo.
Drop in a reference image, get an editable 3D set, and tell the agent how you want to shoot it. Your takes become clips on your canvas, ready for AI video generation.
Here’s the workflow we’re building, and how it compares with the GPT-6-to-Seedance demos.
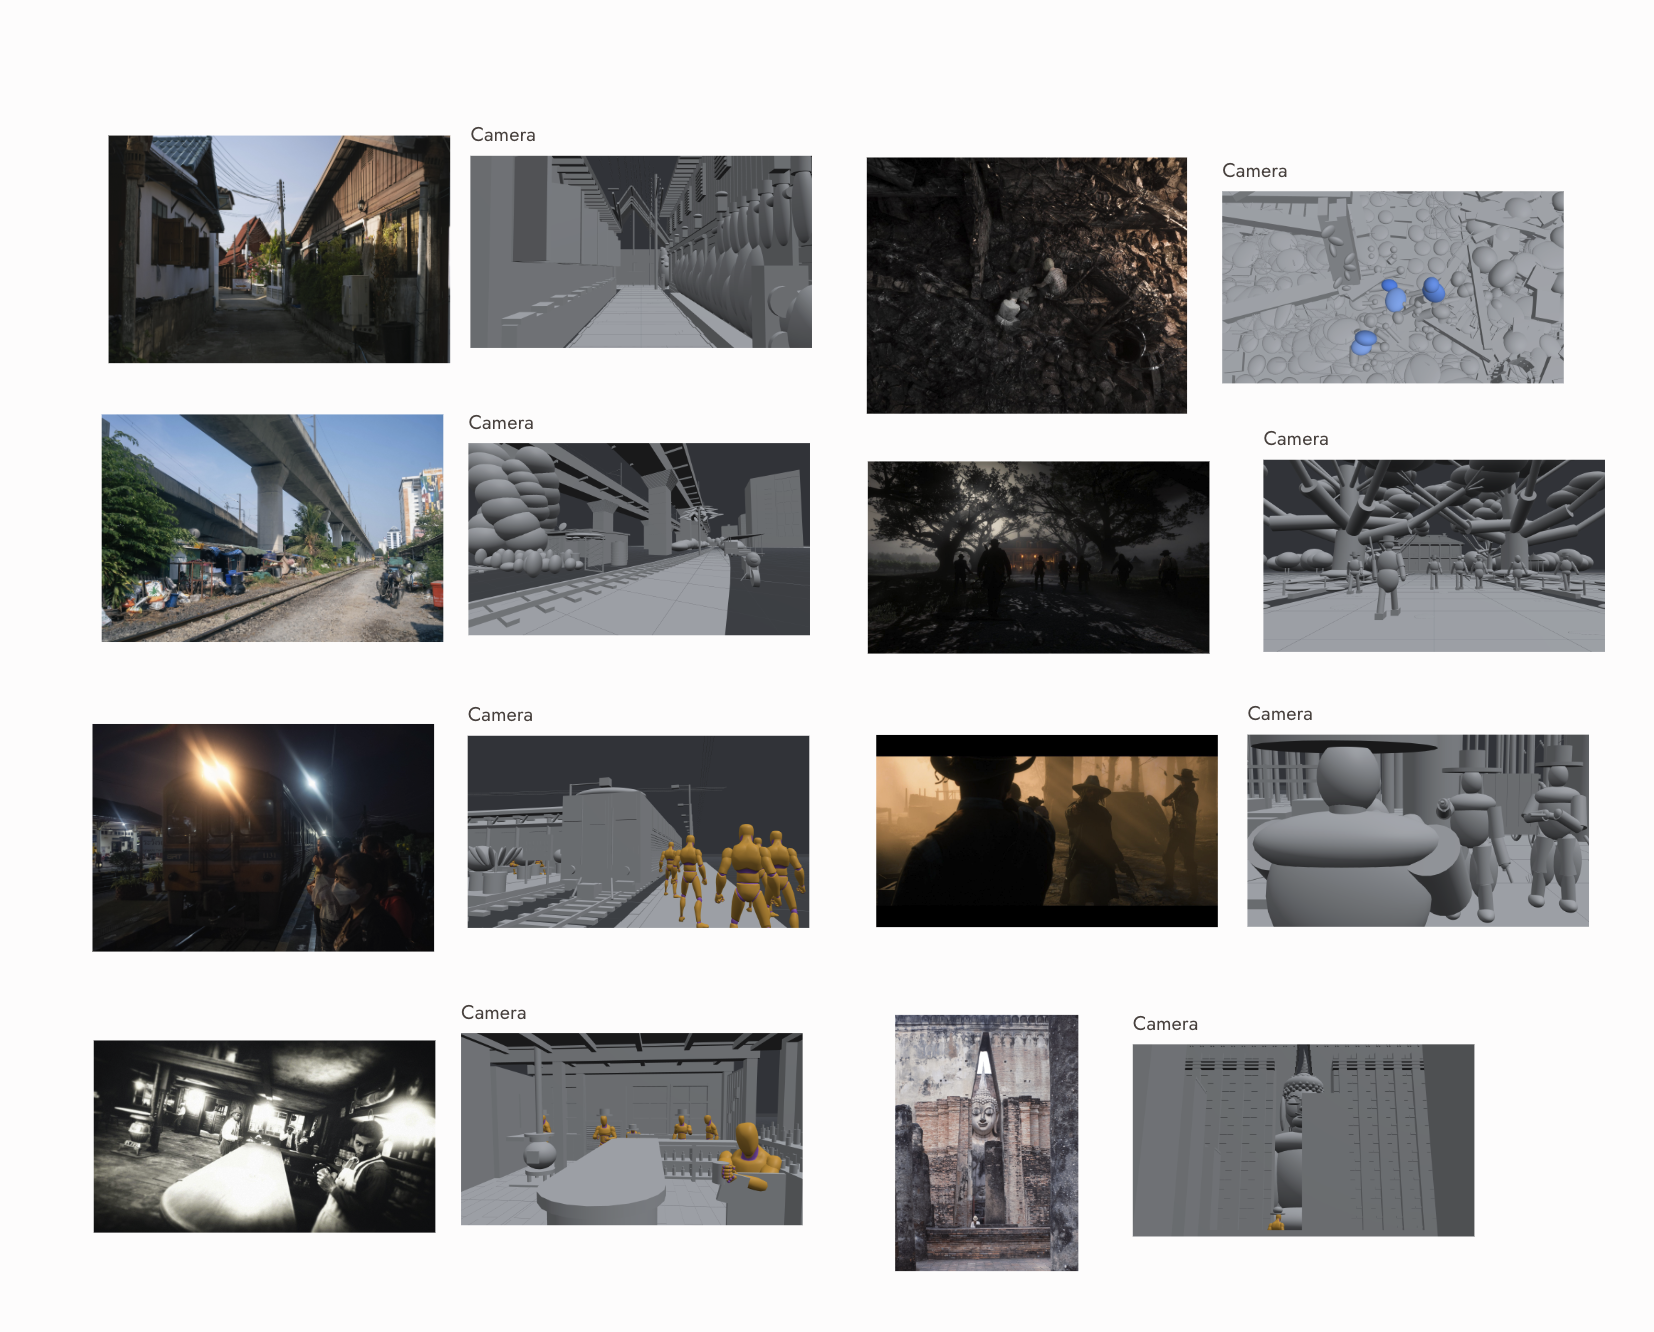
Turn a photo into a 3D set
Start with a location scout photo, a film still, or a visual reference for the scene you have in mind.
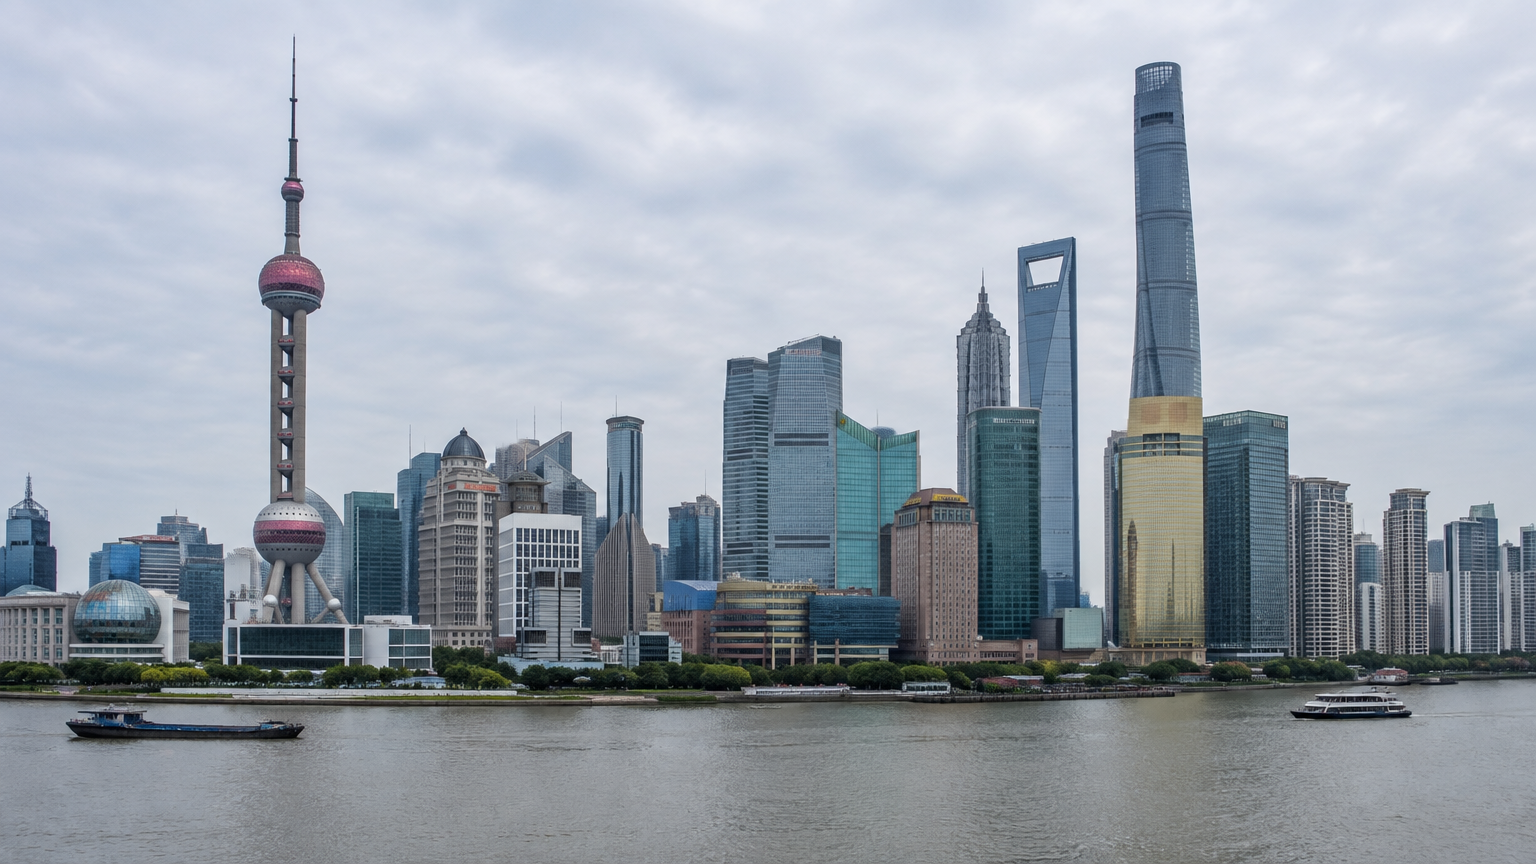
Flick builds a 3D set from that image. Objects have names, you can select them, and related pieces are grouped together. A camera is already positioned to frame the view in your reference.
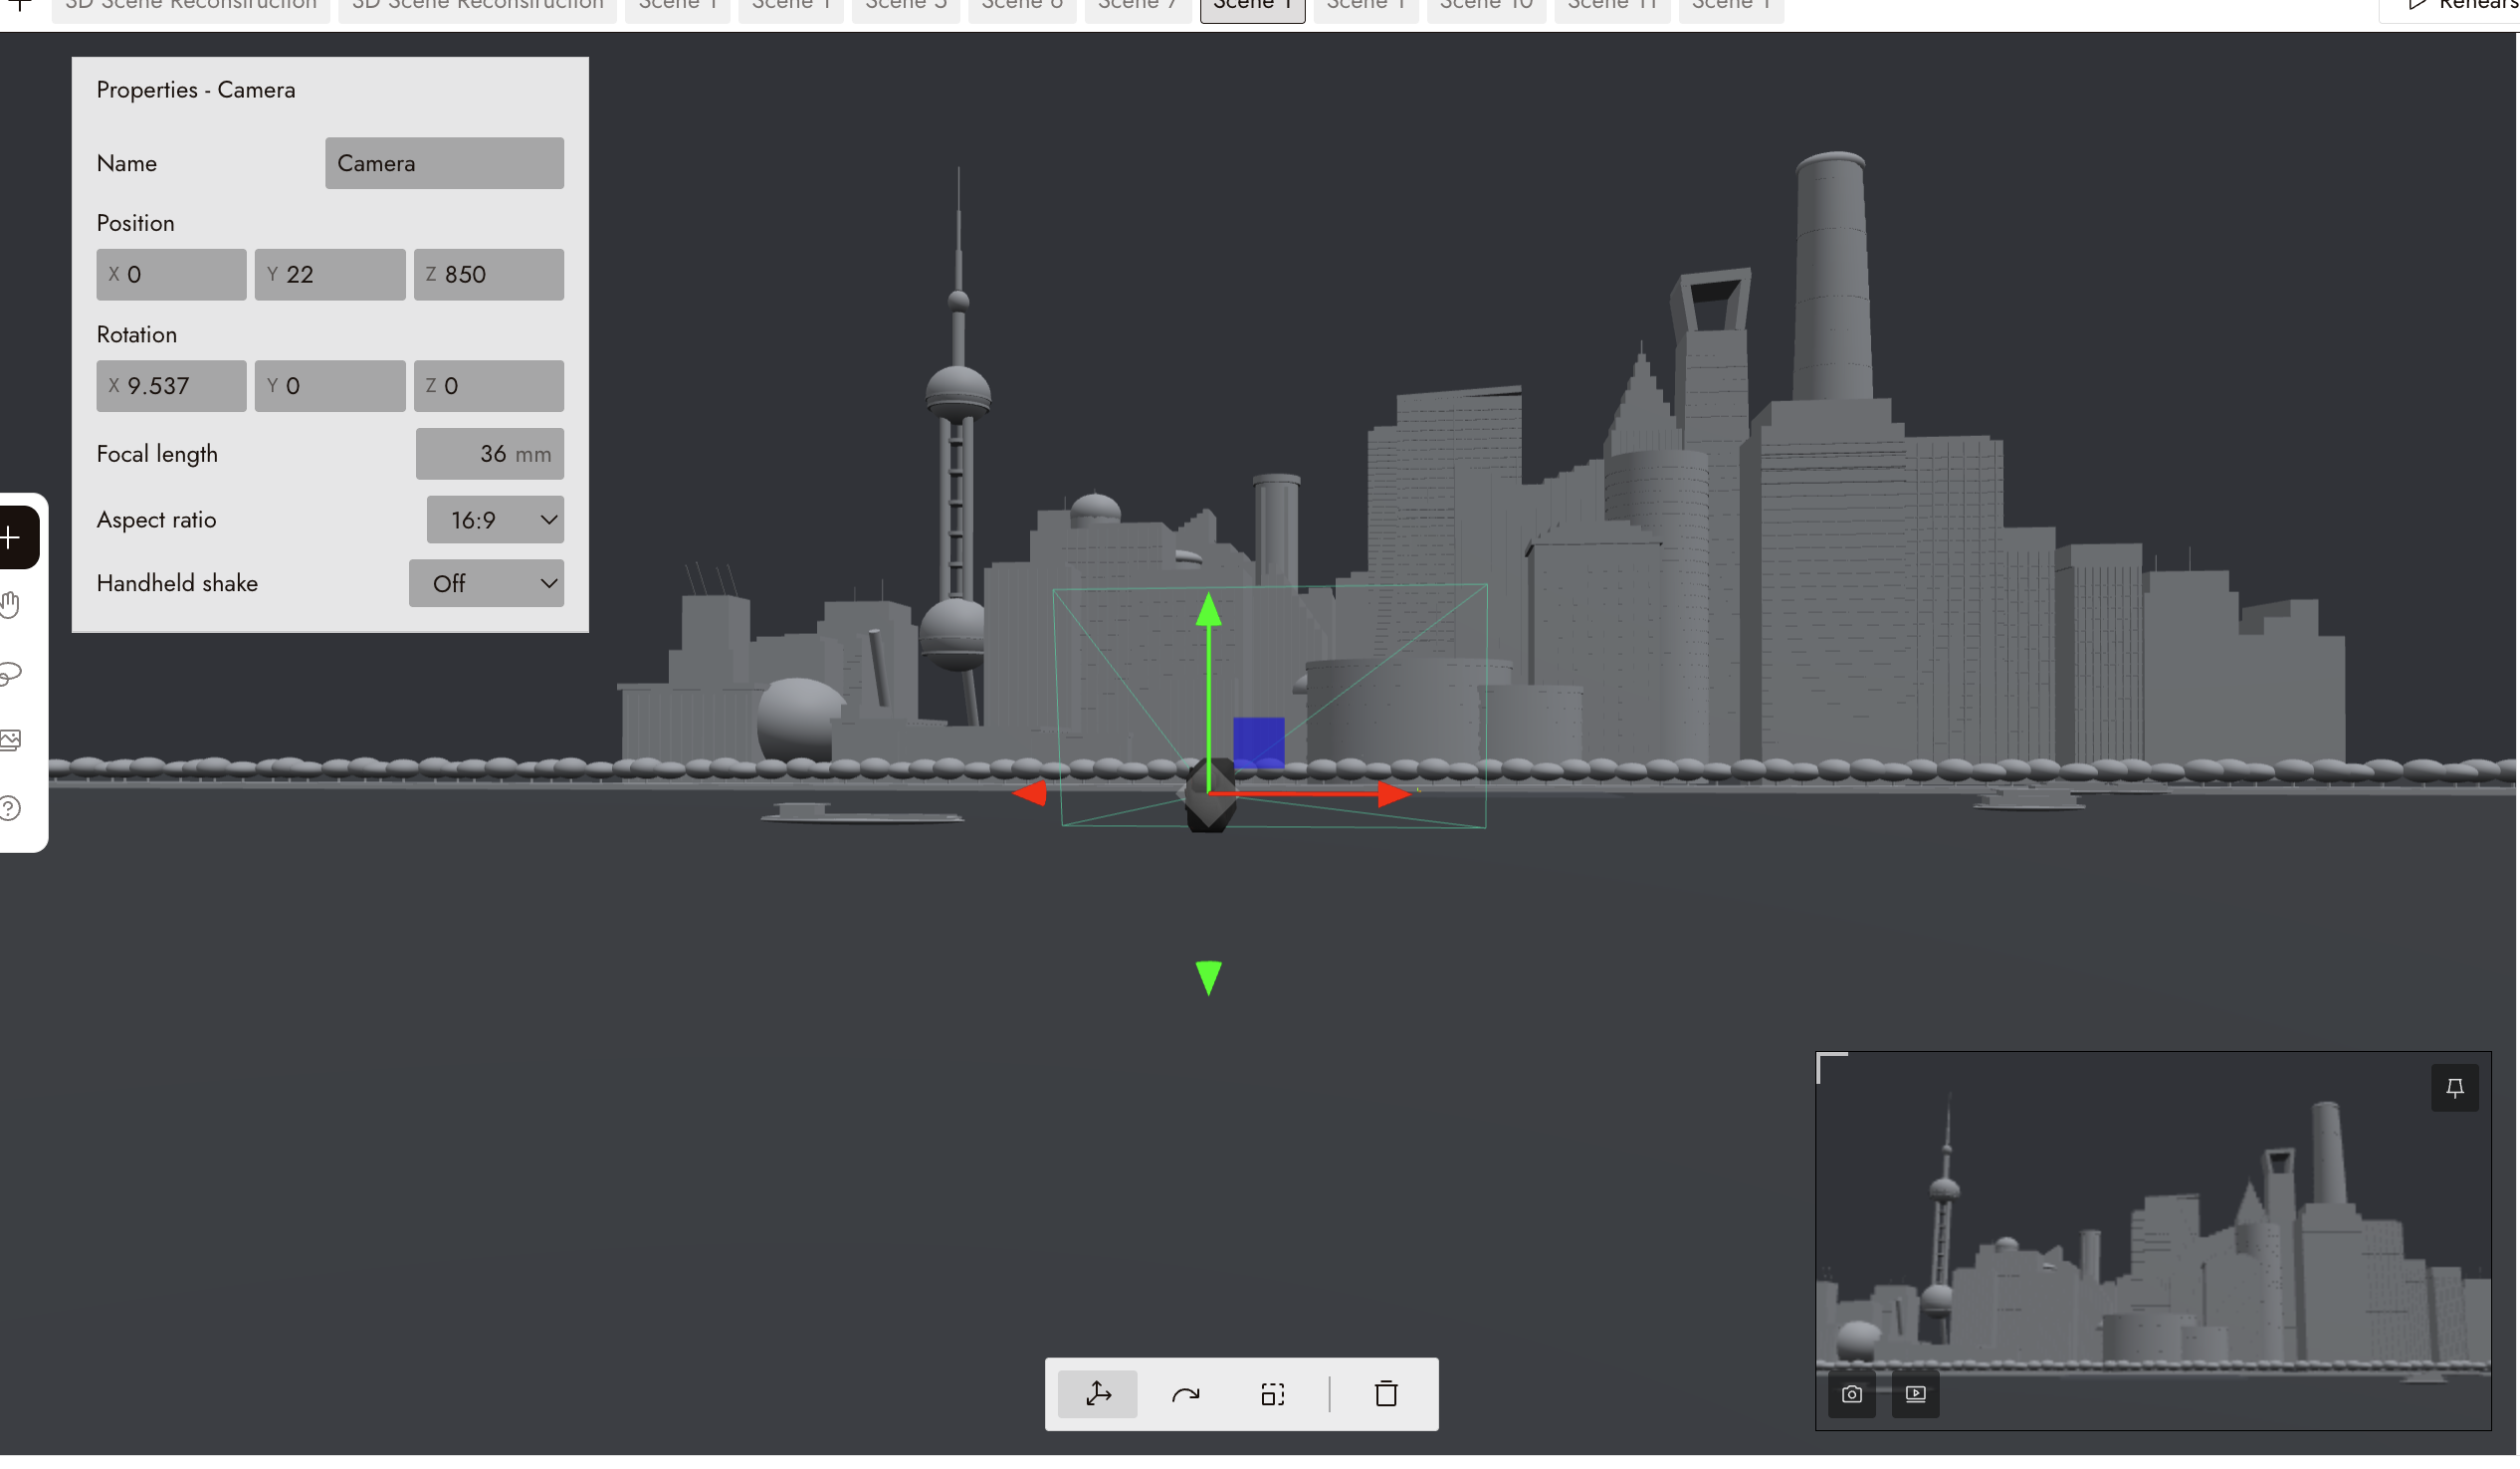
That gives you somewhere to start directing. You can look at the doorway, the distance across the room, or the space between two buildings and decide what the shot needs.
The set is grey, with the major shapes and spatial relationships laid out for previsualization. You’re working out composition, movement, and coverage before committing to the final look.
No Blender setup. No building the location piece by piece before you can test a camera move.
Describe the shot. Let the agent build it.
Imagine a street photograph with a doorway at the far end. You want to start above the street, descend, and move toward the entrance.
Your direction can be this simple:
Crane down into a dolly in on the doorway.
The agent builds the camera movement in the set. Moves connect: the dolly begins where the crane move ends, so you can design a shot with several beats.
You can ask for an orbit, a dolly zoom, a pan sweep, or a locked-off camera. Follow a subject, or draw a path for the camera to fly through the scene.
The creative decision stays with you. Does the move reveal the doorway too early? Would holding the wide shot make the approach feel more tense? You have a set and a camera to work with as you answer those questions.
Put the action where you want it
Camera movement is only half the shot. Someone needs to move through it.
Flick’s prototype includes 47 character animations. Draw a path on the floor and have a character walk, jog, or sprint along it. Other objects can be animated too: a door opening, something falling, a chair rocking.
For the street scene, you might send a character toward the entrance while the camera moves closer. Now you can see how the action and the framing work together.
That is the useful part of AI previz: making your staging visible while it is still easy to change.
Shoot the coverage together
Put several cameras in the set and record them all at once.
A wide shot establishes the street. A side angle follows the approach. Another camera watches the doorway. One performance gives you each angle as a take.
You can compare the coverage around the same action and decide which view tells the story best. The moment the character reaches the entrance becomes something you can examine from several positions.
Take the previz straight into AI video
Every recorded take lands on your Flick canvas as a clip, ready to feed into the video models you use there.
The proposed flow is simple:
Reference photo → editable 3D set → camera and blocking → recorded take → AI video.
Your previz carries the staging and camera movement into the next step. Your visual references and video direction establish the look you want to create.
You stay inside Flick as you move from planning the shot to generating it. There is no separate scene export to manage along the way.
Our Blender filmmaking guide already explains how a rough 3D animation can guide an AI video shot. Image to 3D brings scene building and shot recording into that same workspace.
What the GPT-6-to-Seedance 2.5 posts actually show
The demos deserve credit. They already demonstrate workflows that reach video, with meaningful control over the scene before generation.
On September 3, 2026, Higgsfield described a museum sequence in which GPT-6 Astra planned the location, cast, and shot list. Blocking remained in the viewport, with Seedance 2.5 generating the setups. See the museum workflow on X.
On September 5, Higgsfield posted a more complete chain: develop a sword-fight story, make Blender previz, generate shots with Seedance 2.5, and assemble the final edit. The post says the workflow preserved the characters and location. See the sword-fight workflow on X.
A September 3 camera demo also described linking a phone to Blender’s viewport to drive handheld movement. See the handheld workflow on X.
These posts describe what the workflows accomplished, but don’t provide a complete record of prompts, retries, or interventions. They give us useful examples to compare, without establishing how much work every creator should expect.
The question for Flick is how to make that process accessible from the reference image you already have.
| Part of the workflow | Referenced GPT-6 / Seedance workflows | Flick image to 3D |
|---|---|---|
| Starting point | Scene planning or a story brief in the museum and sword-fight examples | One reference photo |
| Scene and blocking | Viewport-based staging; Blender previz in the sword-fight example | An editable set inside Flick |
| Camera direction | Phone-linked Blender camera movement in the handheld example | Plain-language moves, connected moves, and drawn paths |
| Coverage | Generated setups in the museum example | Simultaneous recording from several cameras |
| Moving into video | Seedance generation; a final edit in the sword-fight example | Recorded takes arrive on the Flick canvas for video generation |
There are already ways to simplify a Blender handoff. Dreamina, for example, documents a Clay Renderer plugin that combines rendering and uploading a reference clip. See Dreamina’s workflow.
Flick’s approach puts photo-based scene creation, shot direction, and recorded takes in one place. If you think in framing and blocking, those are the decisions you can start with.
Built around the view through your camera
A useful set needs to hold together from the angle you intend to shoot.
Flick checks its reconstruction through the camera it has placed, using that camera’s focal length. It reviews the resulting image and can make corrections across up to three passes, stopping earlier when a pass produces no changes.
That check is tied to your composition. A missing shape at the end of a street can change the whole frame, even if most of the buildings are present.
Flick also identifies the feature that closes the view and builds it first. Think of a temple at the end of a lane: small in the photograph, but central to where your eye travels.
Those details make the reference useful as a starting point for a shot. You can then direct what happens within it.
Your next set starts with a photo
Bring a photo. Block the action. Try the camera move. Record the coverage. Continue into AI video on your canvas.
We’re building this for filmmakers who want to spend more time trying the shot they can picture. While we finish it, you can explore Flick and organize the references for your next scene.
Flick’s image-to-3D feature will be free. It’s coming soon. It is currently a working prototype, with no launch date announced. The free offer covers image to 3D; video-model generation is separate.
Frequently Asked Questions
Can AI turn a photo into a 3D scene?
Yes. Flick’s image-to-3D prototype builds an editable previz set from one image, with selectable objects and a camera positioned around the reference view.
Do I need to know Blender or other 3D software?
No. The workflow we’re building runs inside Flick. The agent builds the set and responds to plain-language shot direction.
Can I move the camera and animate people?
Yes. The prototype supports connected camera moves, drawn paths, and character animation. You can also record several cameras at once for coverage of the same performance.
How do I turn the 3D scene into an AI video?
Record a take. It becomes a clip on your Flick canvas, ready to use as input for video generation alongside your other references and direction.
Is the 3D scene photorealistic?
It is a grey previz set for planning space, framing, and movement. The final visual treatment comes during the AI video stage.
What kind of image can I start with?
A location scout photo, a film still, or a visual reference for your scene. The workflow starts with one image and builds a set around that reference view.